Chocolate Velvet
When Chocolate Velvet was on the menu at In Season restaurant in Philadelphia, one server had a memorable way of describing it. If a guest asked about the dessert, she would lean in and ask, “Are you into sin?” It always brought a smile—and usually an order.
This is a dessert for the serious chocolate lover! It is a large project but can be completed in stages.
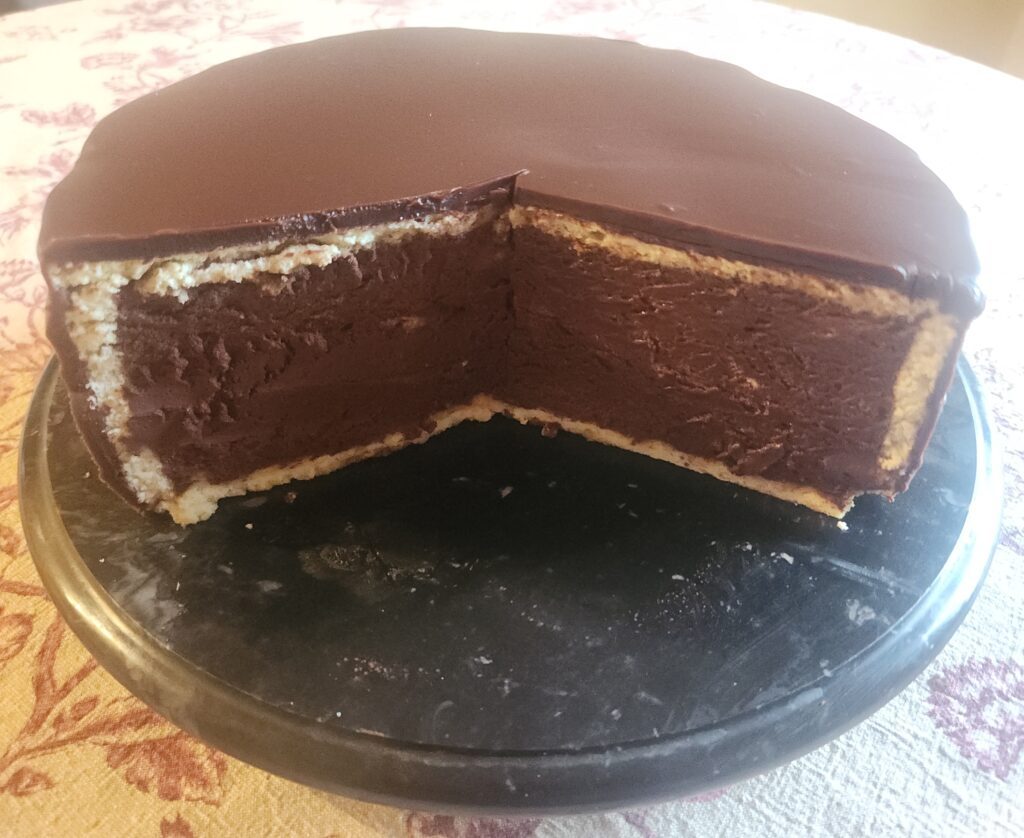
Our Chocolate Velvet, a variation of a signature dessert created by Chef Albert Kumin for New York’s Four Seasons, consists of a delectably rich dark chocolate mousse surrounded by a thin vanilla sponge sheet, covered with a chocolate glaze.
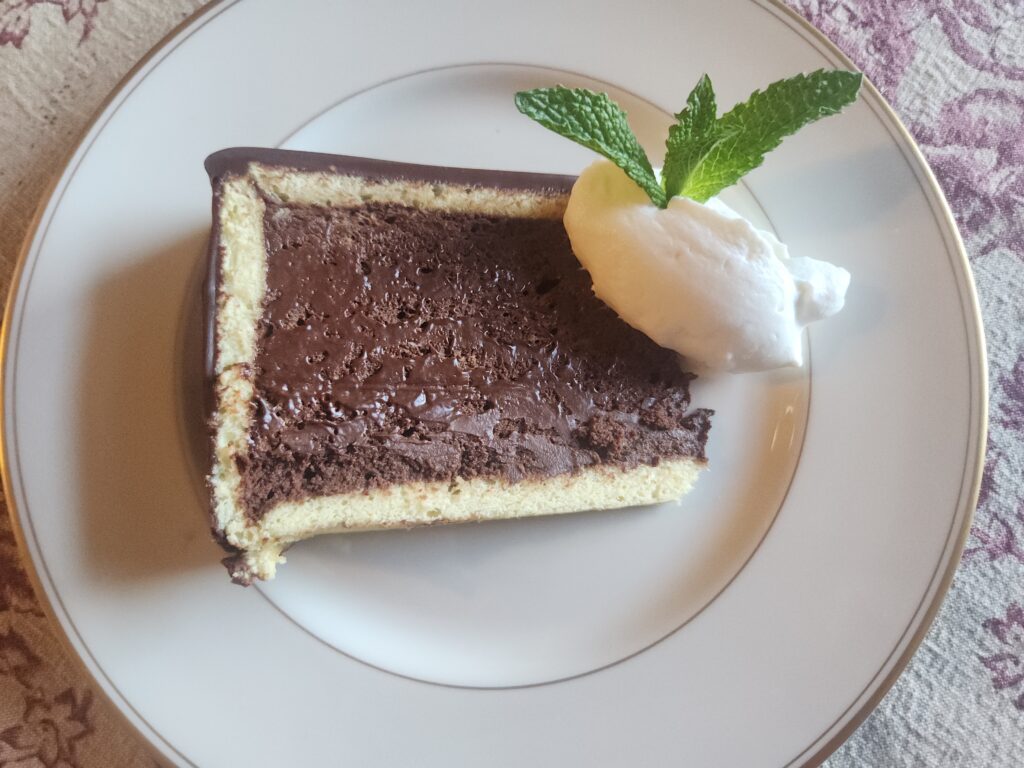
The cake is served in thin slices, which allows you to serve between 16 and 18 guests from the eight-inch cake. A little dollop of lightly sweetened whipped cream is a must, as it marries beautifully with the mousse’s richness.
In the days before cooking competitions and mystery baskets, there were chefs who quietly honed their craft—known primarily within professional circles or to readers of culinary magazines.
About Chef Kumin:
Swiss-born Albert Kumin was one of those chefs. Hired in 1959 as the opening pastry chef of the Four Seasons Restaurant—which would become one of the most celebrated restaurants in the United States—he created its signature domed Chocolate Velvet.
His career later took him to the White House as pastry chef during the Jimmy Carter administration, to Windows on the World as the creator of its dessert program, and to the Culinary Institute of America as an instructor. He also founded the International Pastry Arts Center in Katonah, New York.
I was fortunate to attend a demonstration he gave at Macy’s De Gustibus Cooking School, and I still remember his soft-spoken, calm demeanor as he clearly explained complex techniques—apparently the same composure he maintained in the heat of production.
With Chocolate Velvet, Chef Kumin created a dessert that has lived on in many forms, appearing in multiple restaurant dessert lists and cookbooks, from Paula Peck’s The Art of Fine Baking (1961), to Maida Heatter’s Book of Great Desserts (1974), The Frog Commissary Cookbook (1985), and Cocolat (1990) by Alice Medrich.
In short, one of the most influential pastry chefs of the 20th century—and he never had to run around a kitchen stadium.
Chocolate Velvet
| Yield: 1 8-inch cake | Serves: 16 to 18 | Difficulty: Advanced |
Cake Layers:
3 recipes Basic Sponge Sheet
Velvet Mousse:
1 lb. 4 oz (567 g) chocolate, 55% to 61%, wafers or bar, chopped 6.7 fl oz water
3 ea. large egg yolks
6 ea. (6.7 fl oz) egg whites, room temperature
1 pinch sea salt
1.7 oz (48 g) granulated sugar
7 fl. oz heavy cream, whipped to soft peaks
Icing:
6 oz (170 g) chocolate, 55% to 61%, wafers or bar, chopped
½ cup (4 fl oz) boiling water
Accompaniment:
1 pint heavy cream
¼ cup confectioners’ sugar, sifted, more to taste
Special tools and equipment needed:
- 8″ by 3″ stainless steel cake ring
- 3″ wide by 25.1″ long parchment paper strip
- 8″ cardboard circle
- Half-sheet pan or large cookie sheet
- Straight spatula for icing the cake
- Countertop mixer with whip attachment or handheld mixer
Pre-recipe preparations:
- Bring egg whites to room temperature
- Bake an 8″ chocolate chiffon cake.
Directions:
Making the cake top, bottom, and sides:
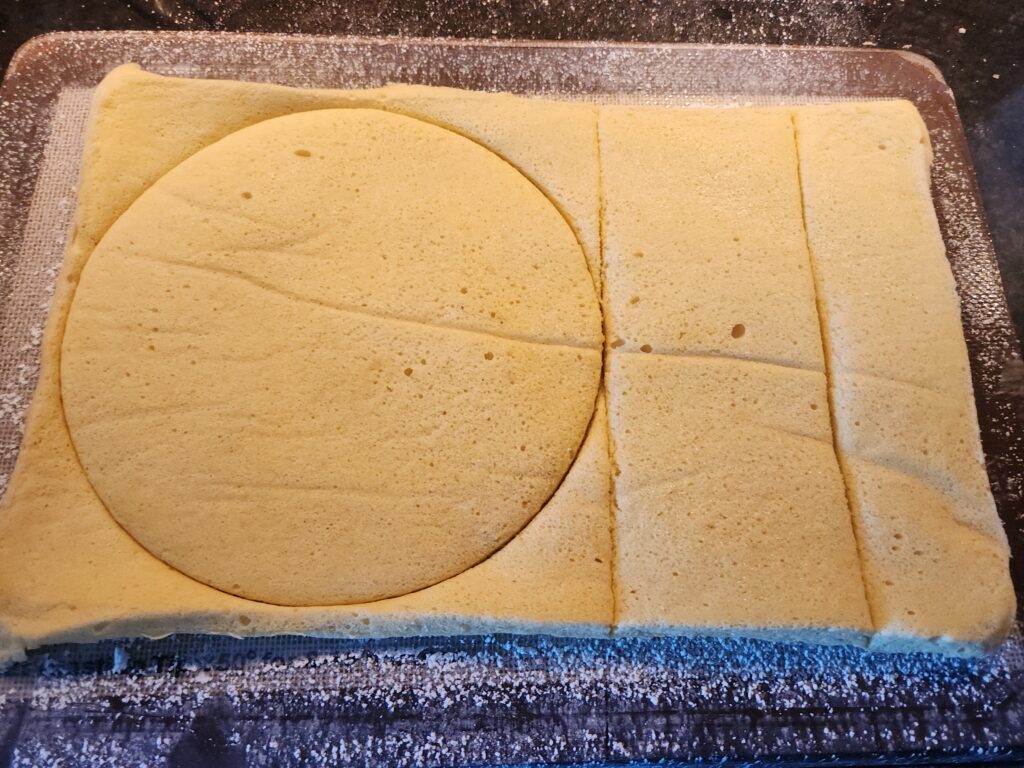
- Bake 3 recipes Basic Sponge Sheet.
- Using the cake ring, cut out two 8″ circles, which will become the top and bottom of the cake. Set aside, wrapped in plastic. Be careful, as the sponge sheet gets a bit sticky when it sits.
- Cut 3″ wide strips out of the remaining sponge sheet. You will need 25″ (the circumference of the 8″ cake ring) total length of sponge cake strips.
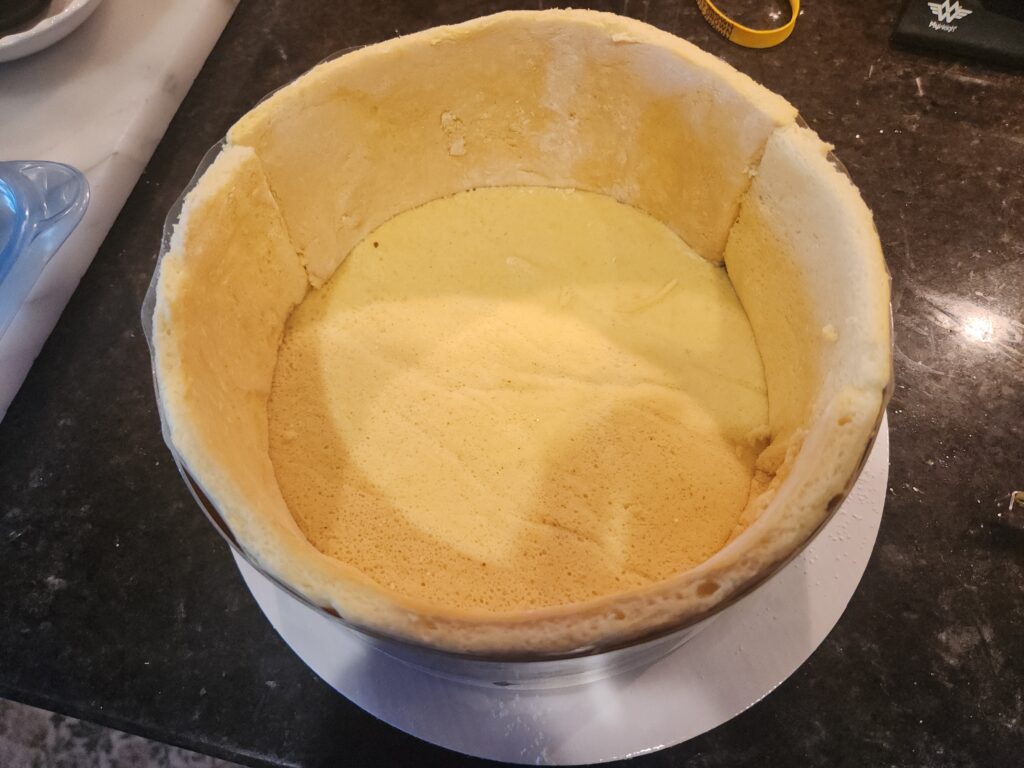
- Place one cake circle on the cardboard circle. Place a cake ring over the circle and place this on a large cake plate or a 9″ or 10″ cardboard cake circle.
- Lightly oil the cake ring and line with the parchment paper strips.
- Line the sides of the cake ring with the strips of cake, fitting them together at the seam to form a tight circle.
Making the mousse and filling the cake:
- In chilled bowl, whip the cream just until soft peaks. Set aside in the refrigerator.
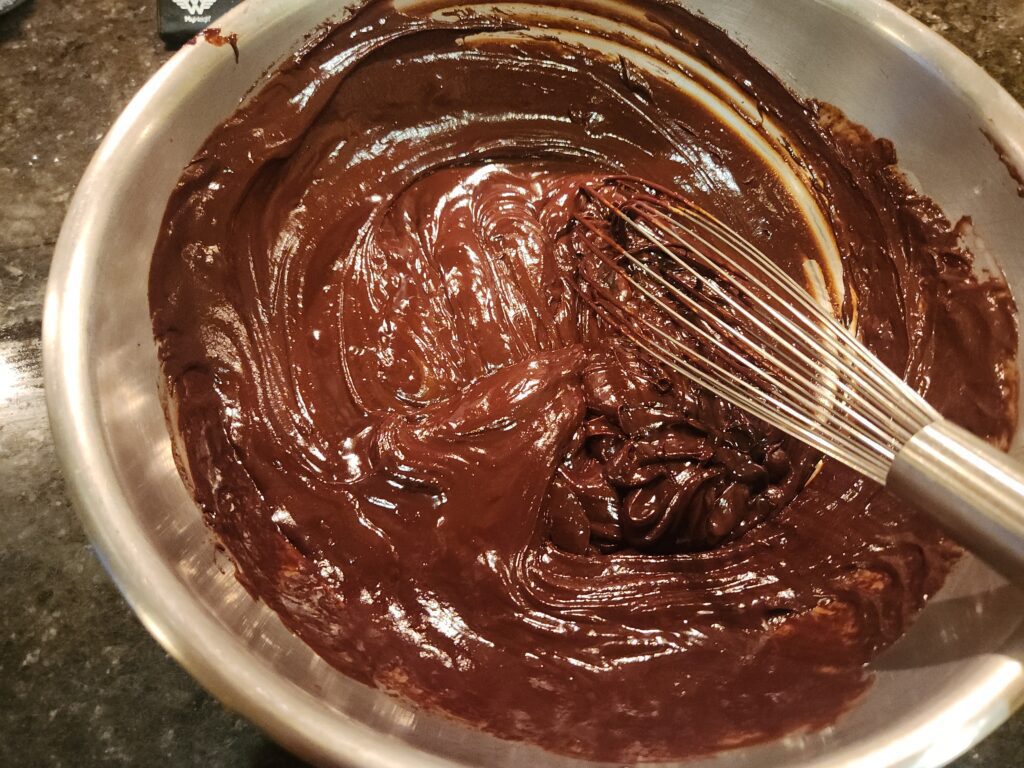
- Melt chocolate and water. Let cool for 2 minutes.
- Whisk in egg yolk, set aside.
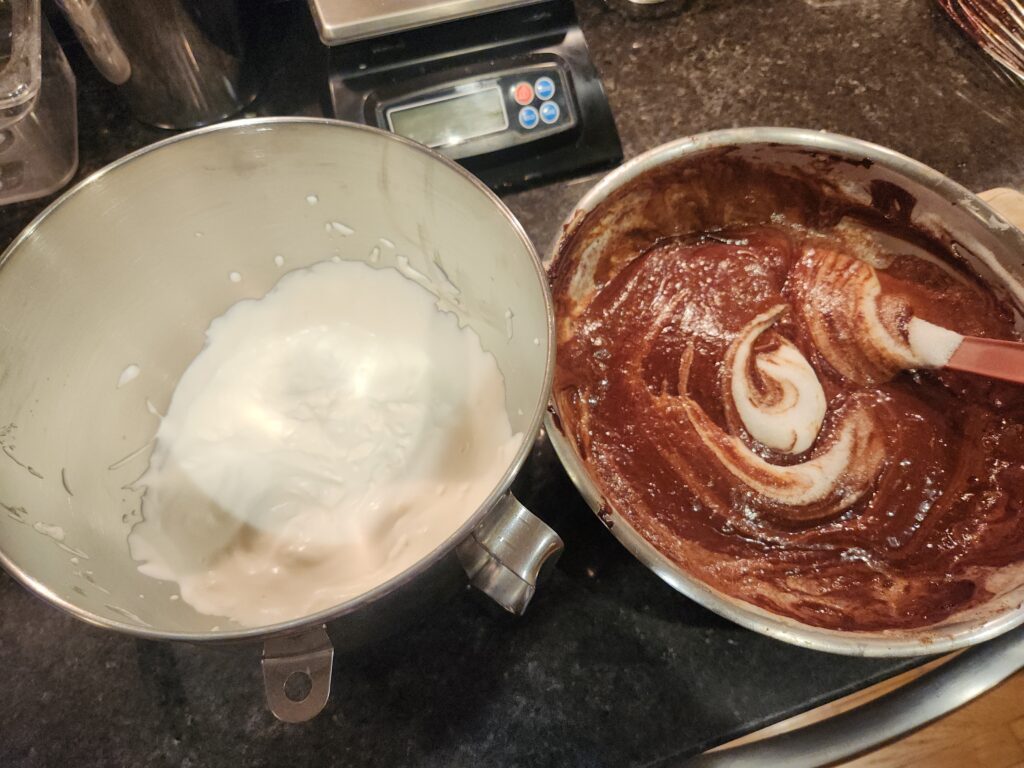
- Beat whites with salt, cream of tartar, and sugar until just stiff peaks. Do not overwhip.
- Stir in ¼ of the beaten whites to the chocolate mixture to lighten. Fold in remainder until mostly combined. It is okay if there are still a few streaks of white.
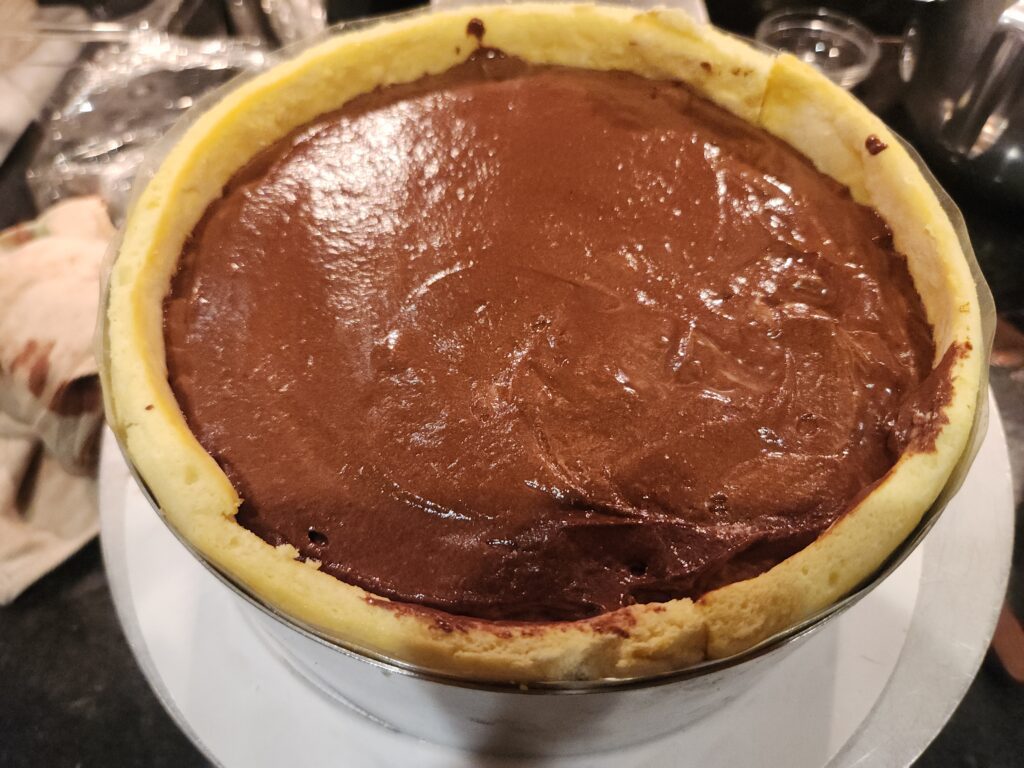
- Fold in cream until incorporated and the mousse is smooth and homogenous.
- Pour the mousse into the cake, making sure it flows totally to the edges. Place the top circle on top of the mousse and press lightly. Cover with plastic film or a parchment circle and refrigerate for at least four hours, or overnight.
Icing and serving the cake:
- Remove the cake ring. The cake should be very firm.
- Place the chocolate pieces in a small saucepan. Pour the boiling water over the chocolate and whisk over a low heat just until the chocolate is melted. Let cool until room temperature.
- Pour icing over the cake, and working quickly spread it over the top and sides. Use a small spatula to cover any empty spaces on the sides with icing that dripped off. Let the icing set.
- Cut in thin slices with a knife run under hot water before each cut.
- Serve with lightly sweetened whipped cream.