Bullseye Cheesecake
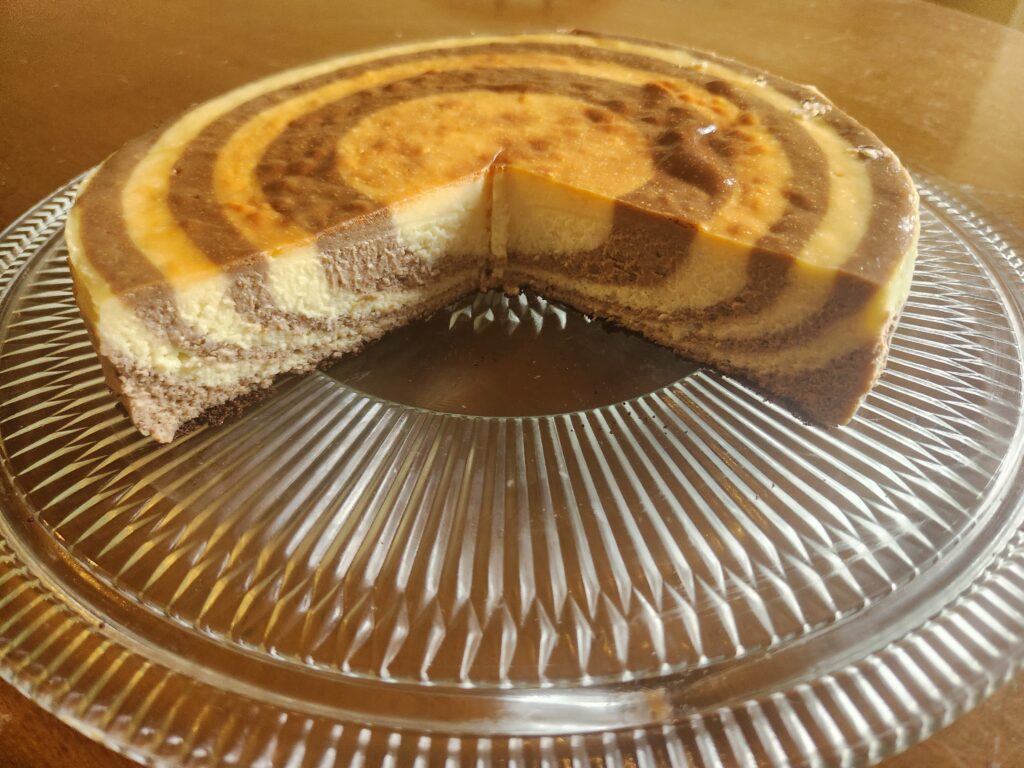
I finally worked up the courage to try the Bullseye Cheesecake, from Maida Heatter’s Great American Desserts, and I’m so glad I did. How she figured out that pouring two different batters in succession into the center of a cheesecake pan would naturally spread out to form perfect concentric rings is a mystery. But thank goodness she did!
As Maida promised, this cake is not at all difficult. You start by making one vanilla batter, divide it in half, and flavor one half with cocoa and instant coffee to create a mocha contrast. Then, rather than swirling or layering in a traditional marble cake fashion, you pour batter—alternating between vanilla and mocha—right into the center of the springform pan. The batters naturally push outward, forming rings that resemble a bullseye or zebra pattern. No swirling, no piping—just a bit of faith and a steady hand.
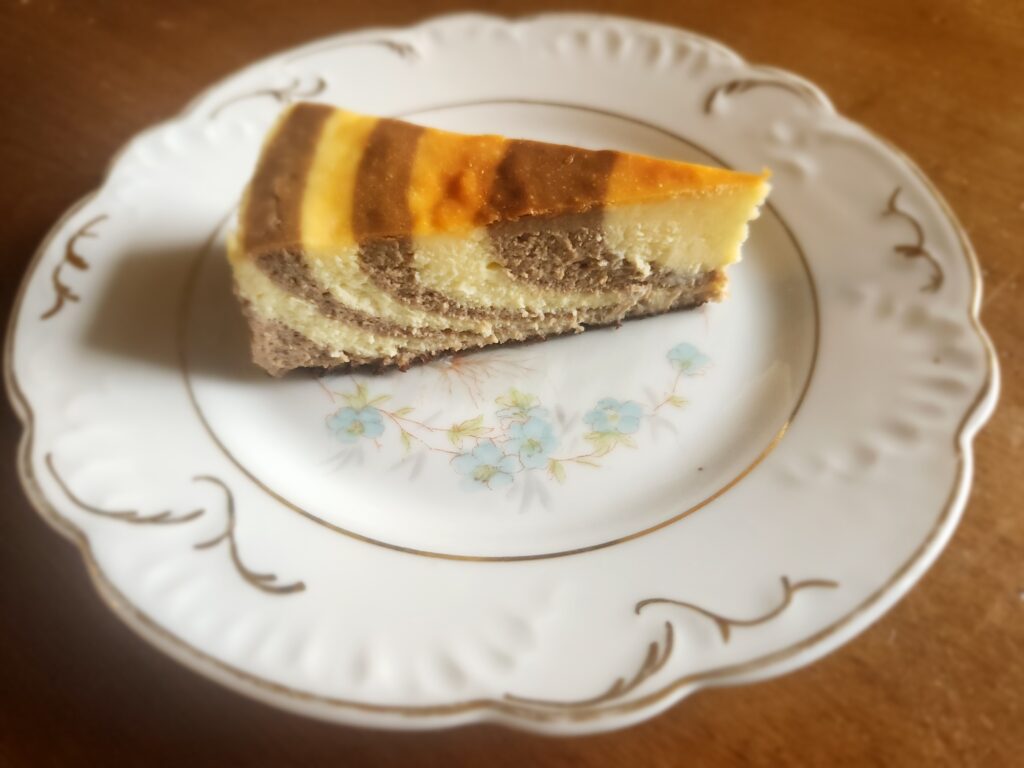

The end result is a visually striking cheesecake. But this isn’t just a pretty dessert. The flavor is exceptional—classic vanilla cheesecake paired with a subtle mocha ribbon.
The key to the smooth and creamy texture of this recipe, as with our plain Cheesecake and Triple Layer Cheesecake is not beating too much air into the mixture and baking it like a custard, in a water bath.Â
Bullseye Cheesecake
| Yield: 1 8†cake | # of Servings: 12 to 14 | Method: Creaming | Difficulty: Easy |
Ingredients:
2 lb cream cheese (907g) (Philadelphia brand preferred), soft room temperature1
¼ cup sour cream
¼ tsp salt
4 large eggs, lightly beaten
1 tsp vanilla extract
¼ tsp almond extract
â…” cup (4.7 oz / 133 g) granulated sugar
â…” cup (4.7 oz / 133 g) dark brown sugar
1 tsp powdered (not granular) instant coffee
2 tsp cocoa powder, sifted through fine strainer
¼ cup chocolate wafter (such as Dewey’s brand) or graham cracker crumbs
Special tools and equipment needed:
- 8†by 3†cake pan2
- 8†parchment paper circle
- Parchment strips, 3†wide (optional)
- Two Pyrex measuring cups, optional
- Large rectangular baker, roasting pan, or 10†cake pan (Must be large enough for the cheesecake pan to sit in, with at least 1†around all the edges, and not deeper than the cheesecake pan).
- Hand held or free-standing mixer with paddle attachment, or flex edge3 paddle attachment.
Pre-recipe preparations:
- Butter the cake pan, place the parchment circle in the bottom and butter the parchment. Line the sides with parchment strips, if using.
- Bring water to the boil in a water kettle, set aside on stove top.
- Preheat oven to 300°F.
Directions: Preheat oven to 350°F
- Put cream cheese in mixing bowl and beat for one minute on low speed (KA speed 2). Scrape down the sides of the bowl with a plastic spatula, and the beater with your clean fingers. Mix for another thirty seconds until the cream cheese is totally smooth.
- Add the sour cream and salt, and mix on low speed just until combined.
- Break eggs into a liquid measuring cup or small bowl, add vanilla and almond extracts, and beat to break up the eggs.
- Add the eggs in four additions, scaping down the bowl after the second and final addition. Mix just until smooth.
- There will be around 39 oz (6 cups) of total batter. Chose one of two methods to separate the batter into two equal halves. In method one, place a medium mixing bowl on a scale, and after taring the weight to zero add 19 oz of batter. In method two, measure 3 cups of batter and pour into the second bowl.
- To the original mixing bowl, add the dark brown sugar and mix well with a plastic spatula. The mixture should thin out slightly. Add the cocoa powder and coffee, until no specks remain.
- To the second bowl, add granulated sugar and stir until dissolved.
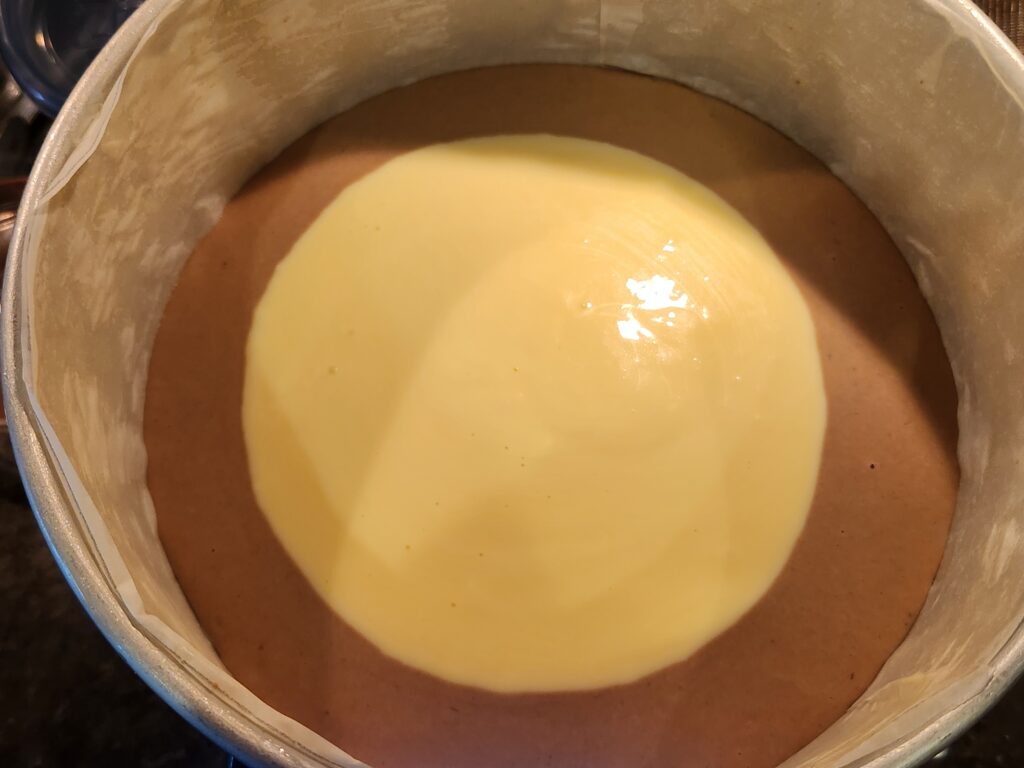
- Now it’s showtime for the design, which is formed by pouring a quarter of each better into the center of the cake pan in succession.
- Pour slightly under a cup of each batter into two one-cup Pyrex measuring cups, or another vessel with pouring spout.
- Starting with either batter (I started with the mocha), pour the batter directly into the center of the prepared cake pan. Tilt the pan if the batter doesn’t spread to the edge.
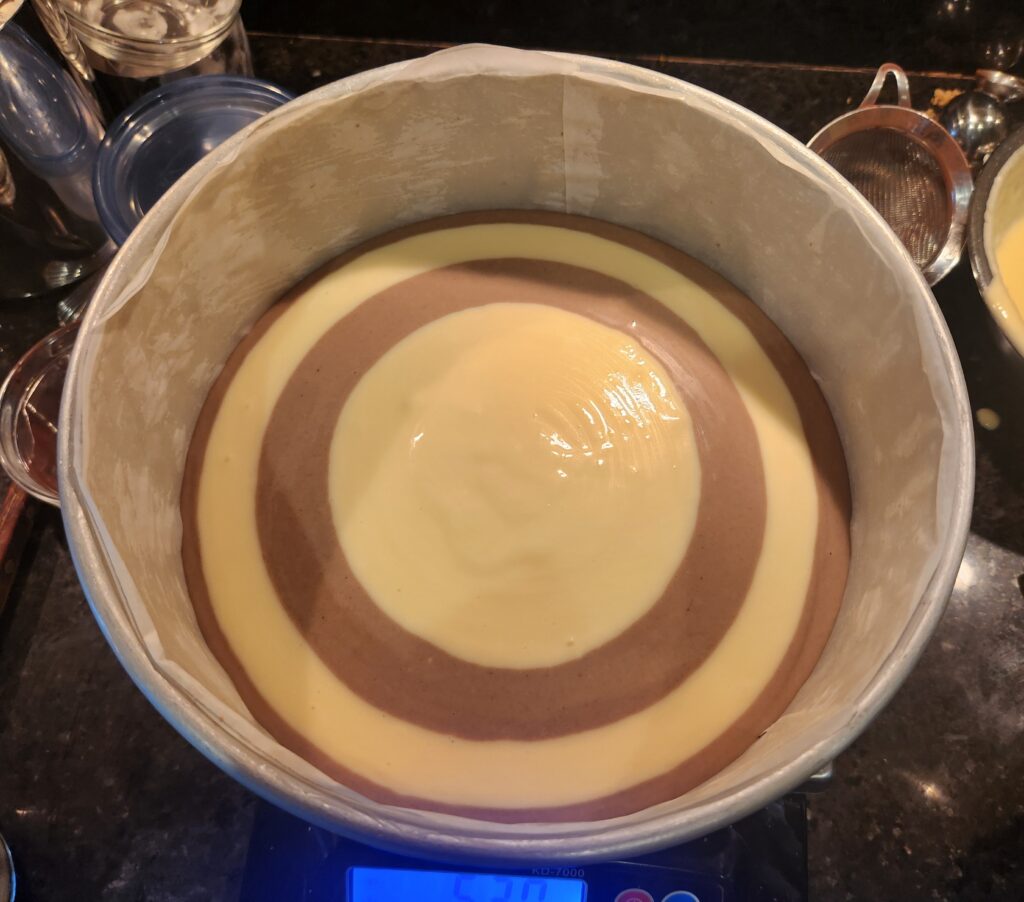
- Now pour the other batter directly into the center of the first batter. It will spread out on its own, forming the beginnings of the bull’s eye.
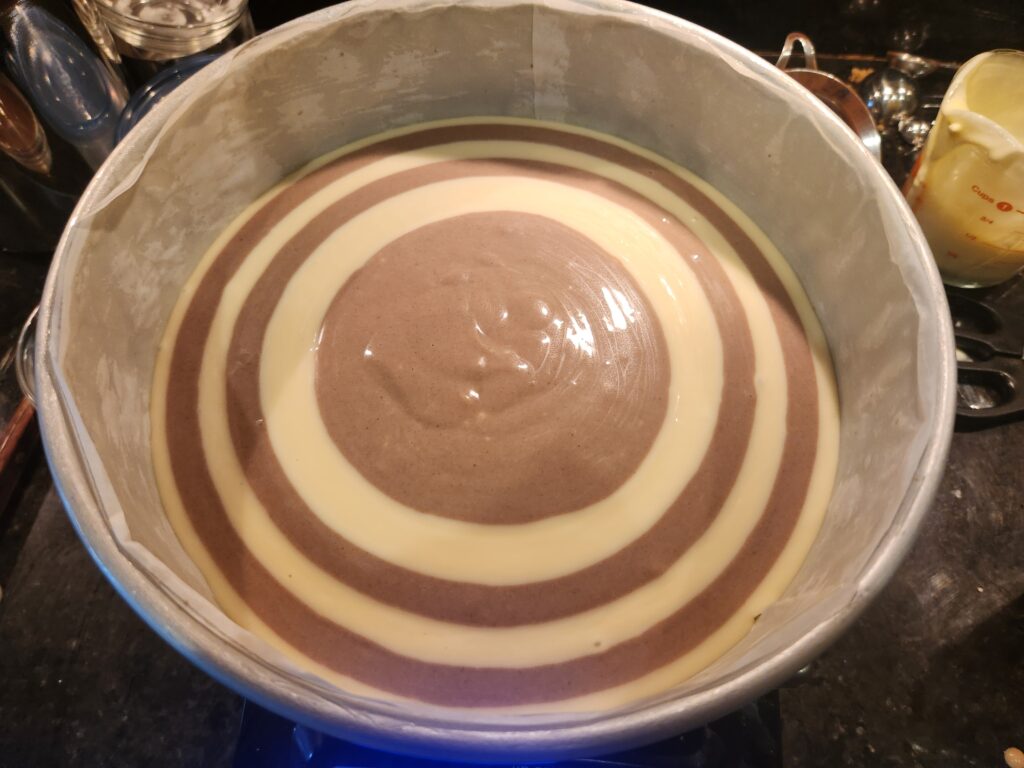
- Continue pouring alternating batters into the pan, until there four mocha and four plain circles.
- Carefully place the cake pan in the larger pan and place in the oven. Add hot water to a depth of about 1 ½ inches.
- Bake for 1 hour 30 minutes. Remove from the hot water bath and let cool to room temperature on a cooling rack. Refrigerate for at least five hours, or overnight. Cake needs be totally cold before unmolding from the pan.
- Heat water to almost boiling and pour into large mixing bowl until about â…” full. Place cheesecake pan in hot water, the water should come halfway up the sides of the pan.
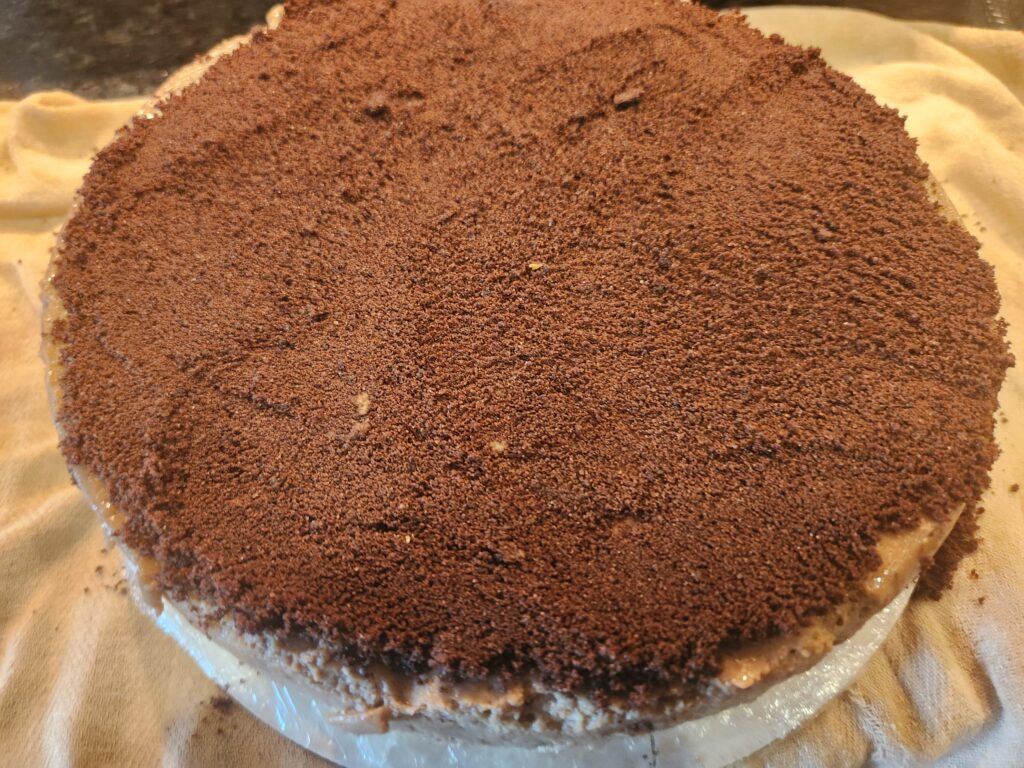
- Remove pan from water, place the bottom on a dry dish towel. Place 9†or 10†cardboard circle or a plastic cutting board on top of cheesecake pan and invert. If the cake doesn’t immediately release, spread the dish towel on the counter and bang the pan a few times.
- Once the cheesecake is upside down, evenly spread the wafer or graham cracker crumbs evenly over what will become the bottom. Then, turn the cake over again onto a serving plate. Refrigerate for at least 30 minutes
- Take the cheesecake out of the fridge 30–60 minutes before serving. For the optimal texture and mouthfeel, cheesecake is best enjoyed just slightly chilled, at around 55–65°F.
- Slice with a knife run under hot water and wiped clean after each slice.
Notes:
1 Around 74°F is a good internal temperature for the cream cheese.
2 This is a one-piece pan, not a springform. Wilton sells an 8†by 3†pan on Amazon
3 Kitchen Aid’s Flex Edge beater resembles the standard beater except one edge is flexible, designed to scrape the sides of the bowl. This is very useful for soft preparations like cheesecake batter.
Baking tips:
- Importance of room temperature cream cheese: Unlike cake batters where butter and sugar are creamed together to beat air into the batter, in this recipe the cream cheese and other ingredients are beaten together just enough to combine for a smooth batter. This isn’t possible with cold cream cheese.
- To bring cream cheese to room temperature: take cream cheese out of refrigerator for approximately 3 hours. The cream cheese should be soft to the touch. It can be taken out of the foil wrappers, placed on a plate and microwaved for 15 to 20 seconds.