Dacquoise
Dacquoise
| Yield: 1 8-inch cake | # of Servings: 8 to 10 |
Ingredients
Nut Meringue
1 â…“ cup (4 oz / 113 g) almond flour, lightly toasted
1 â…“ cup (4 oz / 113 g) hazelnut flour
â…“ cup + 4 tsp (3 oz / 85 g) sugar
1 tbl + 1 tsp (.7 oz / 20 g) cornstarch or potato starch
1 cup (8 fl oz) egg whites
½ tsp salt
1 tsp cream of tartar
½ cup + 3 tbl (5 oz / 142 g) sugar
Ganache:
1 cup (8 fl oz) heavy cream
5 ½ oz chocolate, 64% to 66%, pastilles or chopped
Whipped Cream Filling
¾ cup (6 fl oz) heavy cream
¾ cup (6 fl oz) crème fraiche
¼ cup sugar
Buttercream
2 cups Swiss Meringue Buttercream
¼ to â…“ cup pure hazelnut paste1 or ¼ cup Nutella
Finishing
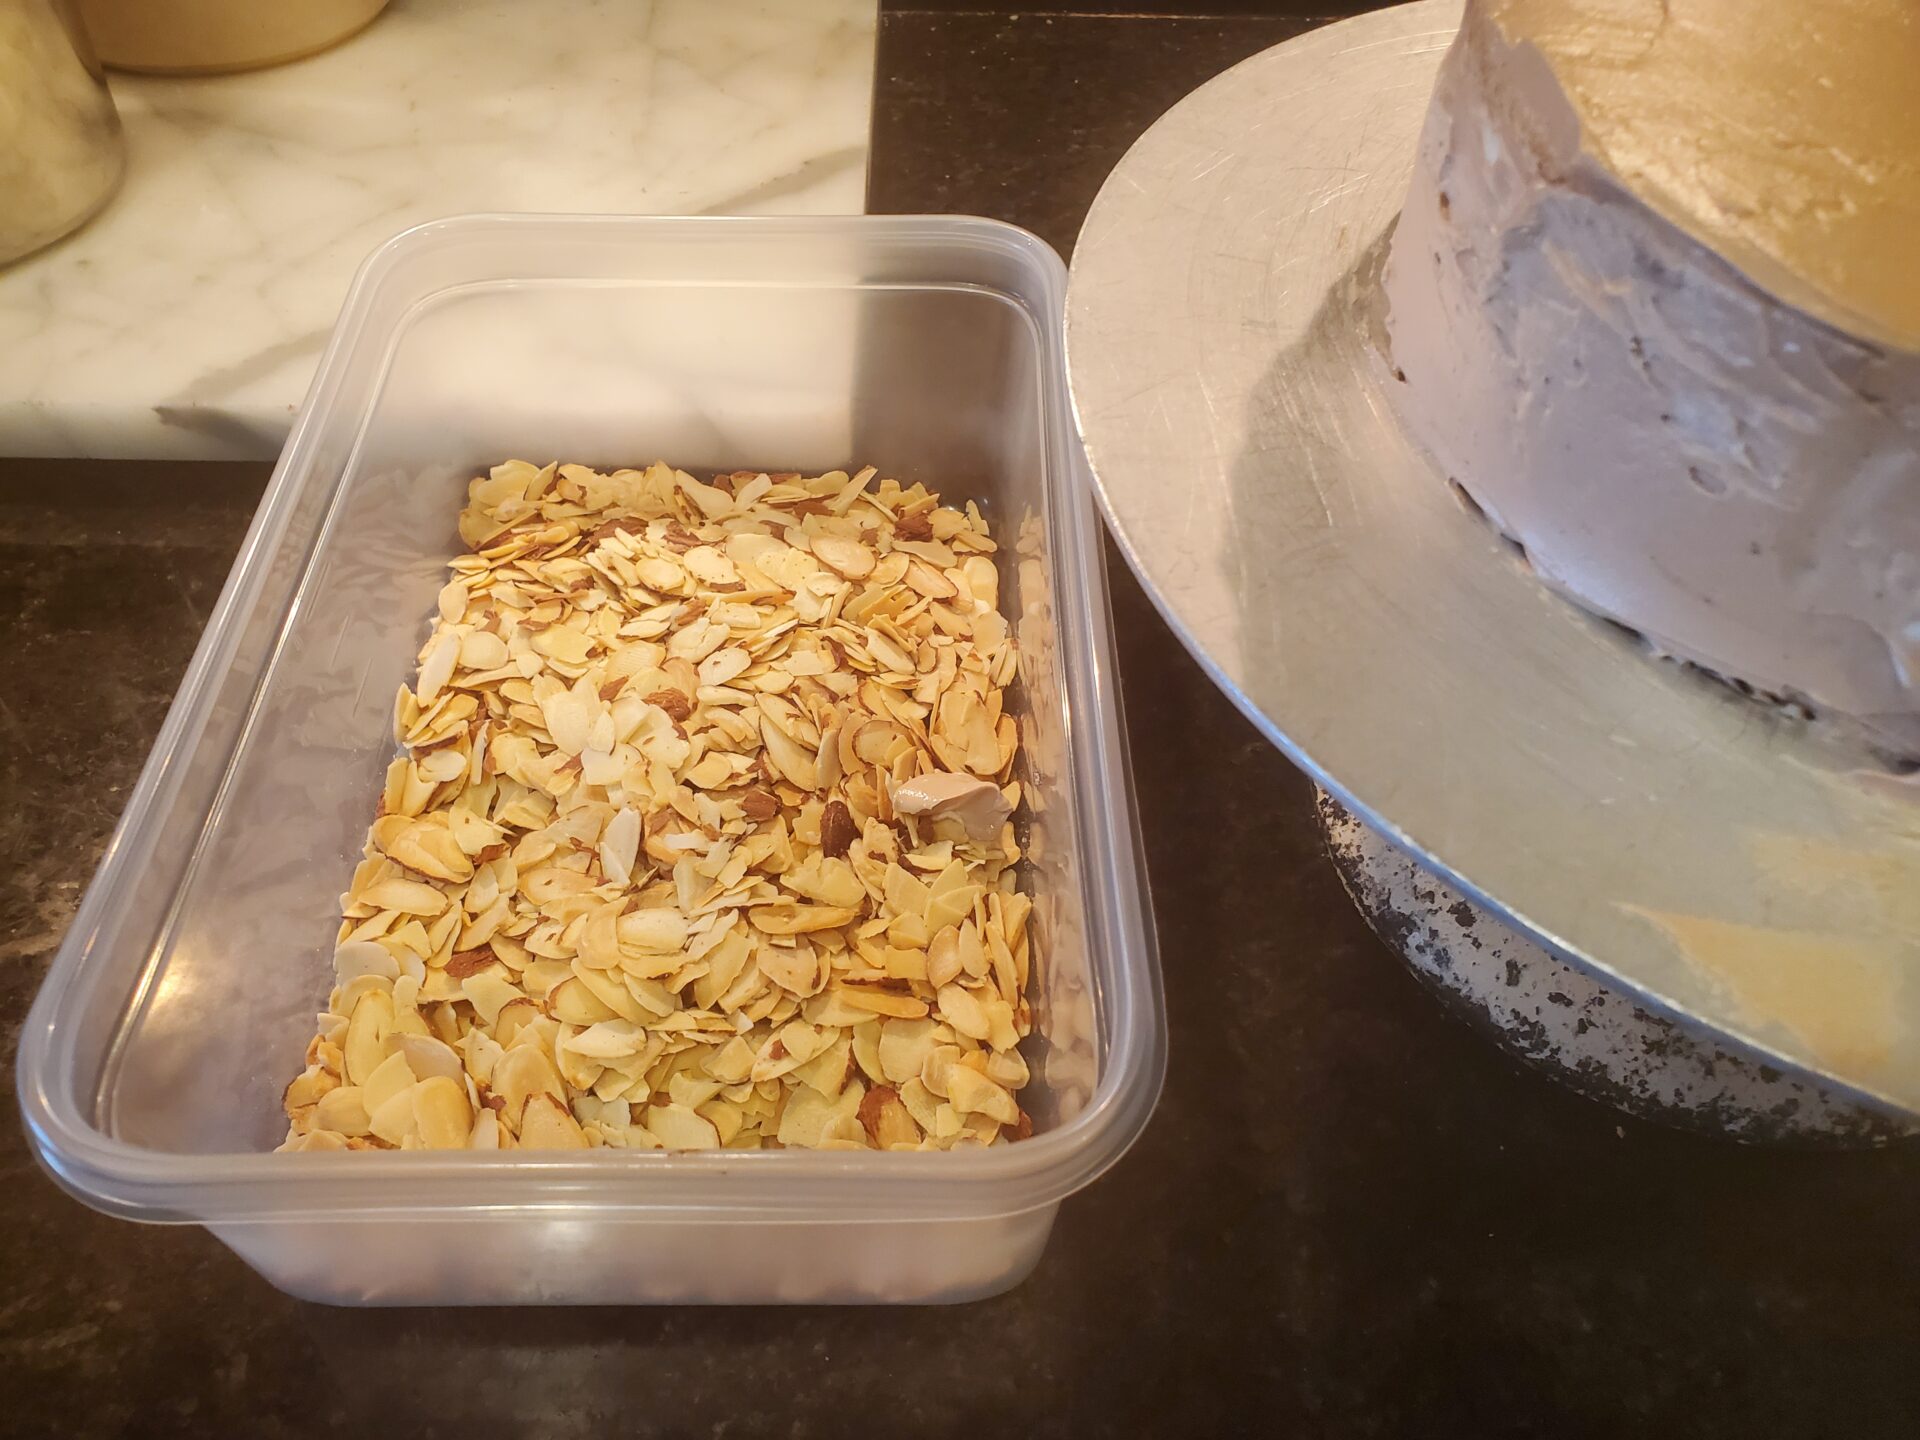
1 ¾ cup (6 oz / 170 g) natural (unblanched) sliced almonds, lightly toasted
Powdered sugar, as needed
Special equipment needed:
- Two half sheet pans, 12.5″ by 17.5″
- Parchment paper, same size as interior of sheet pans
- Handheld or countertop mixer with wire whip attachment.
- 21″ pastry bags, ½” plain (806 Ateco) pastry tube, or small offset spatula.
- 8″ by 2″ stainless steel mousse ring.
- 8″ cardboard circle
- Butane torch
Pre-recipe preparations:
- Trace two 8″ circles on one piece of parchment, and a single 8″ circle on the other. Turn over onto the two half-sheet pans so the pencil or ink is on the bottom.
- Preheat the oven to 225 °F
Directions
Baking the nut meringues: (One or two days before)
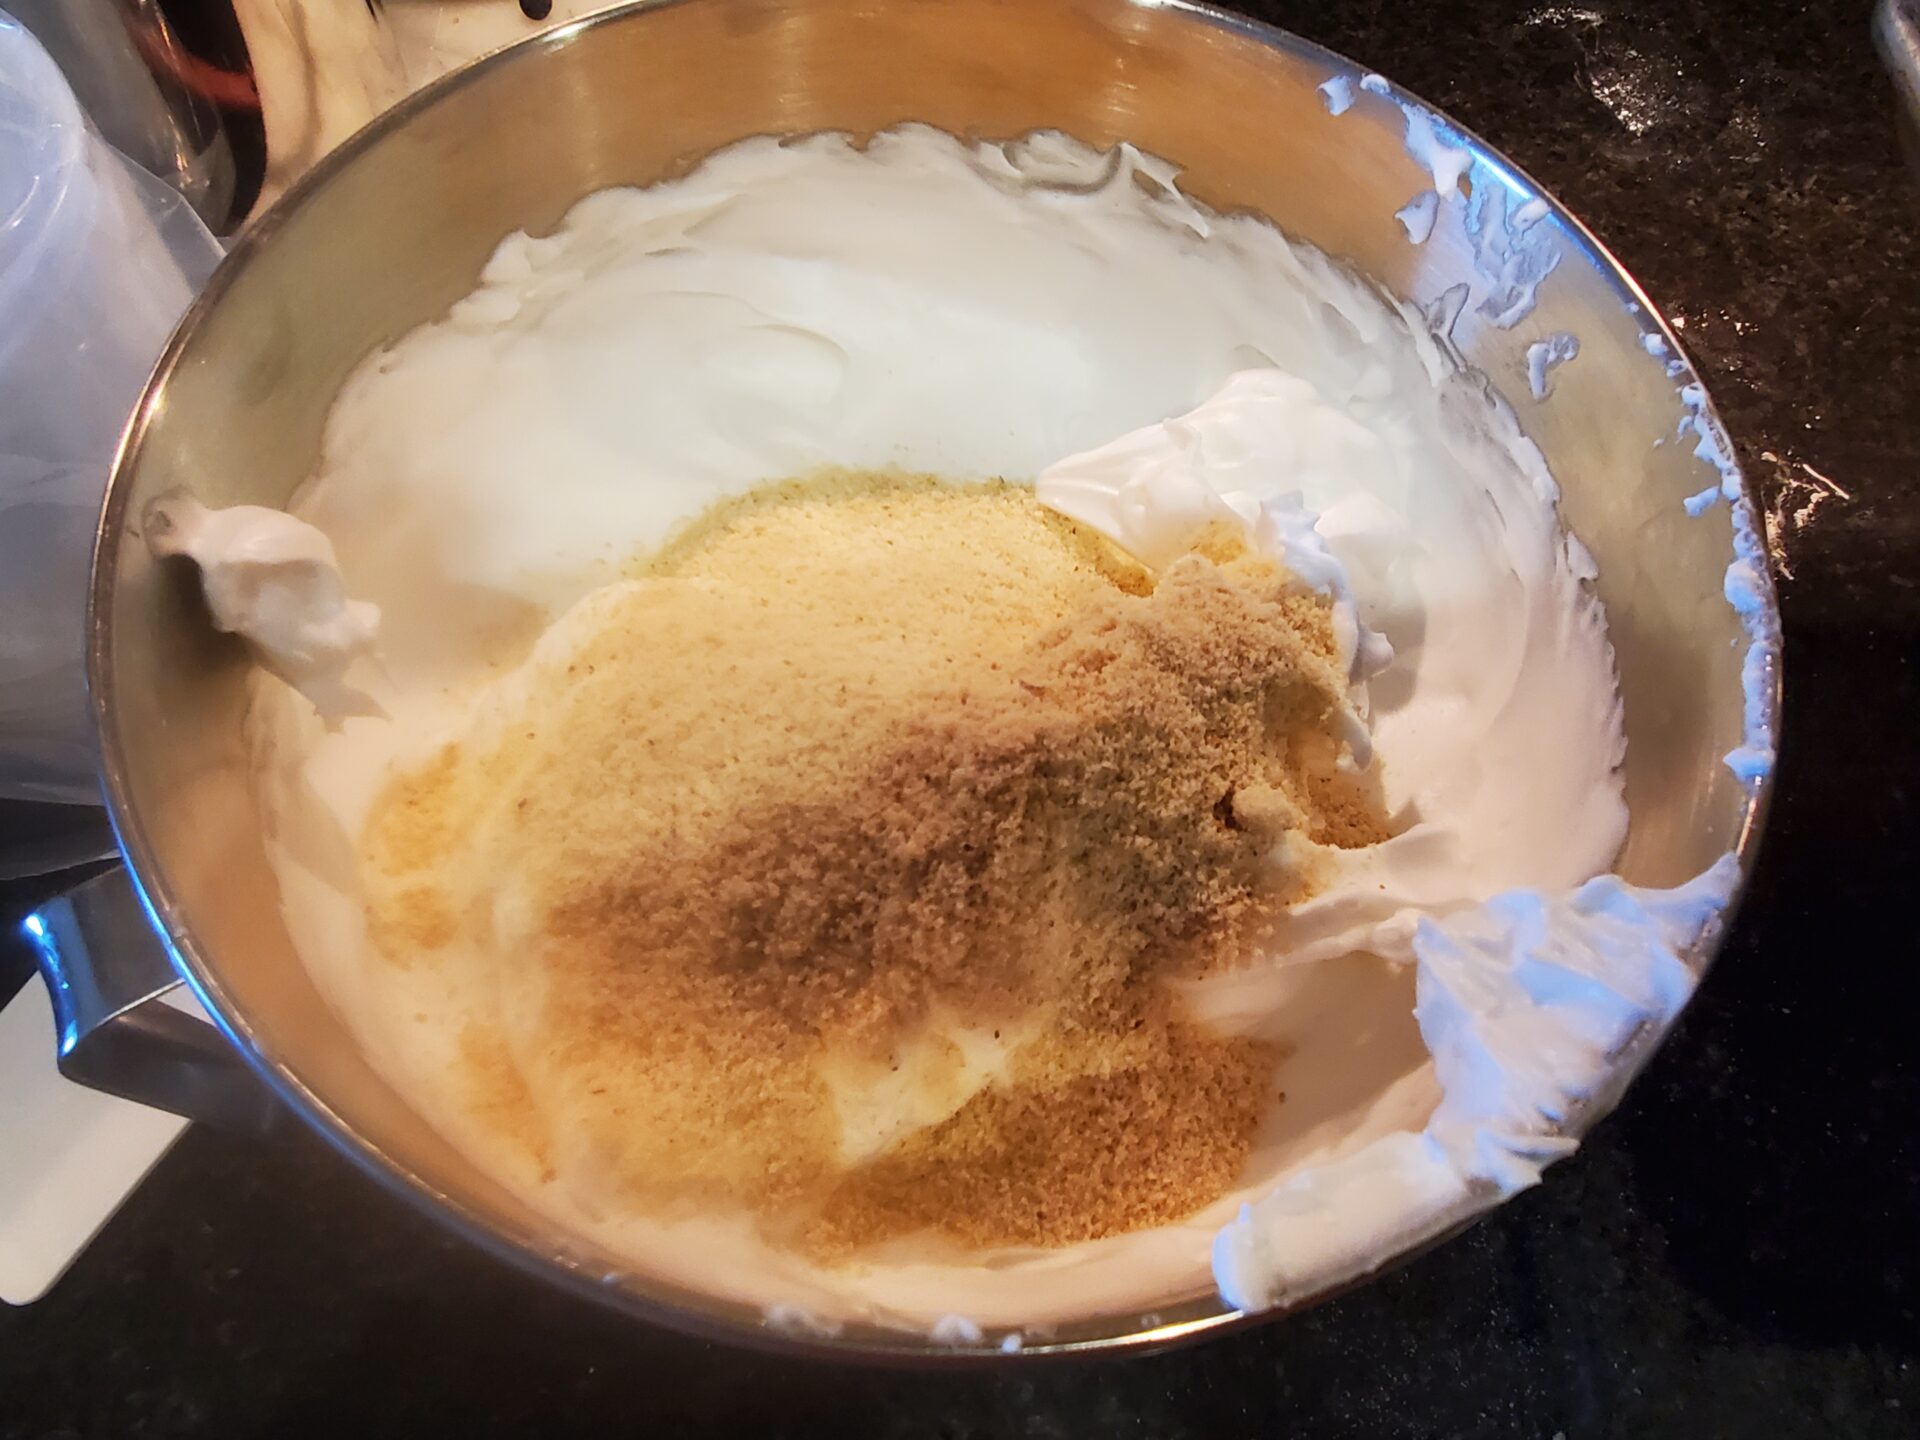
- In medium sized mixing bowl, combine the dry ingredients. Mix well and set aside
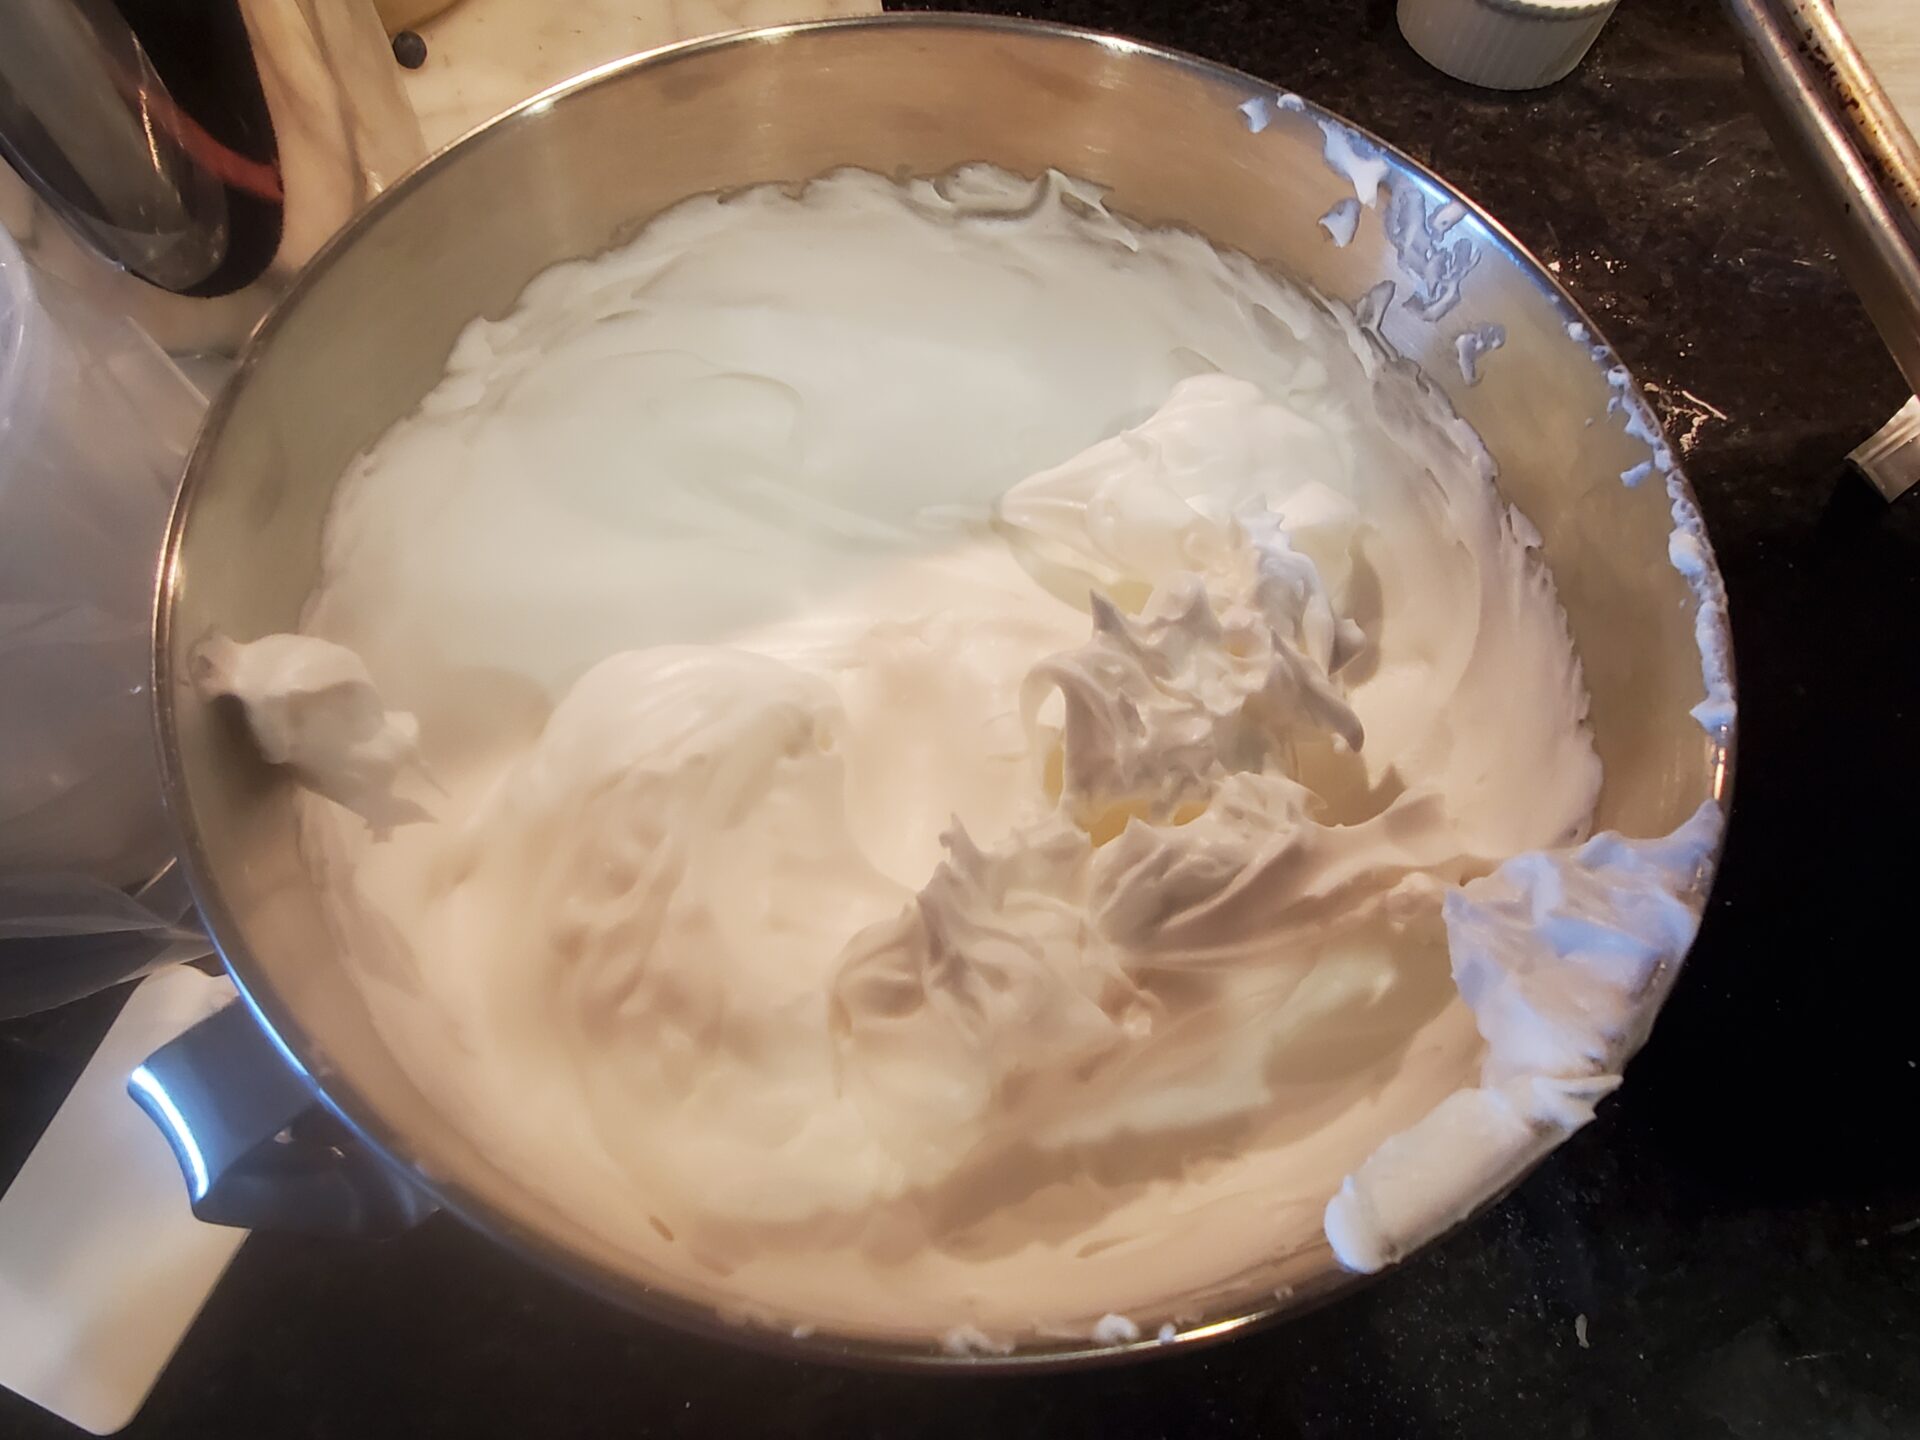
- Beat egg whites with salt and cream of tartar to soft peaks. Slowly add the sugar and beat to a medium stiff meringue
- Gently fold in the dry ingredients in three stages, mixing just enough to combine the dry with the meringue.
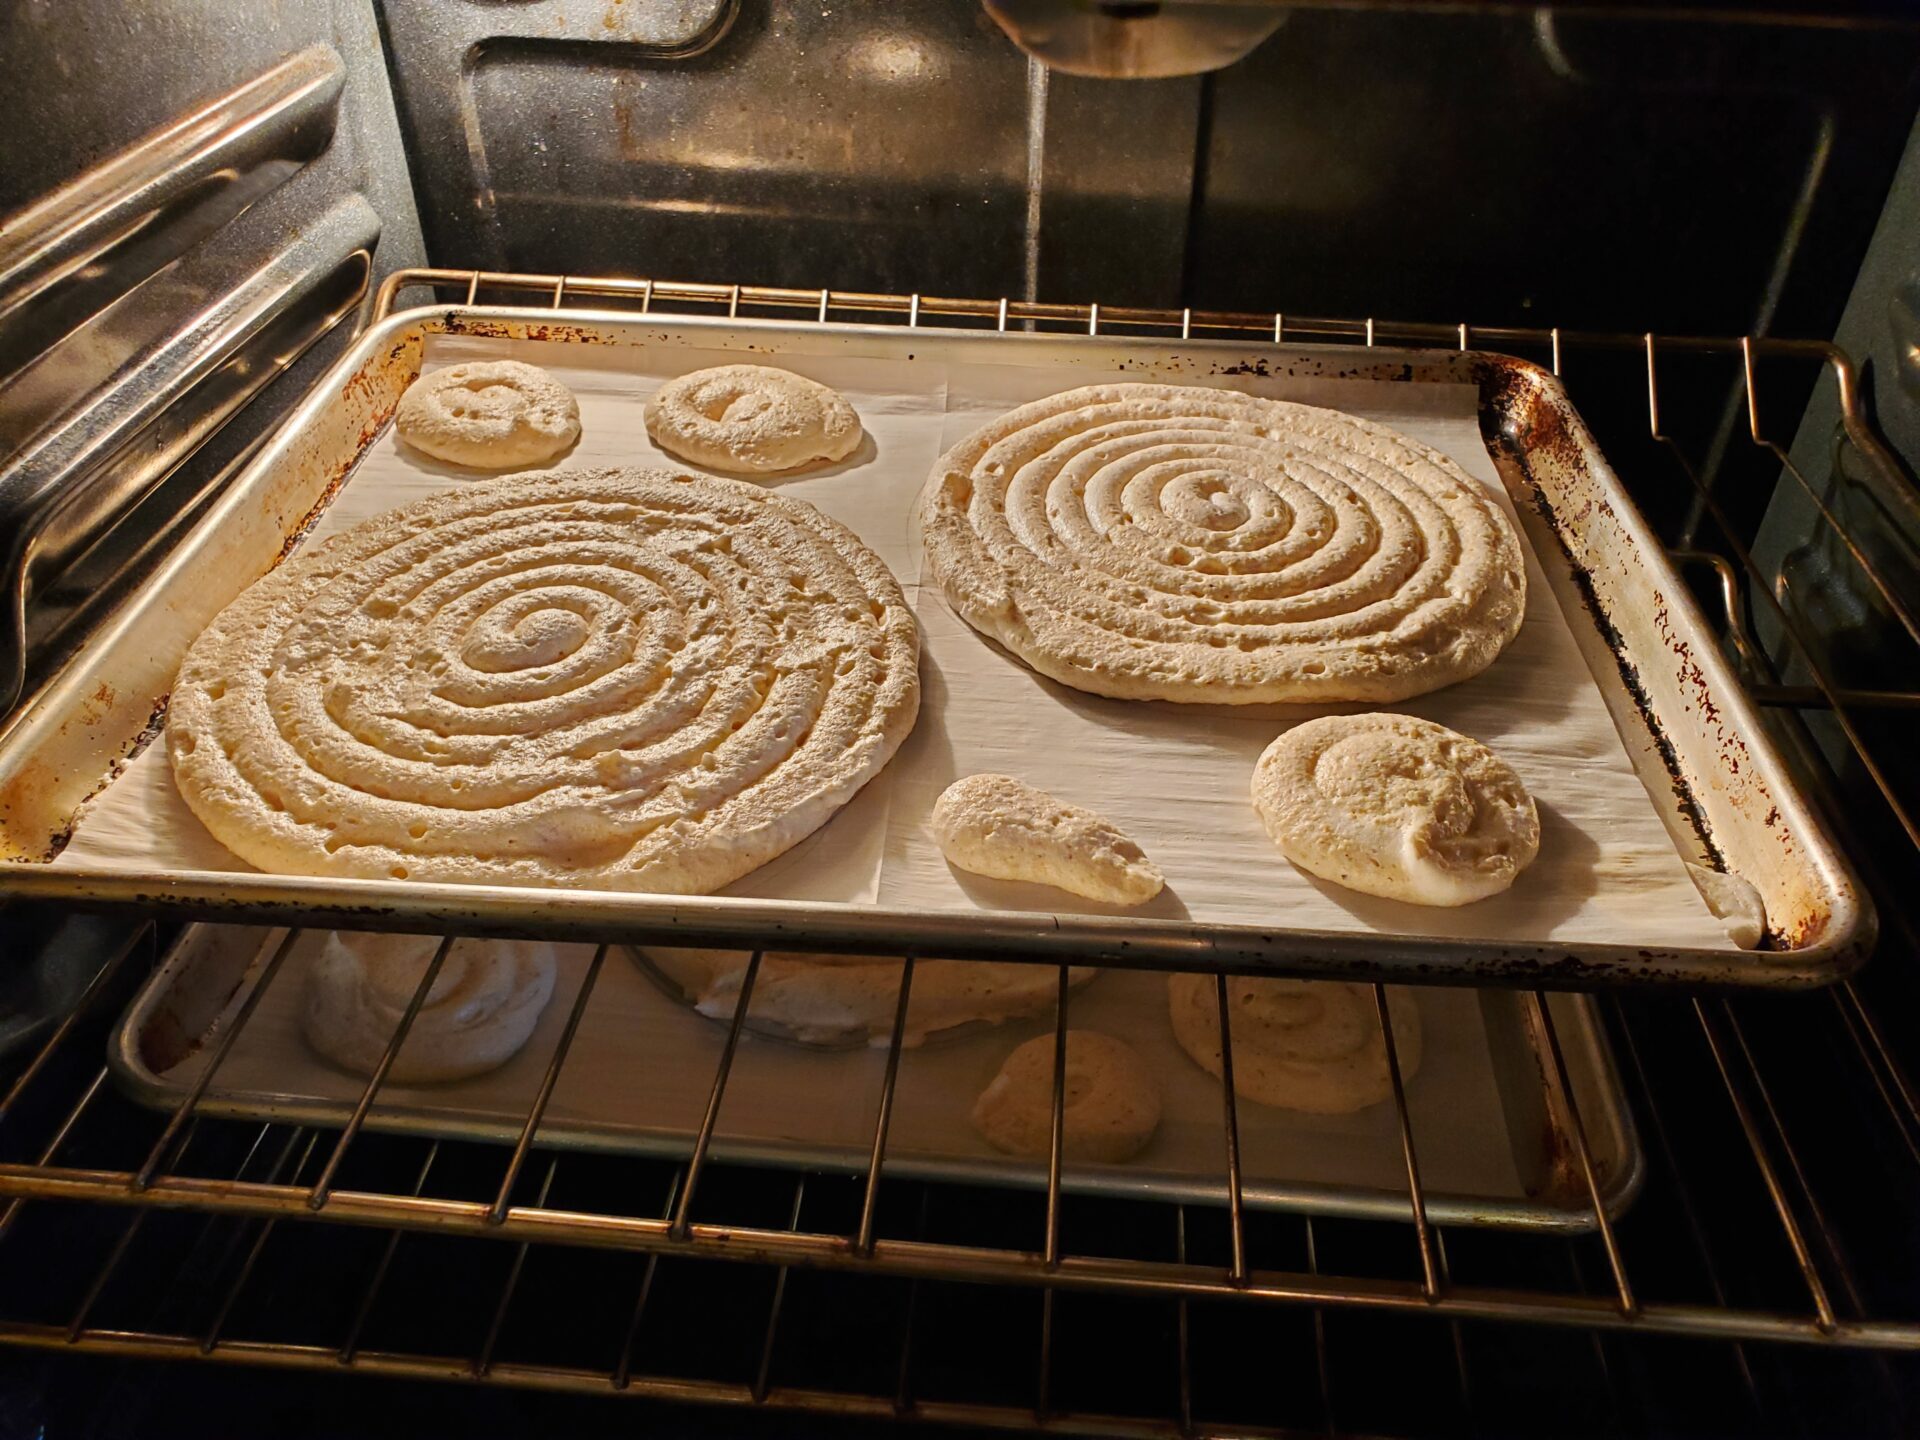
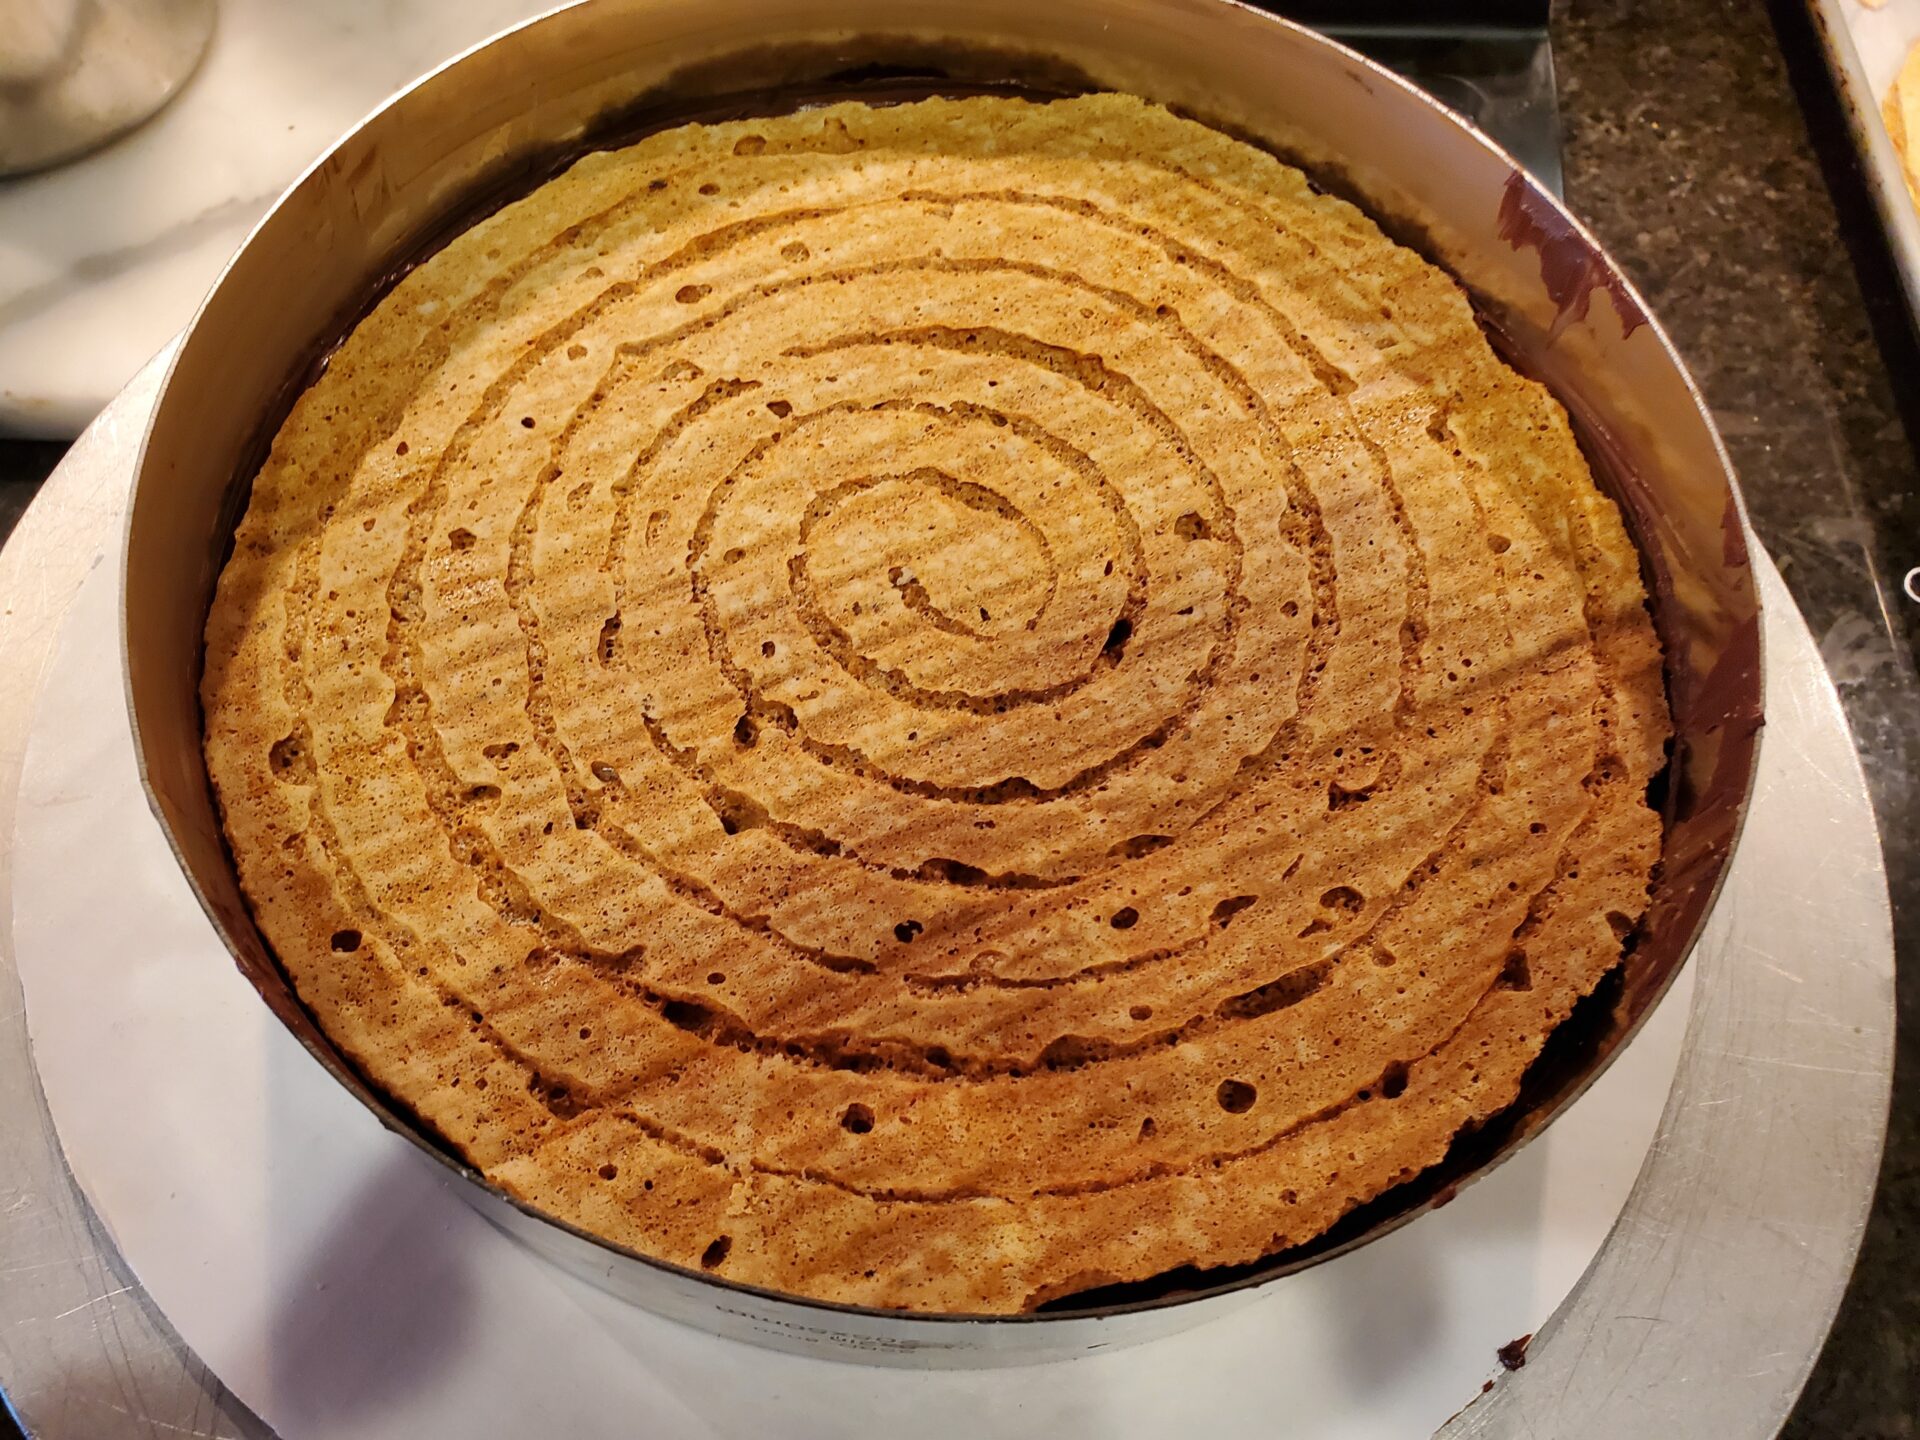
- Add batter to pastry bag and pipe out in a coil until the just inside the 8″ circle outlines2. Alternatively, spread the batter with offset spatula. It should be about ¼” thick.
- Pipe remaining batter in small circles on sheet pan. These are good for testing meringue doneness, small desserts, and good old snacking.
- Place in oven for 2 ½ hours. Turn oven off and let nut meringues sit in oven for 6 hours or overnight. Place a sticky note somewhere near the oven on switch to prevent someone from turning oven on.
- When done, the nut meringues should be crisp. If not, turn oven back on to 225 °F and bake for additional 45 minutes. Let cool in oven.
- Nut meringues may be stored by gently combining them on one pan, carefully wrapping in plastic wrap and storing in dry place in the kitchen.
Make ganache: (day before)
- In 1 to 1 ½ qt sauce pan, bring heavy cream just to the simmer.
- Remove from heat, add the chocolate all at once. Cover for 5 minutes.
- Stir with a whisk until smooth and all chocolate is melted.
- Strain into clean container, press a piece of plastic films against it, and poke a few holes with a sharp paring knife. Let sit at room temperature overnight. Note: In warm weather, this ganache will be fairly soft at room temperature. It will firm up when the cake is assembled and refrigerated.
Finishing:
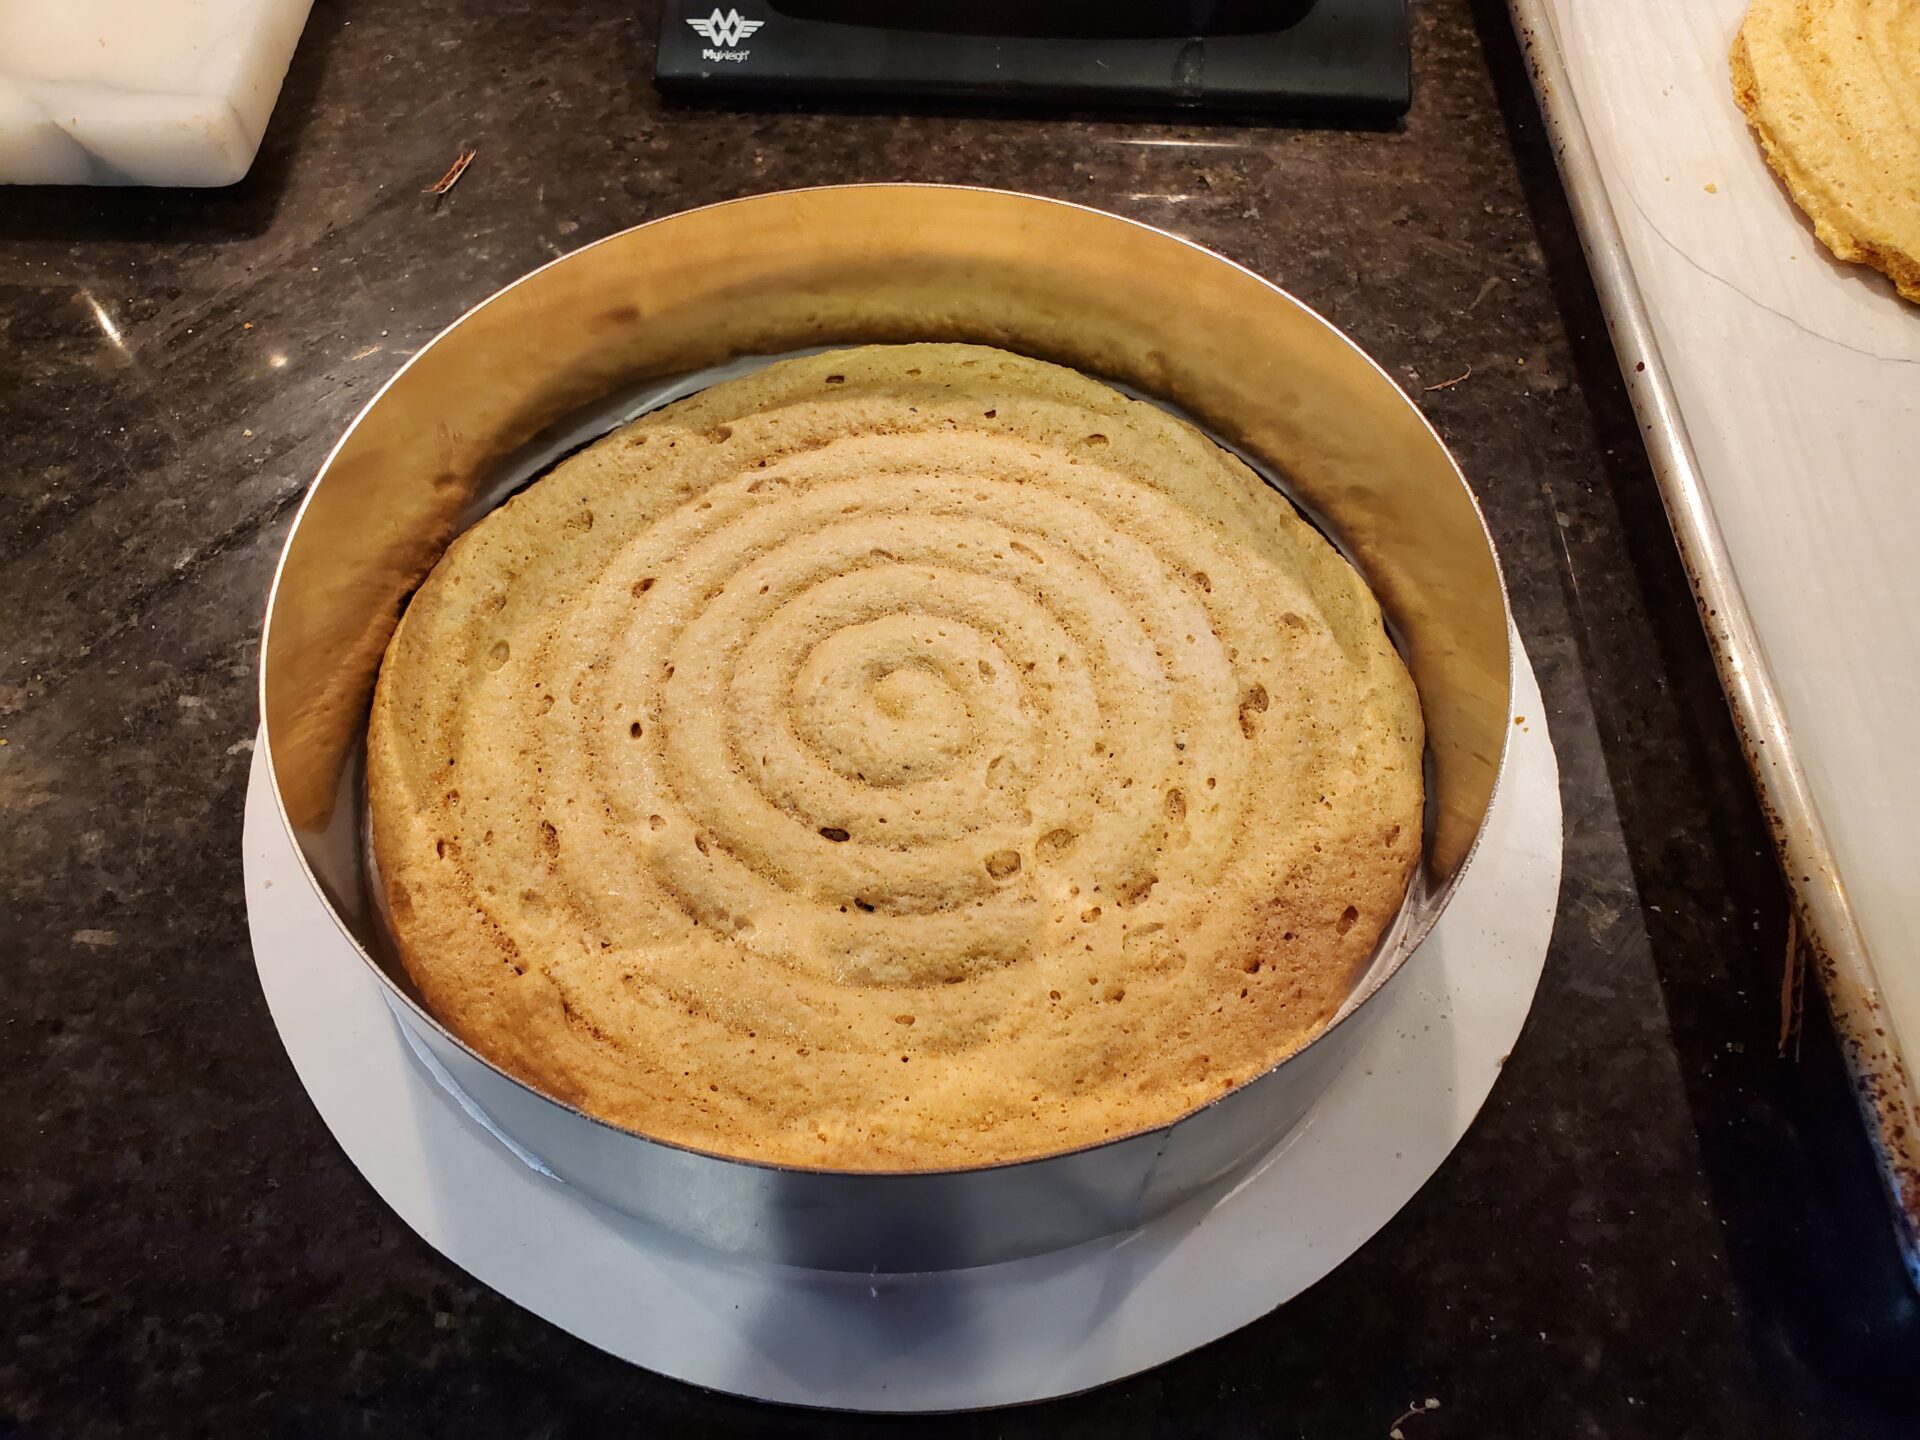
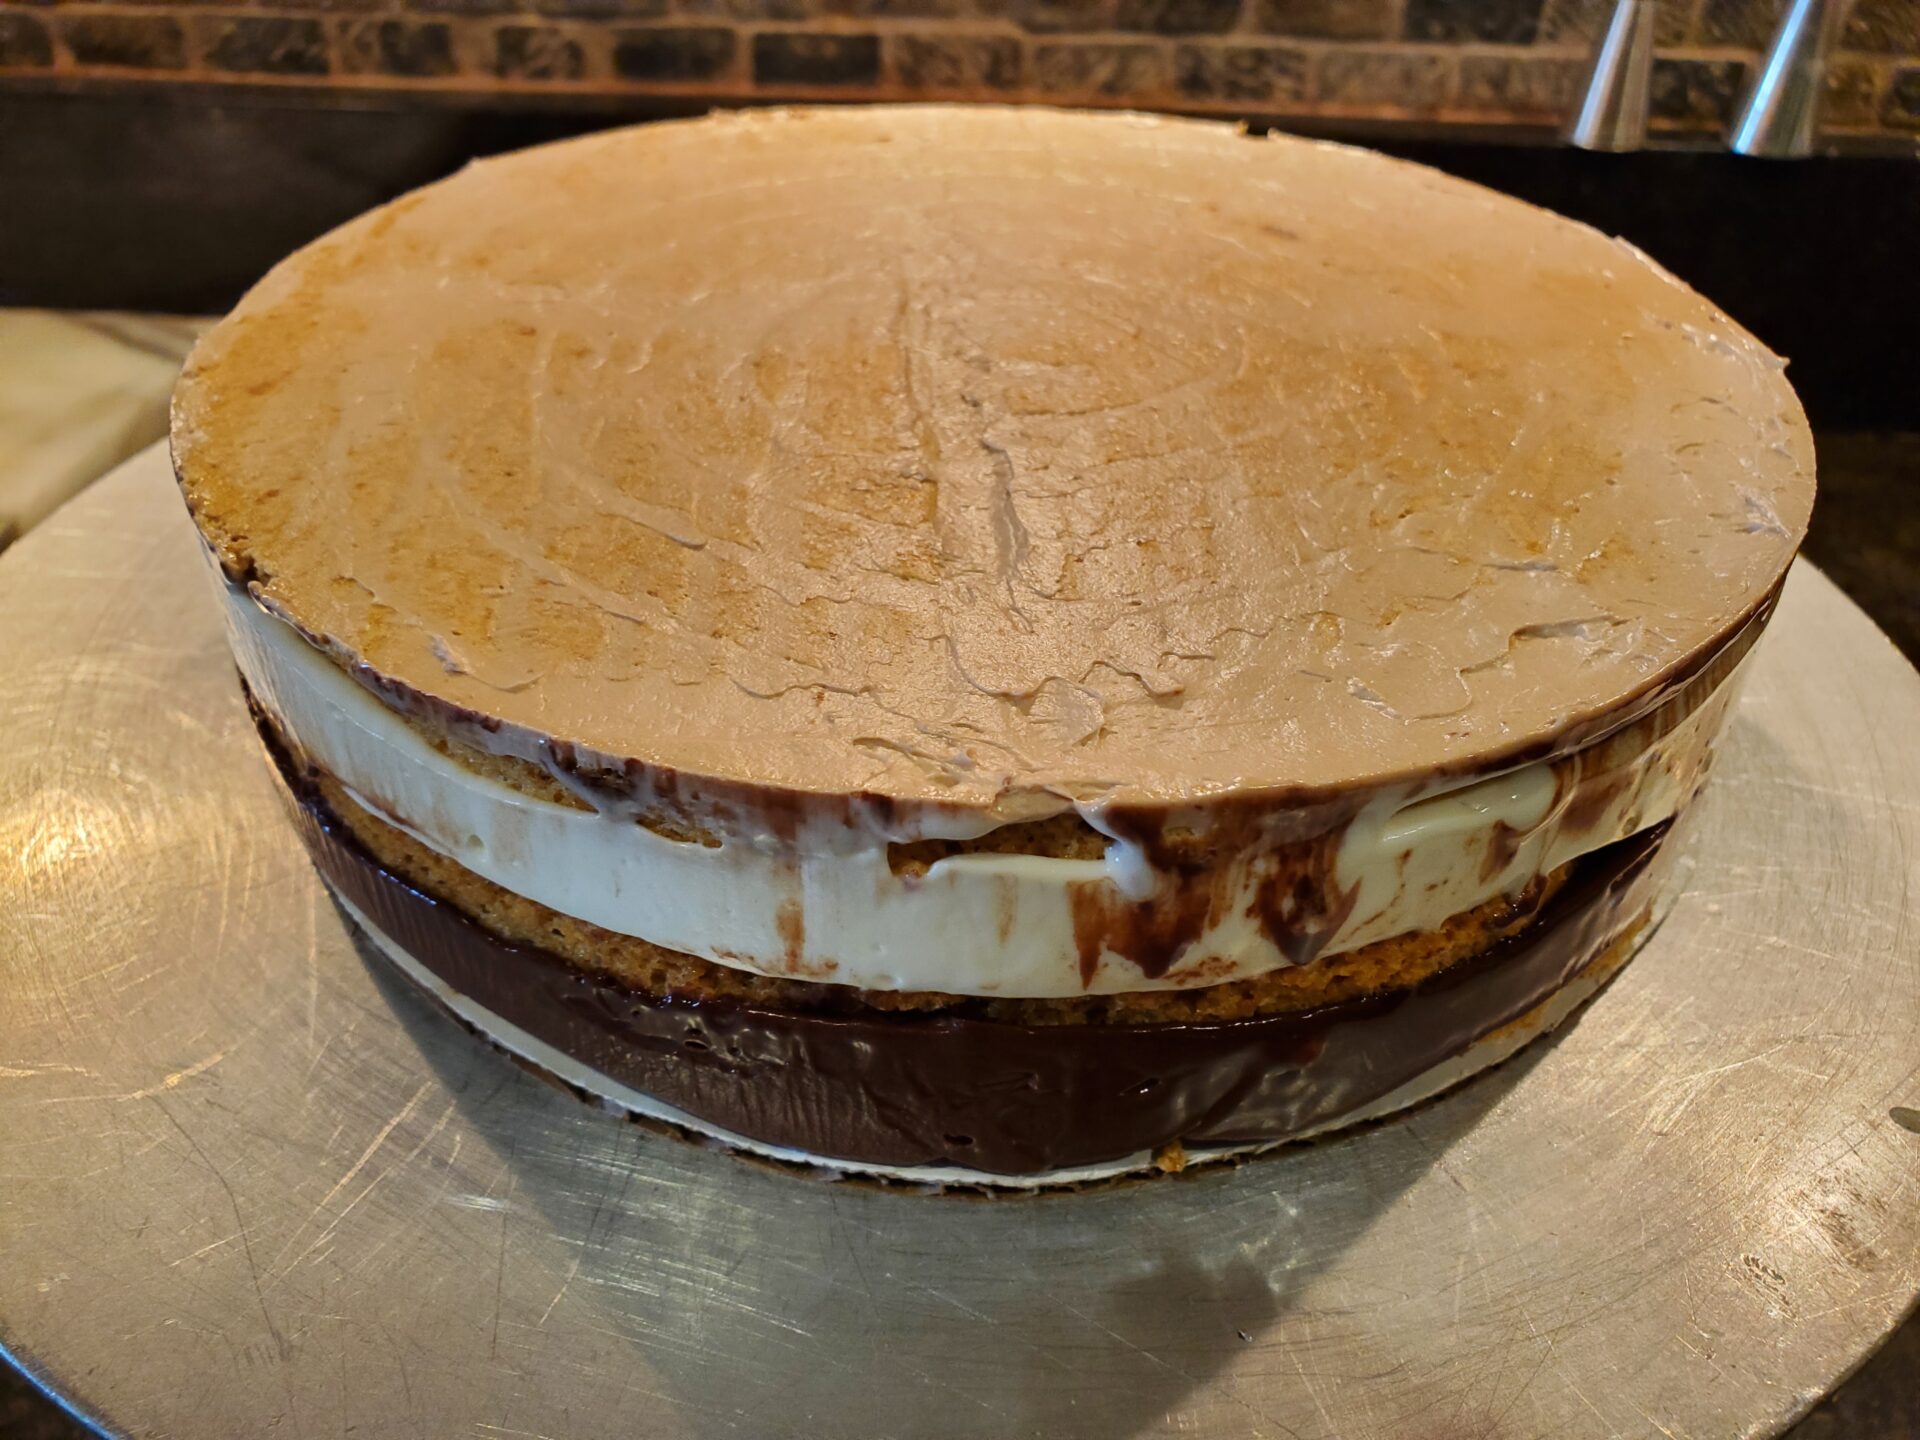
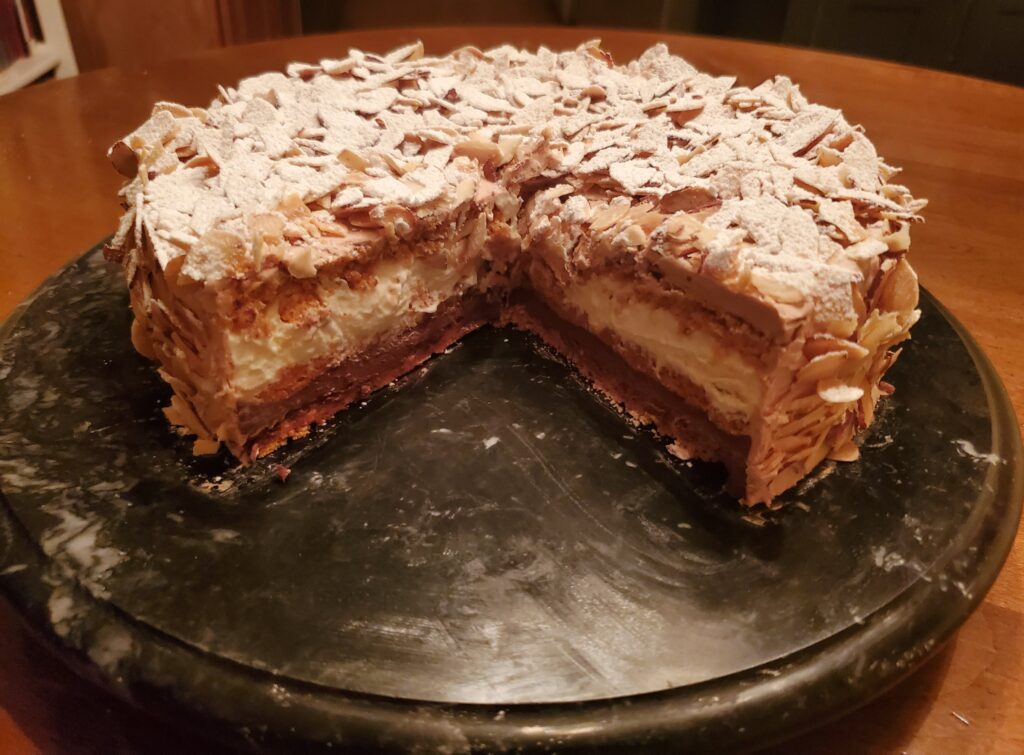
- Use the 8″ cardboard circle as a guide to trim the meringues to fit in the rings.
- Place the cake ring on top of an 8″ cardboard circle. Place the bottom nut meringue circle inside and on the bottom of the cake ring.
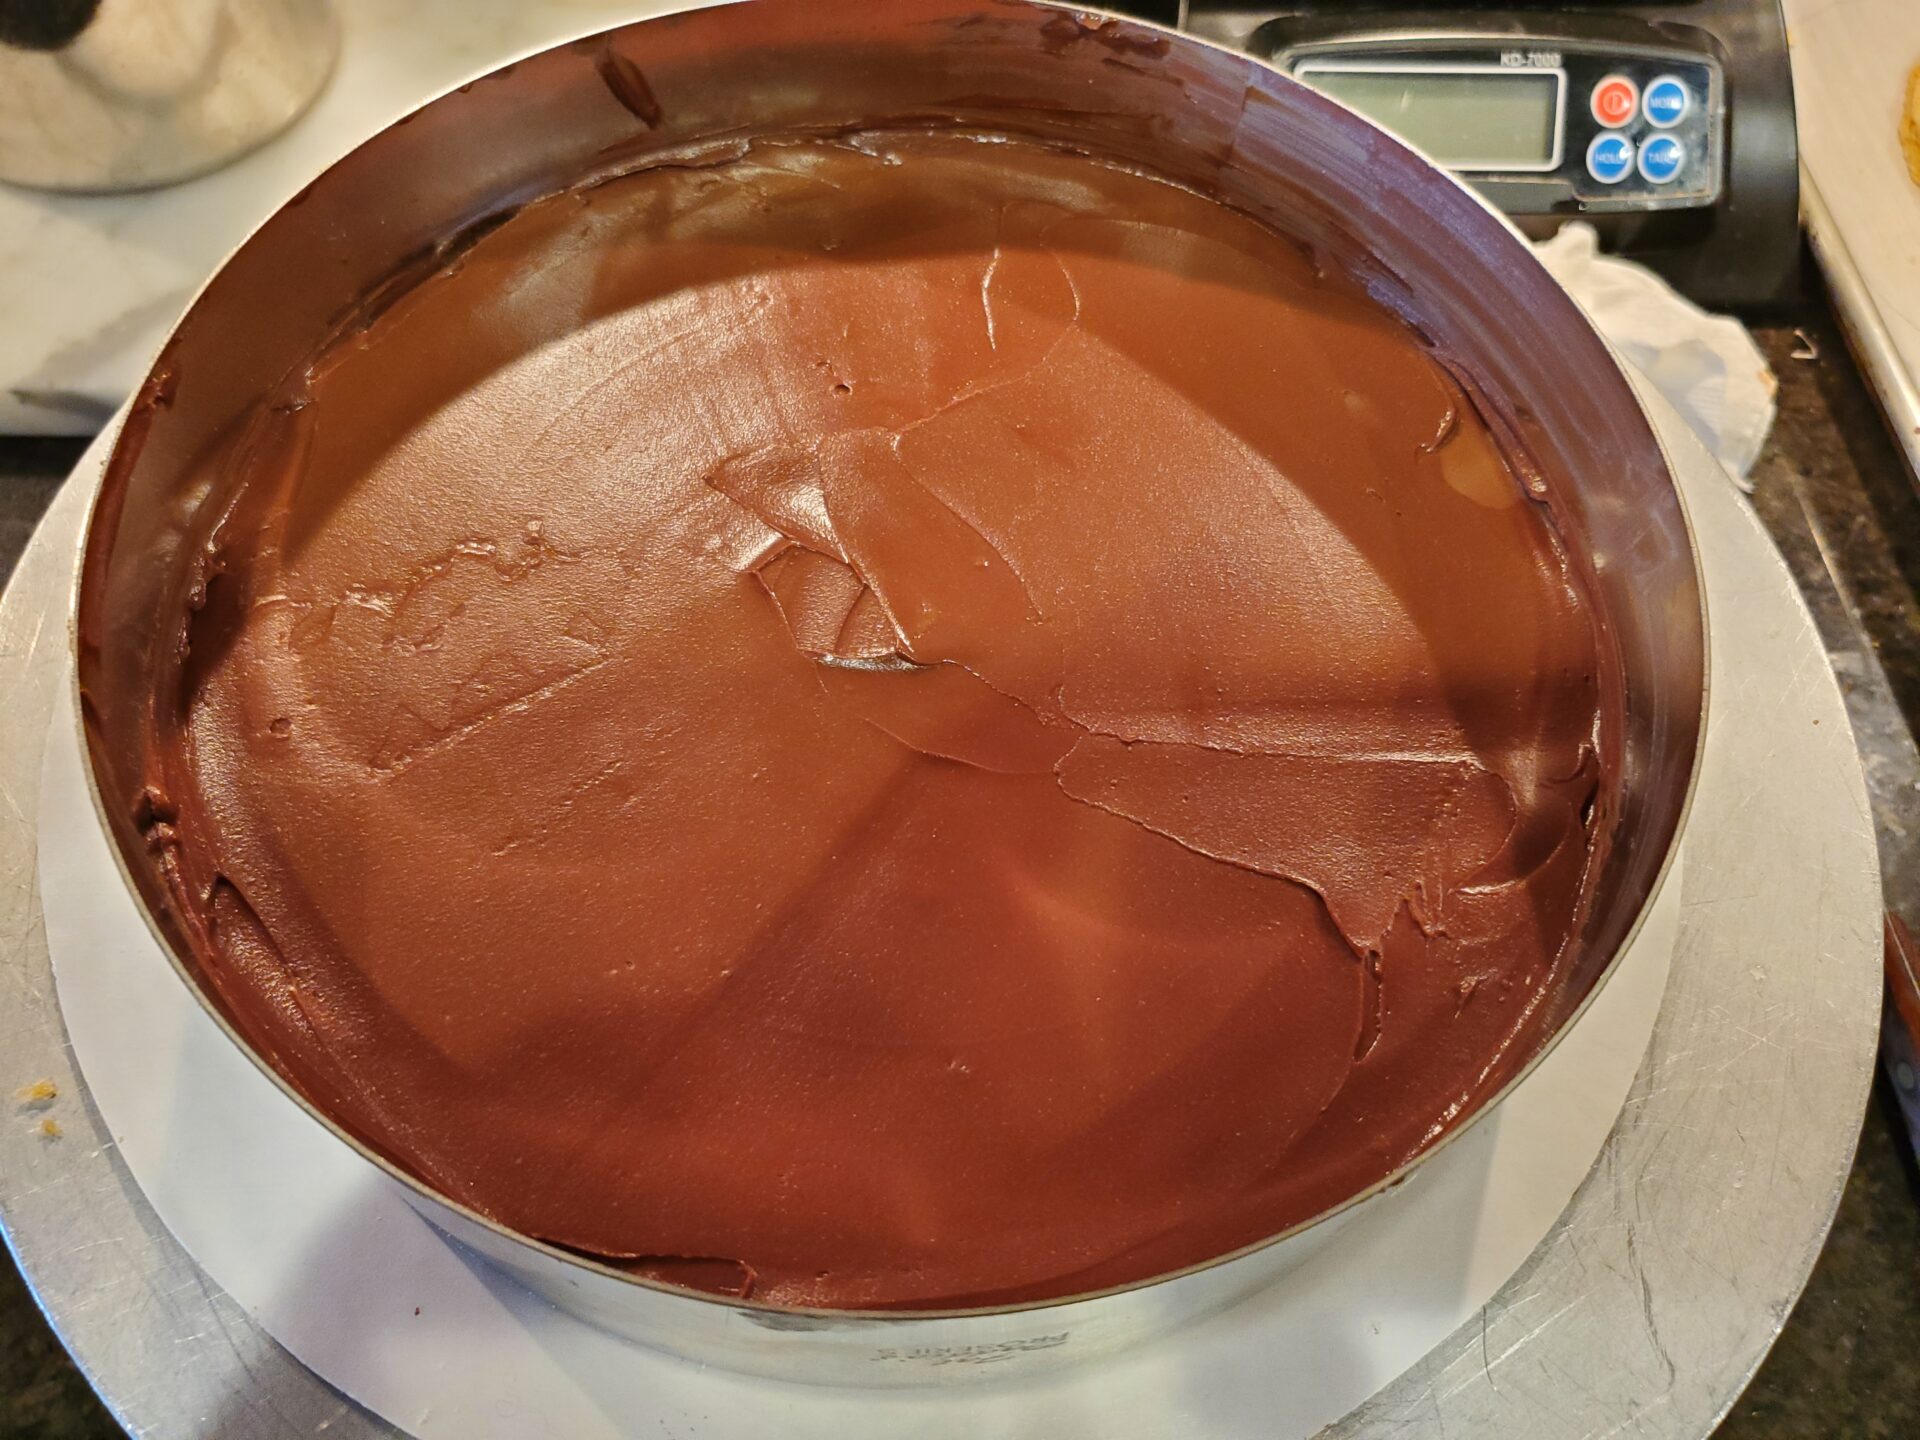
- Pipe or spread ganache over the nut meringue all the way to the edges. It should be about ¼ ” thick.
- Place second nut meringue layer over the ganache, rough (top) side down.
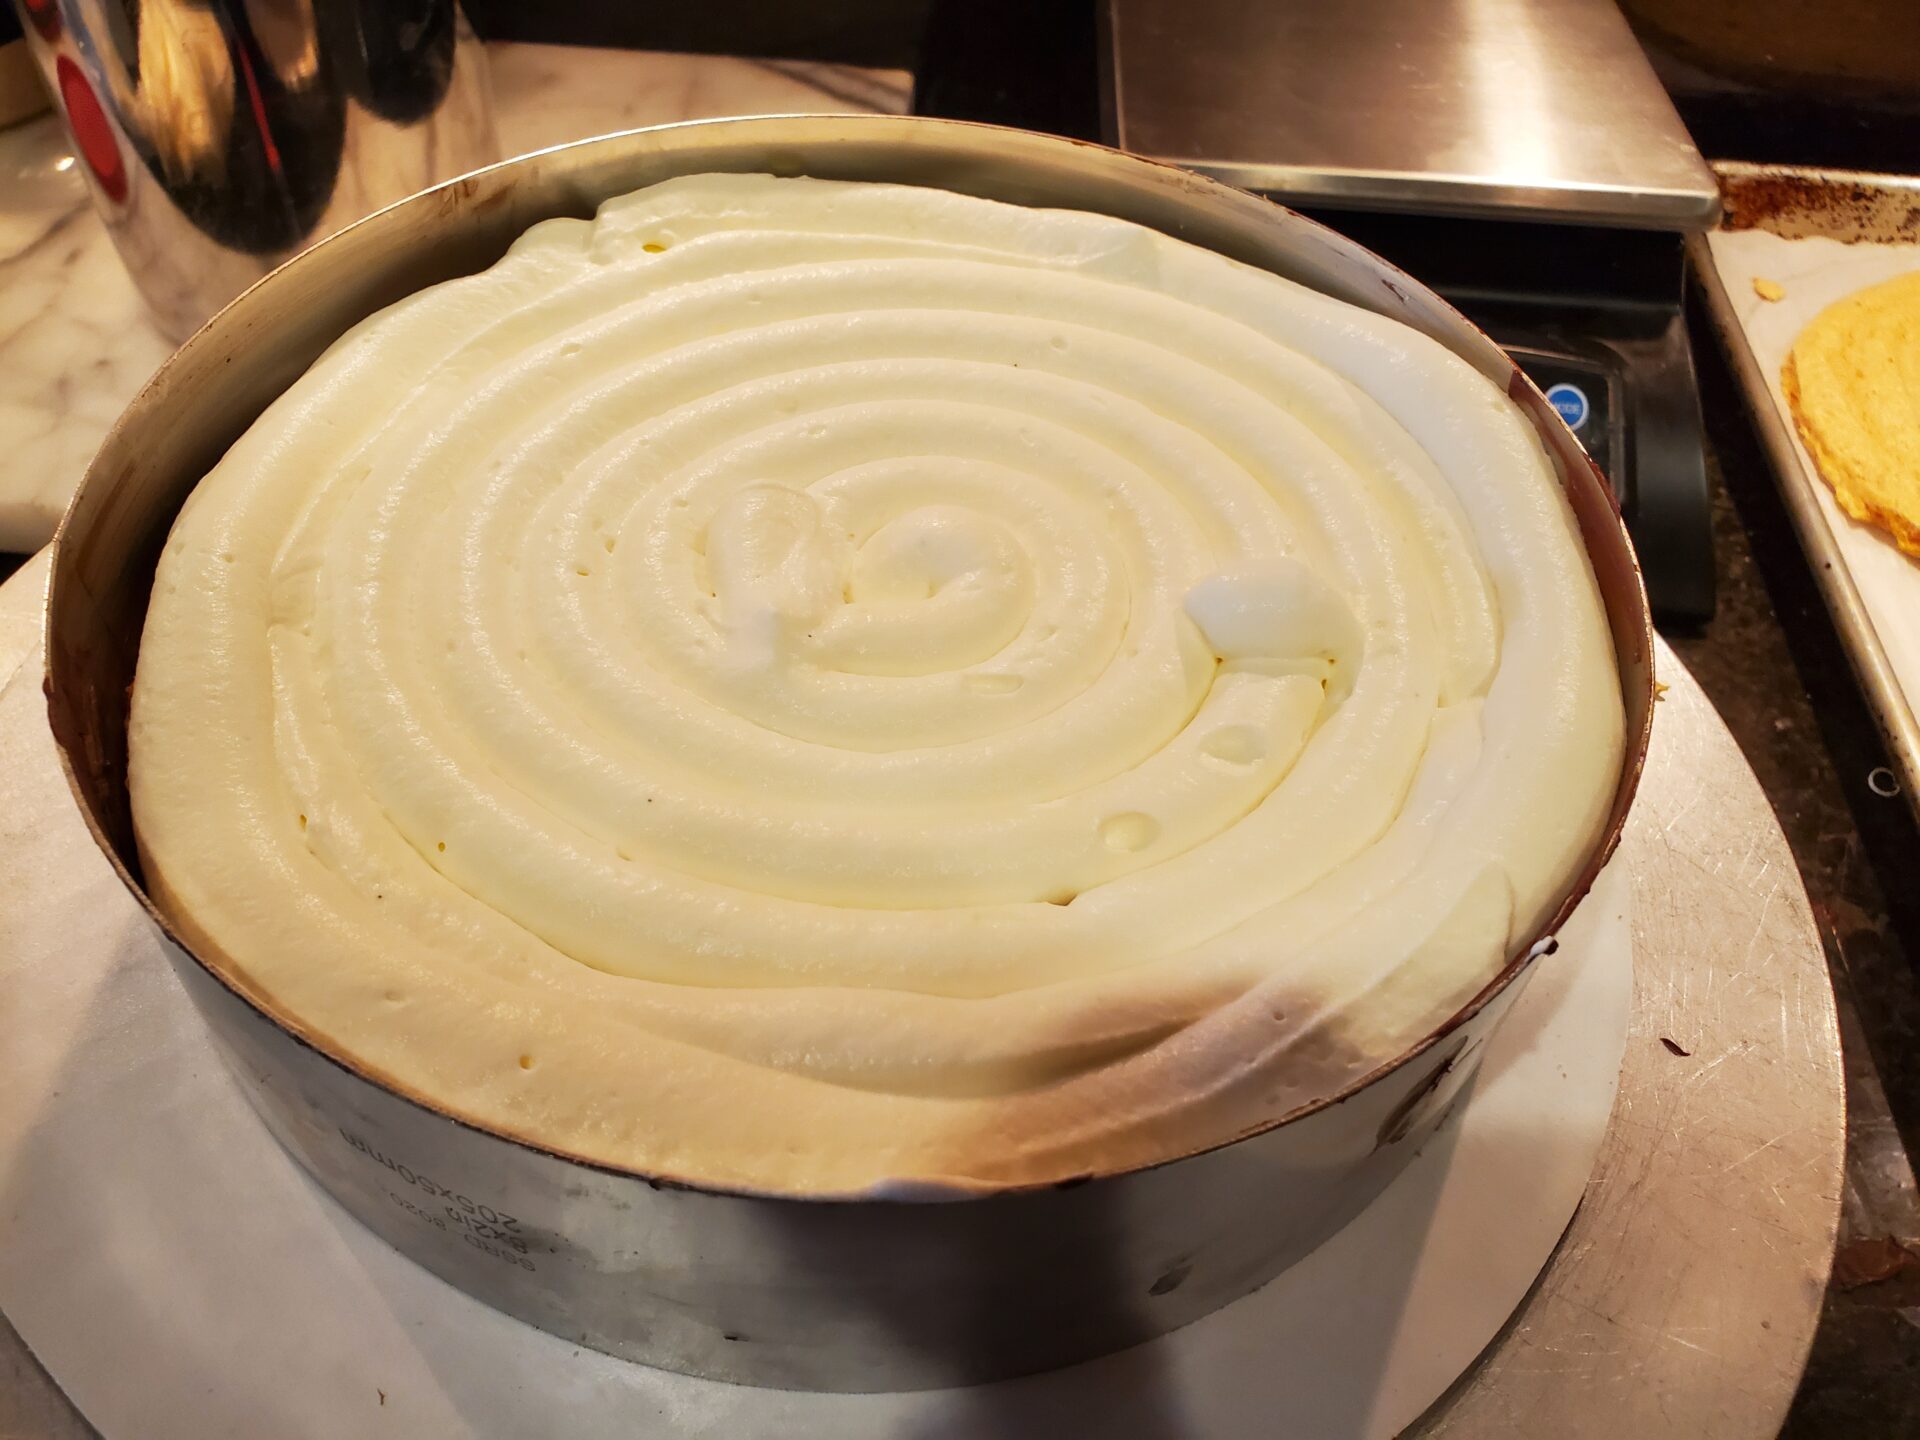
- In a chilled machine or mixing bowl, whip the heavy cream, crème fraiche and sugar until firm.
- Pipe ( ½” plain tip) or spread the whipped cream over the second nut meringue layer, all the way to the edge of the ring. It should be slightly thicker than the ganache layer.
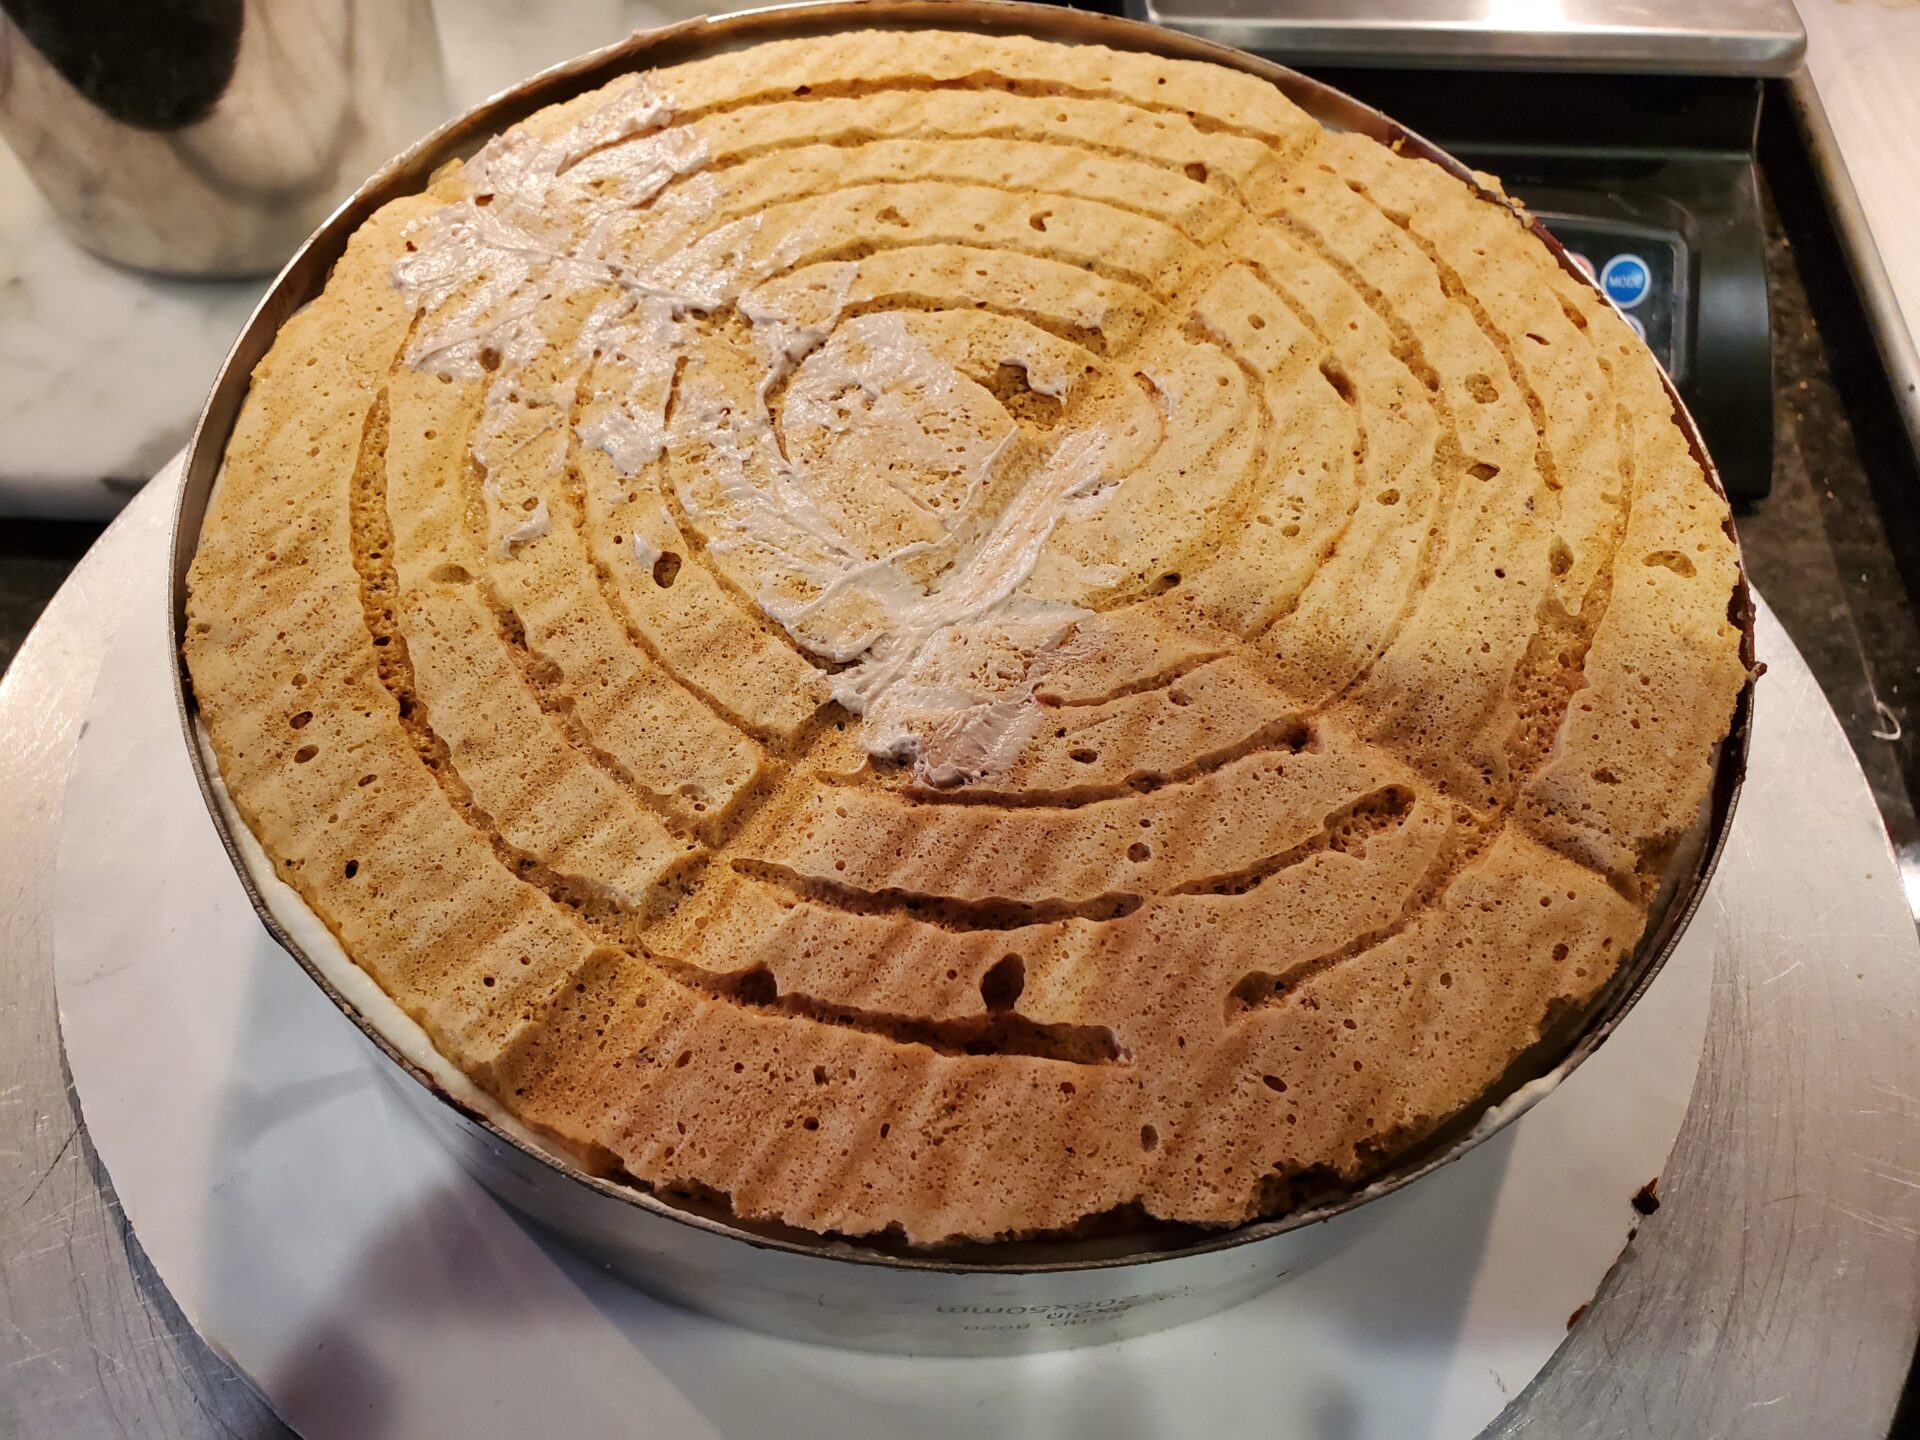
- Place the last meringue layer over the cream, rough (top) side down, and press gently. The top meringue should be level with the cake ring. Place in refrigerator to set for 2 hours.
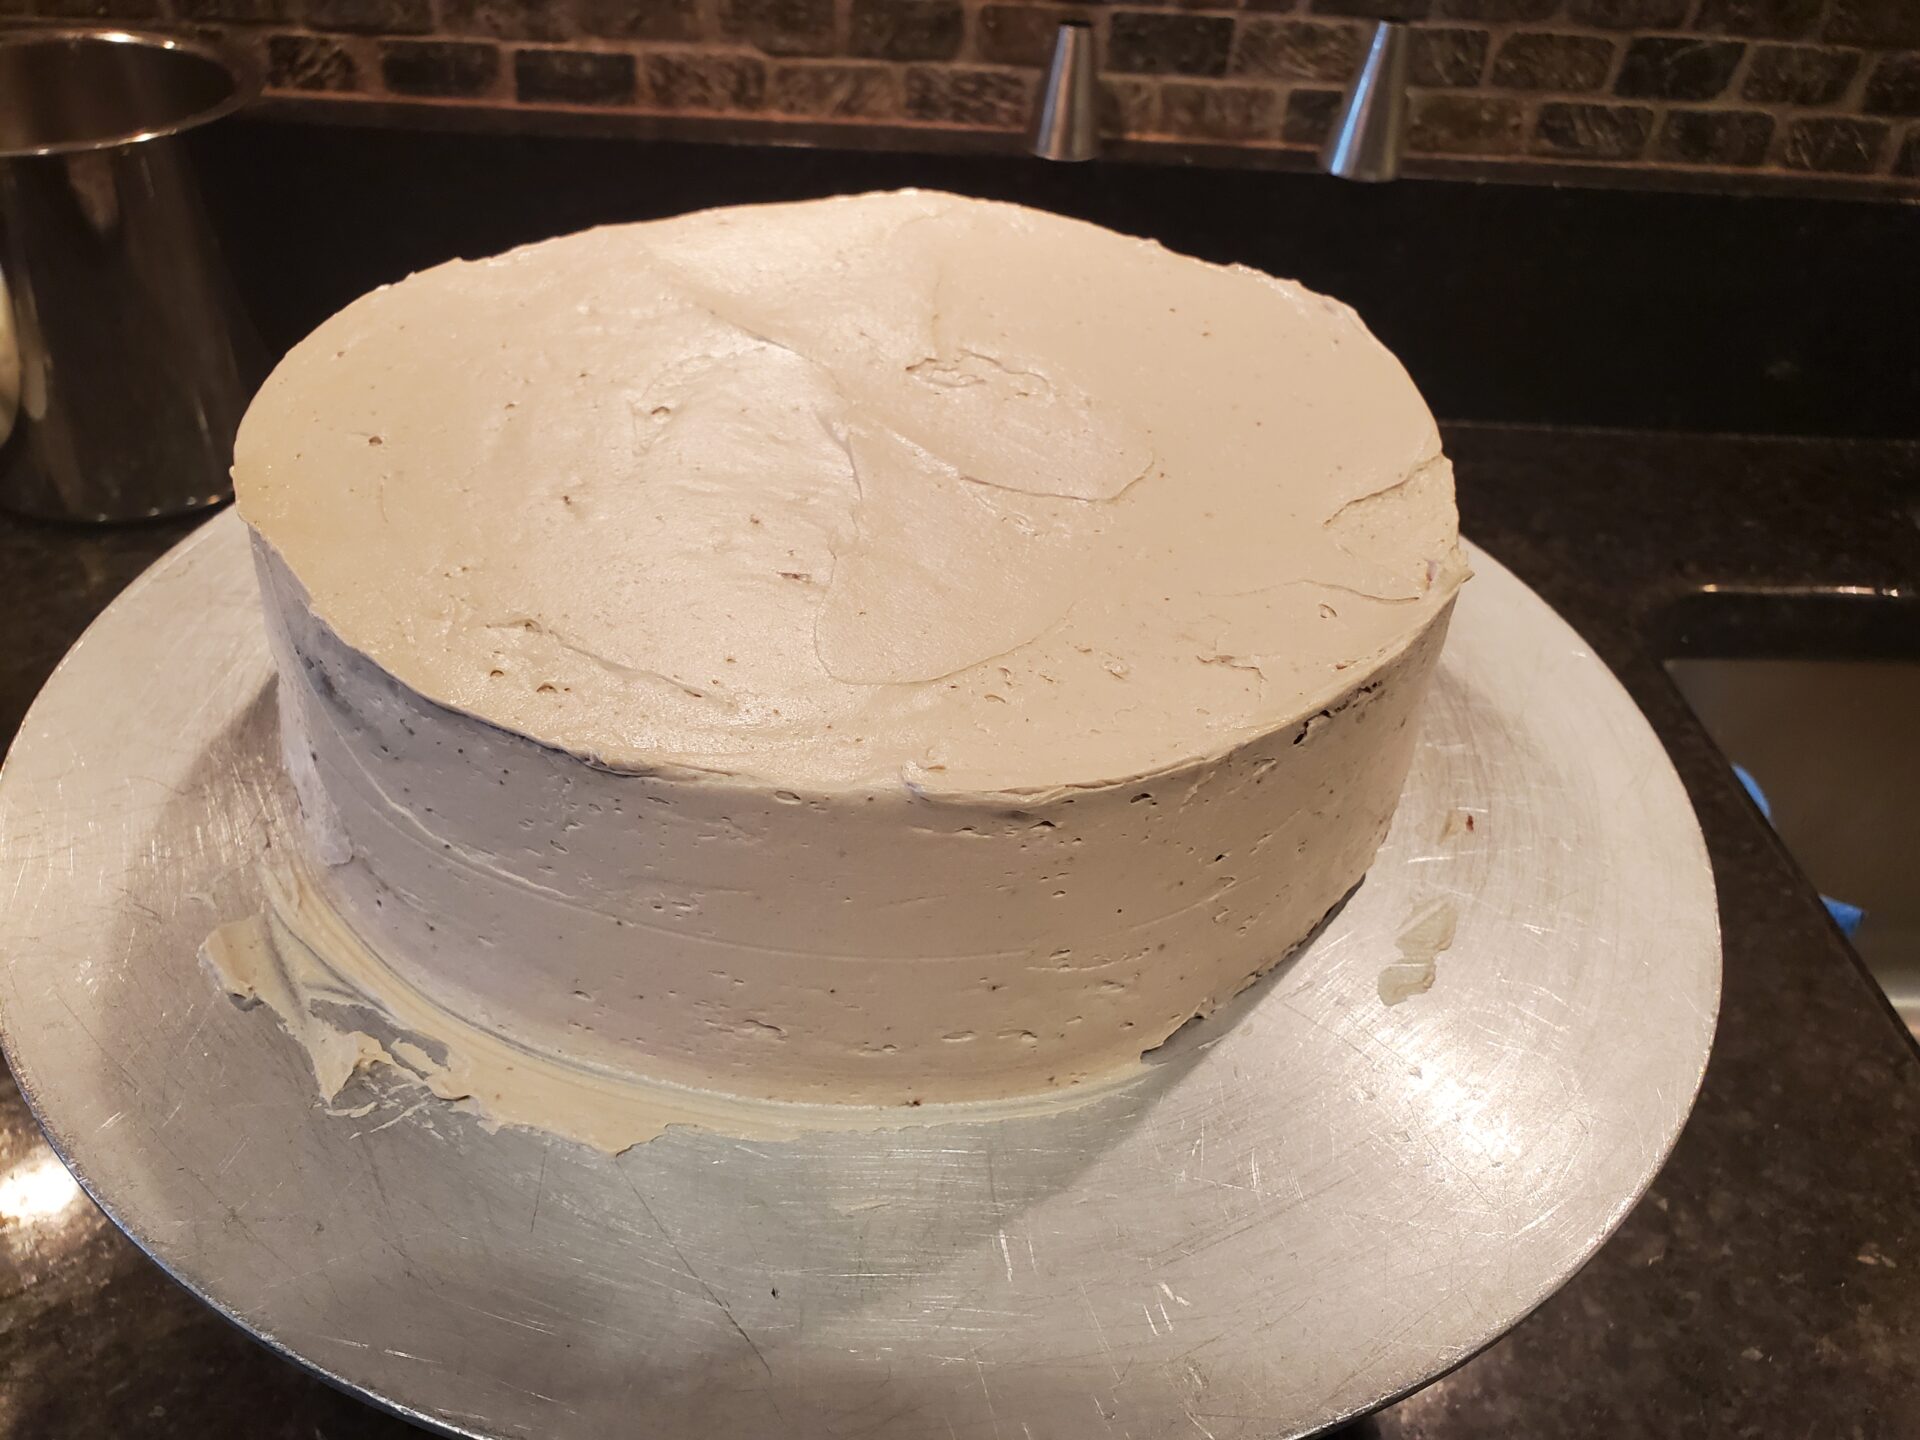
- Make and flavor two cups of Swiss Meringue Buttercream with either hazelnut paste or Nutella. Set aside.
- Remove cake from refrigerator and briefly torch the outside of the ring, and slide the ring off the cake.
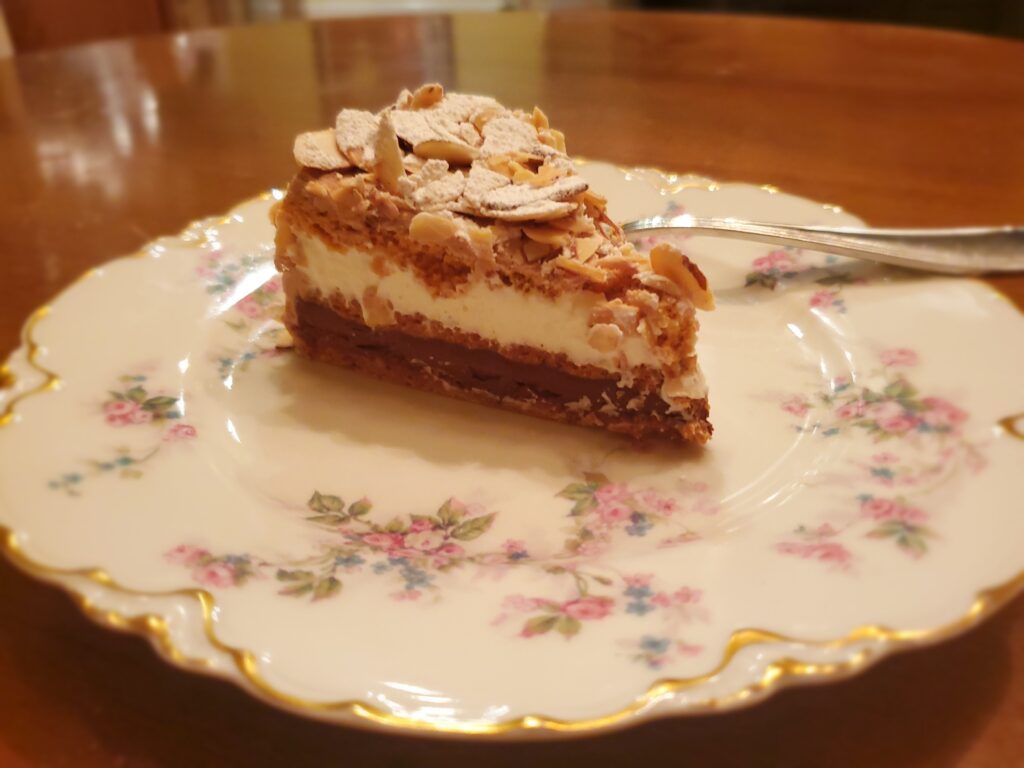
- Spread a thin layer of buttercream around the sides and top of the Dacquoise, don’t concern yourself with smooth and perfect look.
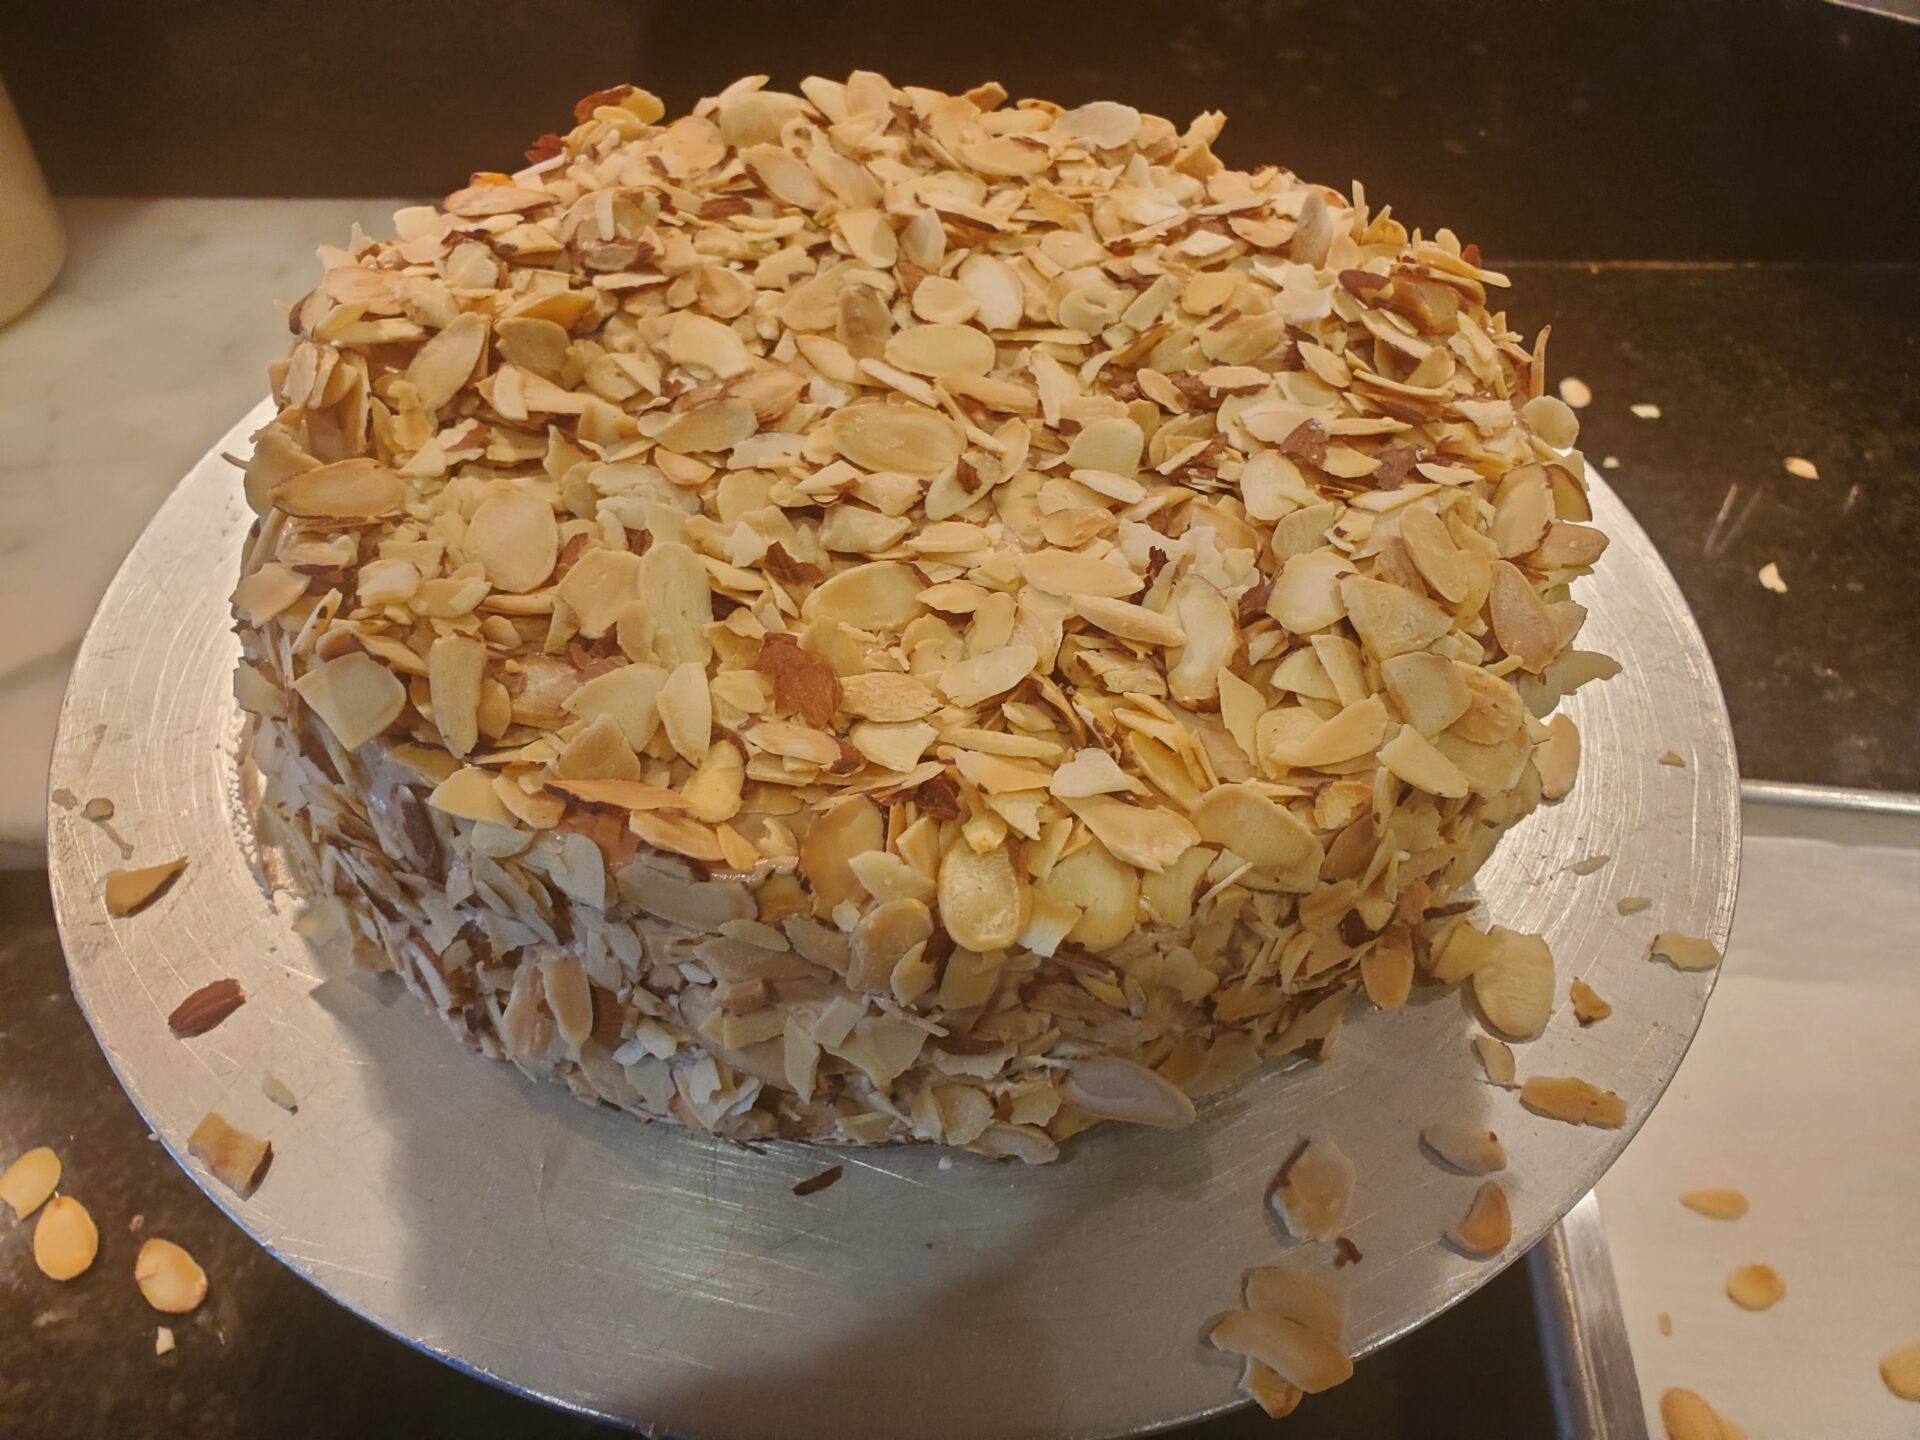
- Place the sliced toasted almonds in a shallow container, and press them against the side of the Dacquoise, and sprinkle a good amount on the top of the cake. Refrigerate.
- Just before serving, generously dust with confectioner’s sugar.
Baking tips:
- Toast the almond flour in a 325 °F oven until a light golden brown, about 10 minutes. Be careful, almond flour burns easily. This can be done two days ahead and stored in a plastic container.
- Toast the sliced almonds in a 350 °F oven until golden brown. This can be done two days ahead, with the almonds stored in a Ziploc bag or plastic container.