Pear Tarte Tatin
My first exposure to Pear Tarte Tatin, was at Sign of the Dove in the 1990’s. I loved the dessert, but not the procedure, as I remember the pear slices would often be less than well-caramelized and occasionally stuck to the pan when unmolding.
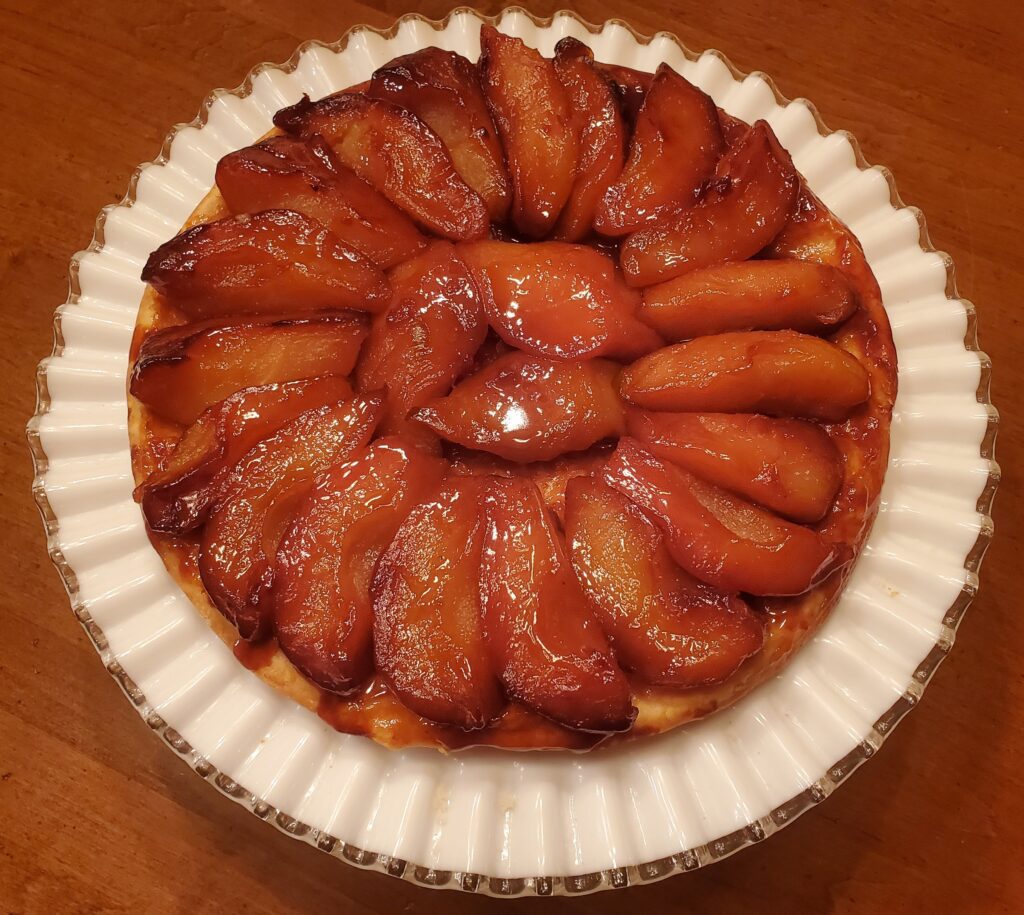
Years later while looking through Bistro Cooking by Patricia Wells, I came upon this recipe which solved both problems and produced, what I think, is the ultimate Pear Tarte Tatin. The pear quarters are sautéed in a large pan until a deep golden brown, then carefully arranged in a Pyrex pie dish, the pastry dough placed on top and baked. The beauty of the Pyrex pan is that you can see when the pear slices release as the pie dish is turned upside down.
This tarte tatin would be at home on a farmhouse table in the front of a rustic French bistro. It is a perfect ending to a simple fall or early winter dinner. Make it late in the afternoon, so it comes out just before dinner.
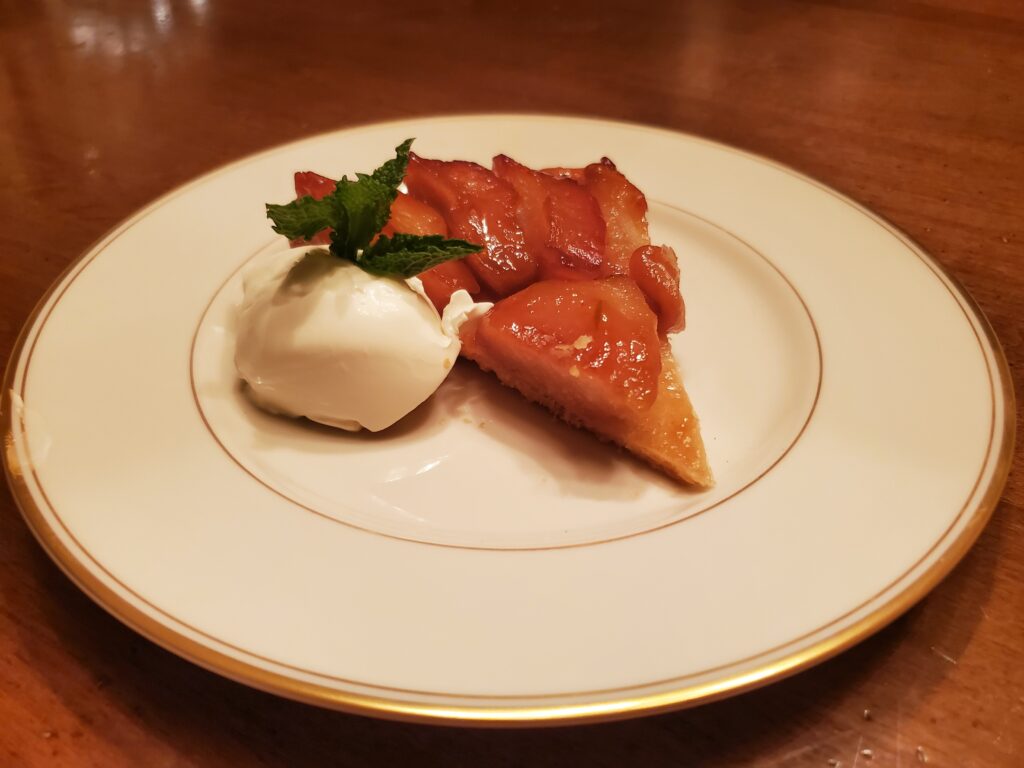
Serve with crème fraîche, softly whipped cream, or vanilla ice cream.
Pear Tarte Tatin
| Yield: 1 tarte | # of Servings: 8 to 10 |
Ingredients:
Pâte Brisée 1 or store-bought pie dough circle
Pears:
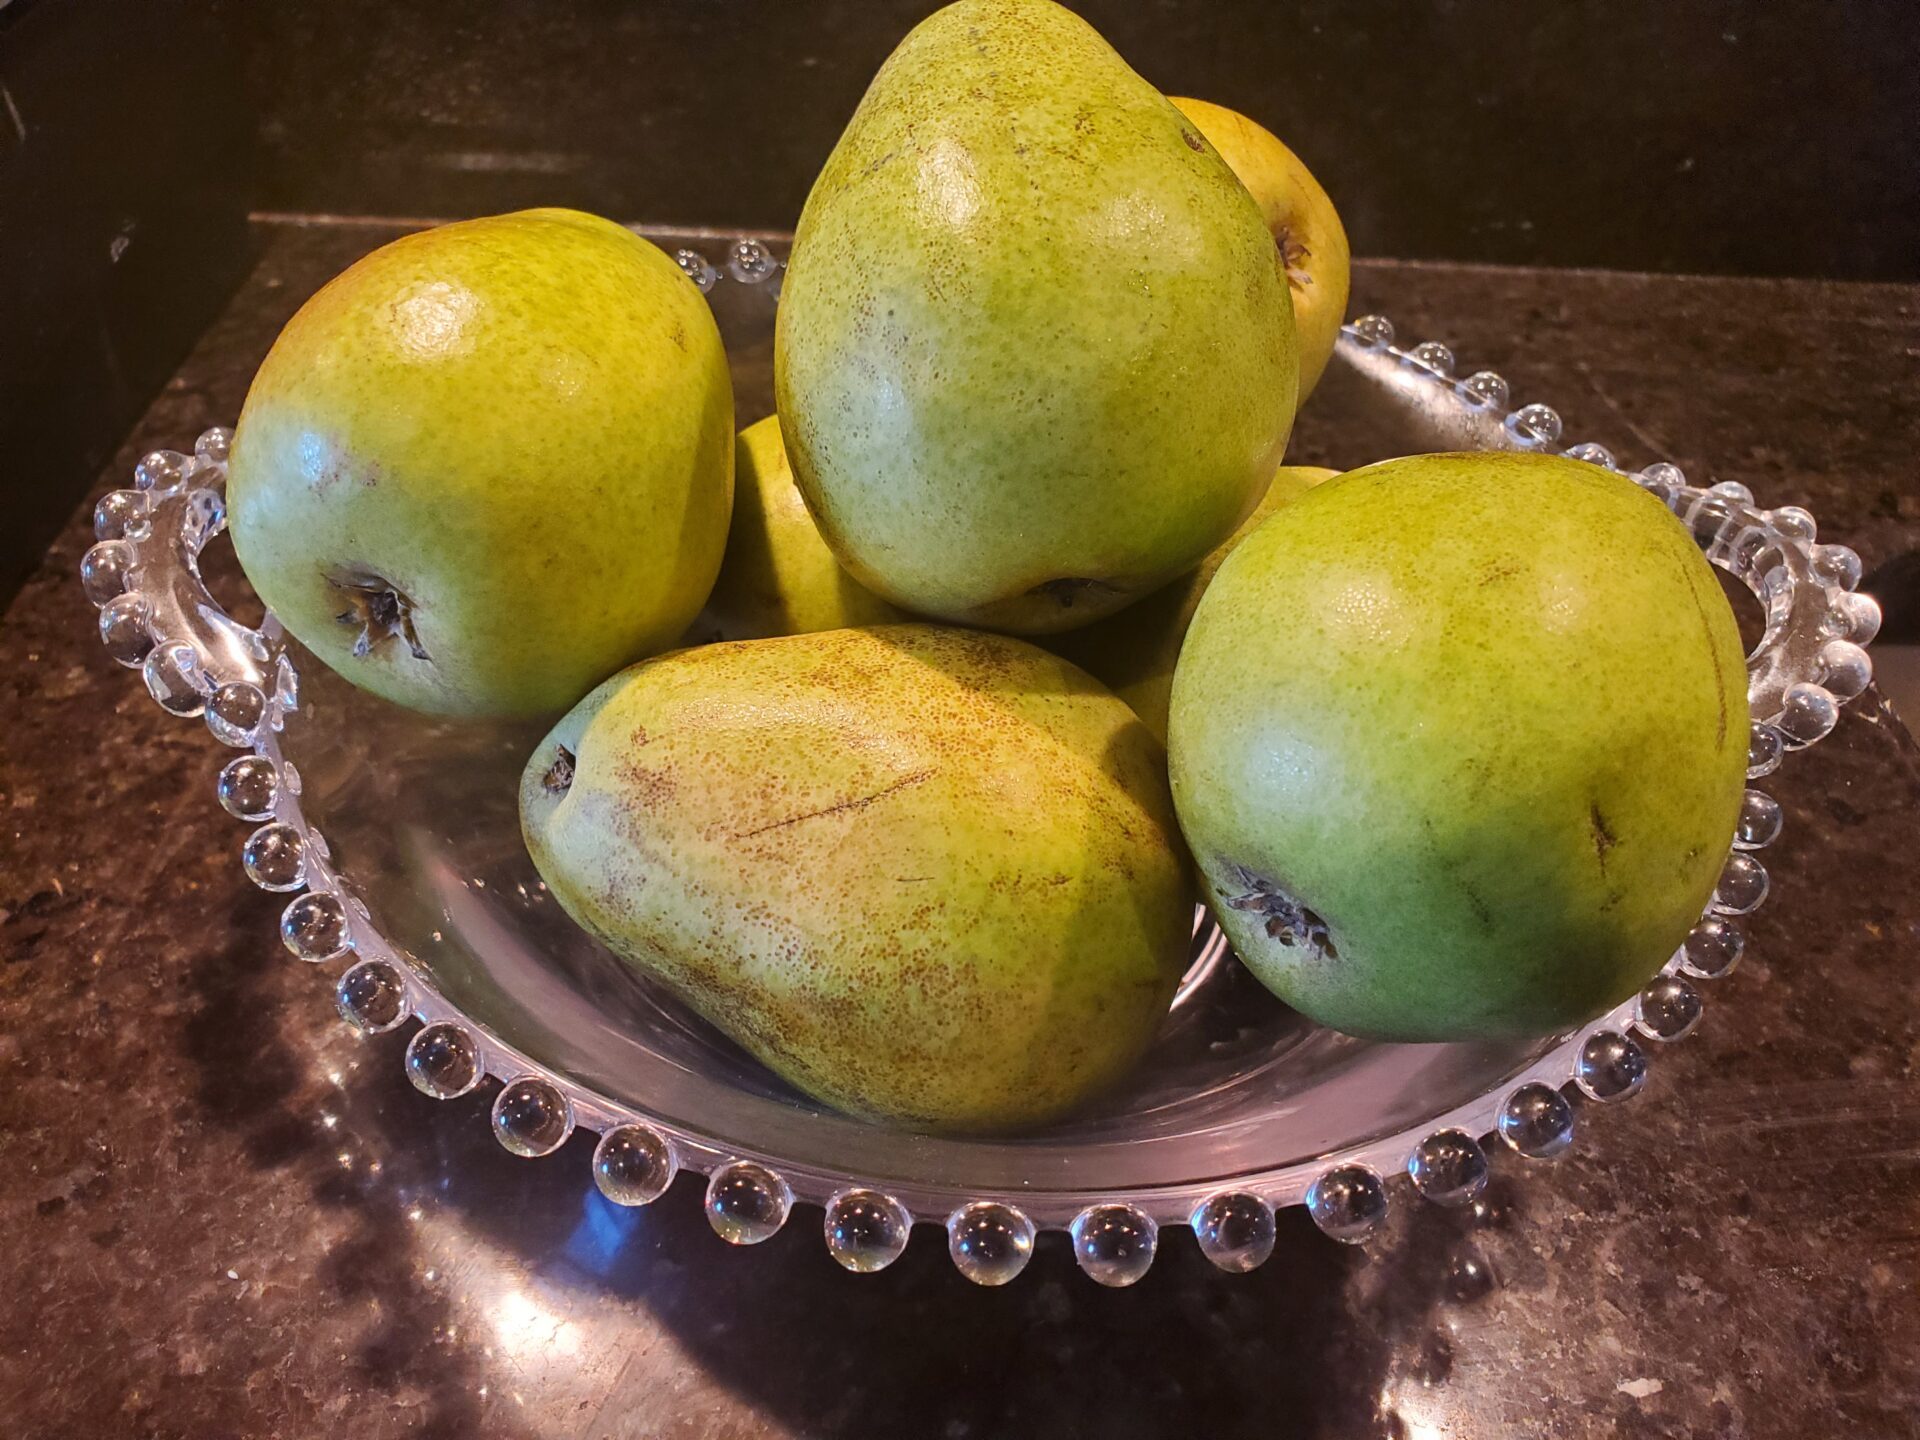
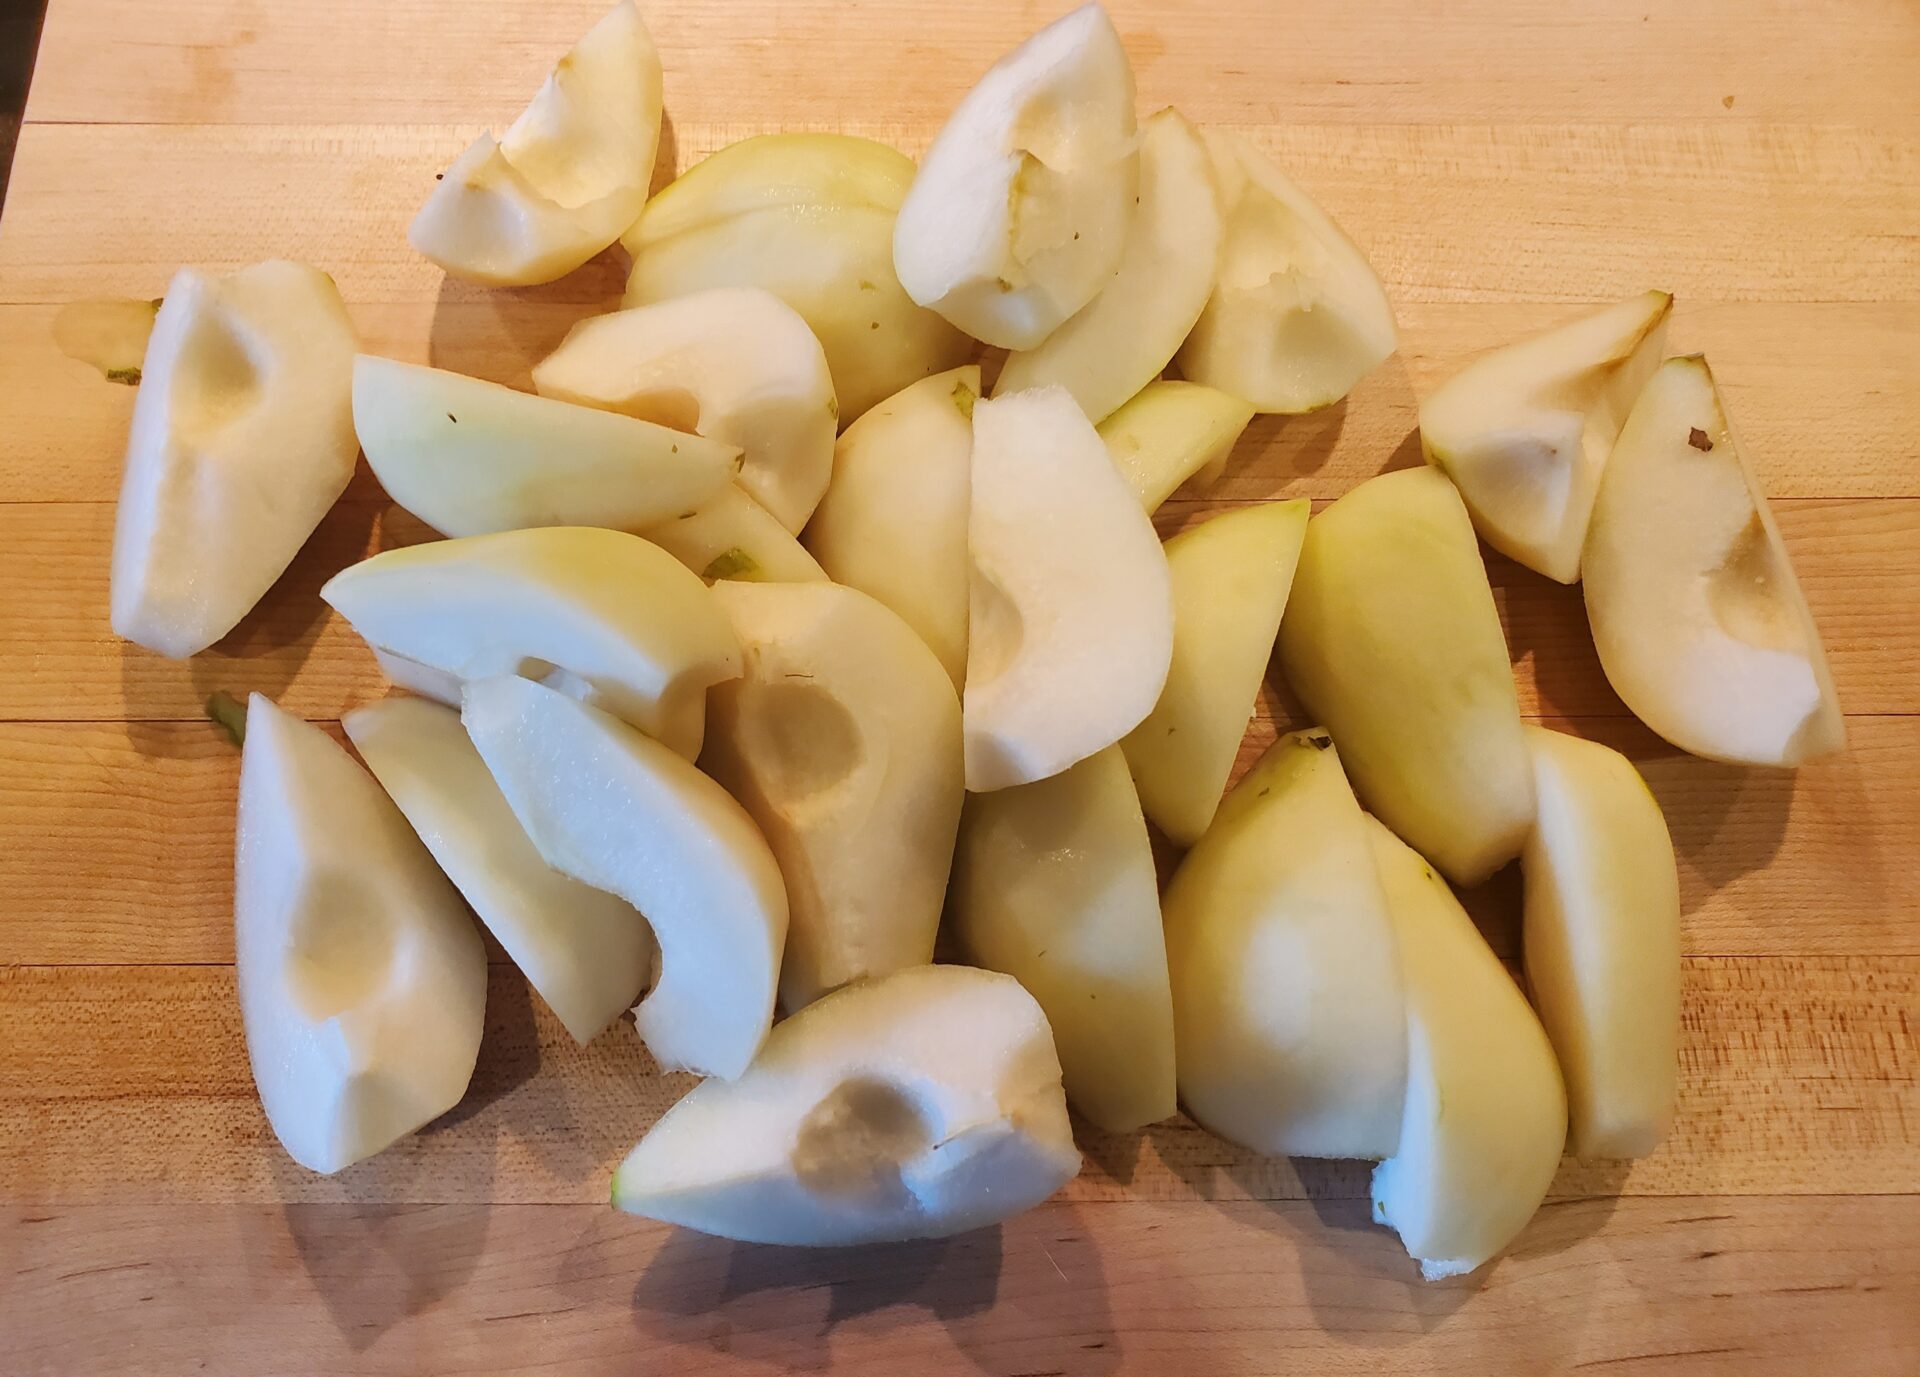
7 firm1 Bosc or Anjou pears, (approx. 3 lb 12 oz) peeled, quartered and cored.
6 tbl unsalted butter (3 oz / 85 g), cut into large pieces
½ cup (3.6 oz / 104 g) sugar
1 ½ tbl fresh lemon juice
Serve with:
Crème fraîche or
Softly whipped cream or
Special tools and equipment needed:
- 11″ (outer edge) diameter Pyrex glass pie dish
- 12″ sauté pan, preferably non-stick
- Vegetable peeler, melon baller, cutting board, knife
Pre-recipe preparations:
- Remove Pâte Brisée from the refrigerator approximately 20 minutes prior to rolling out.
Directions
Pastry circle:
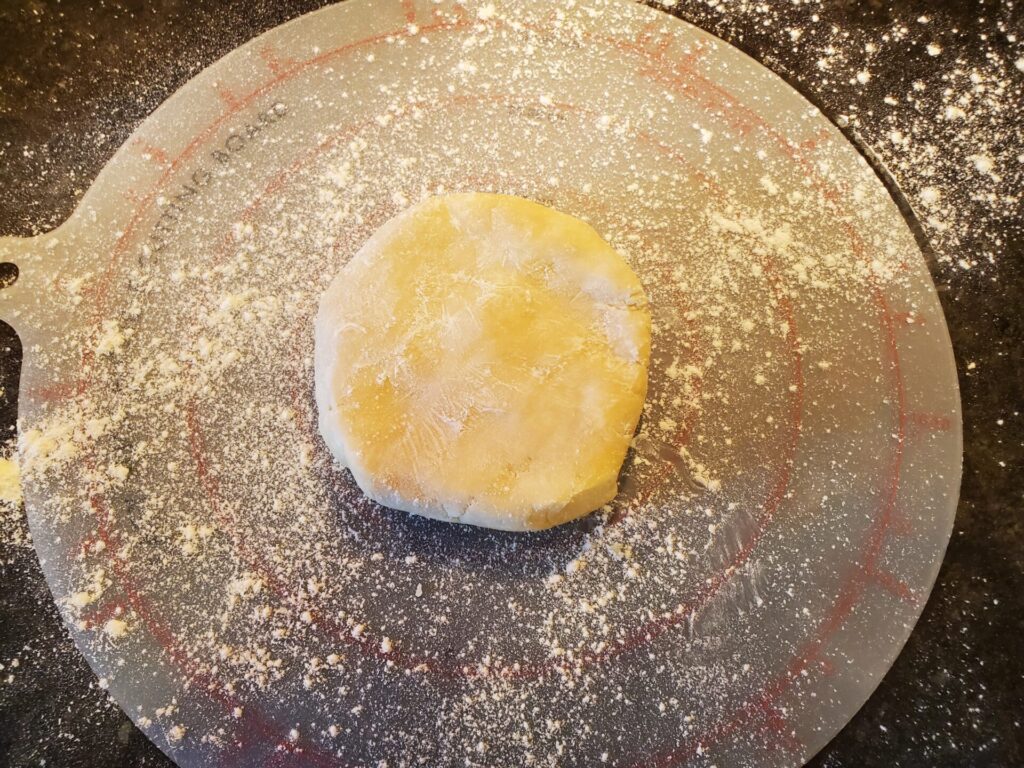
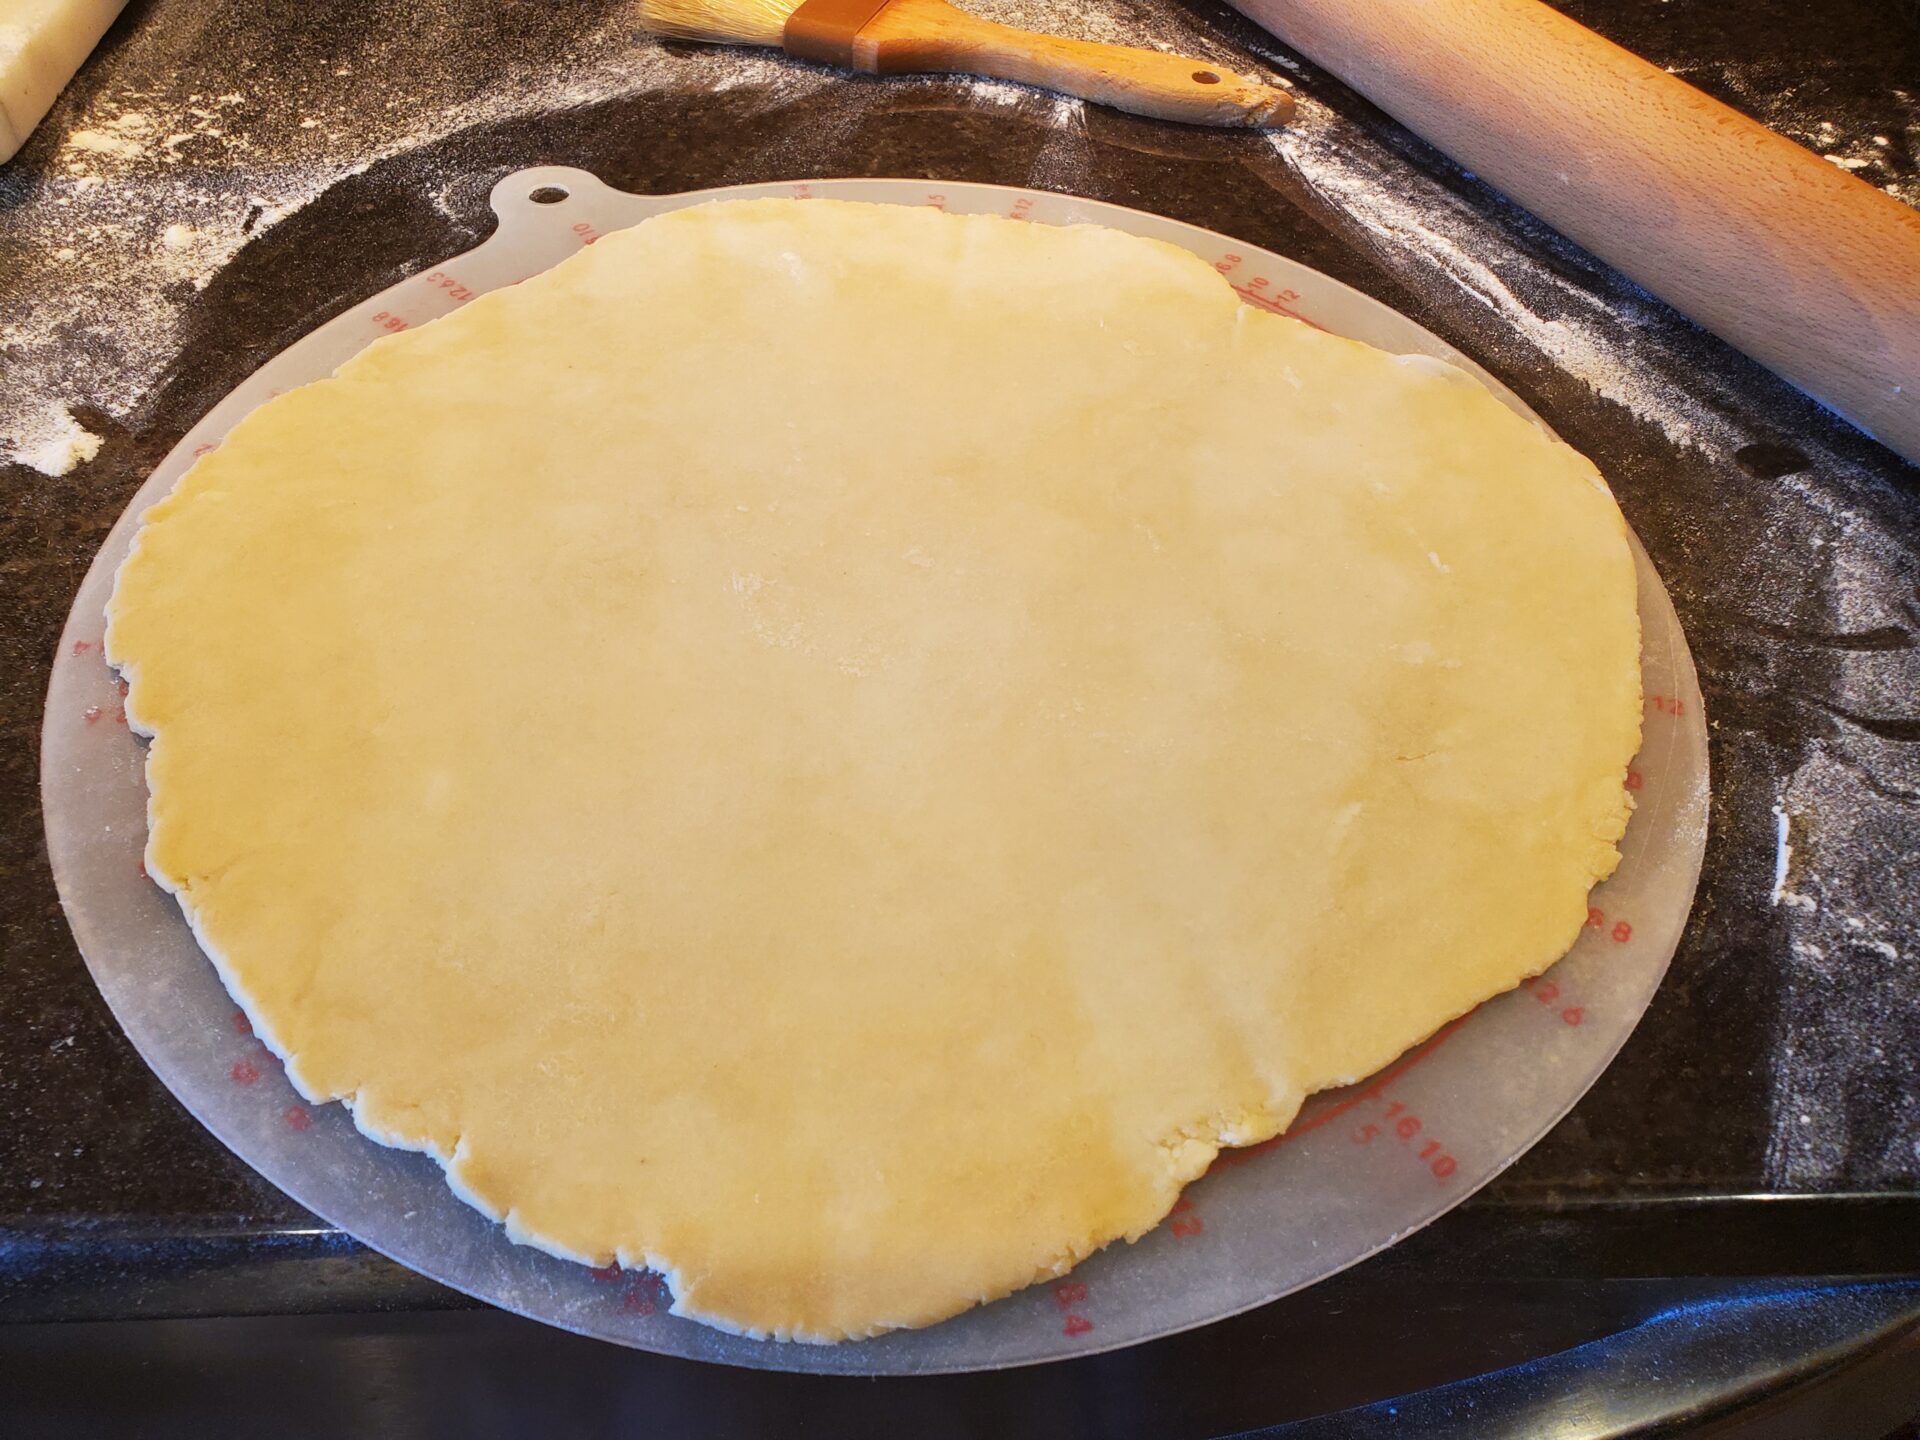
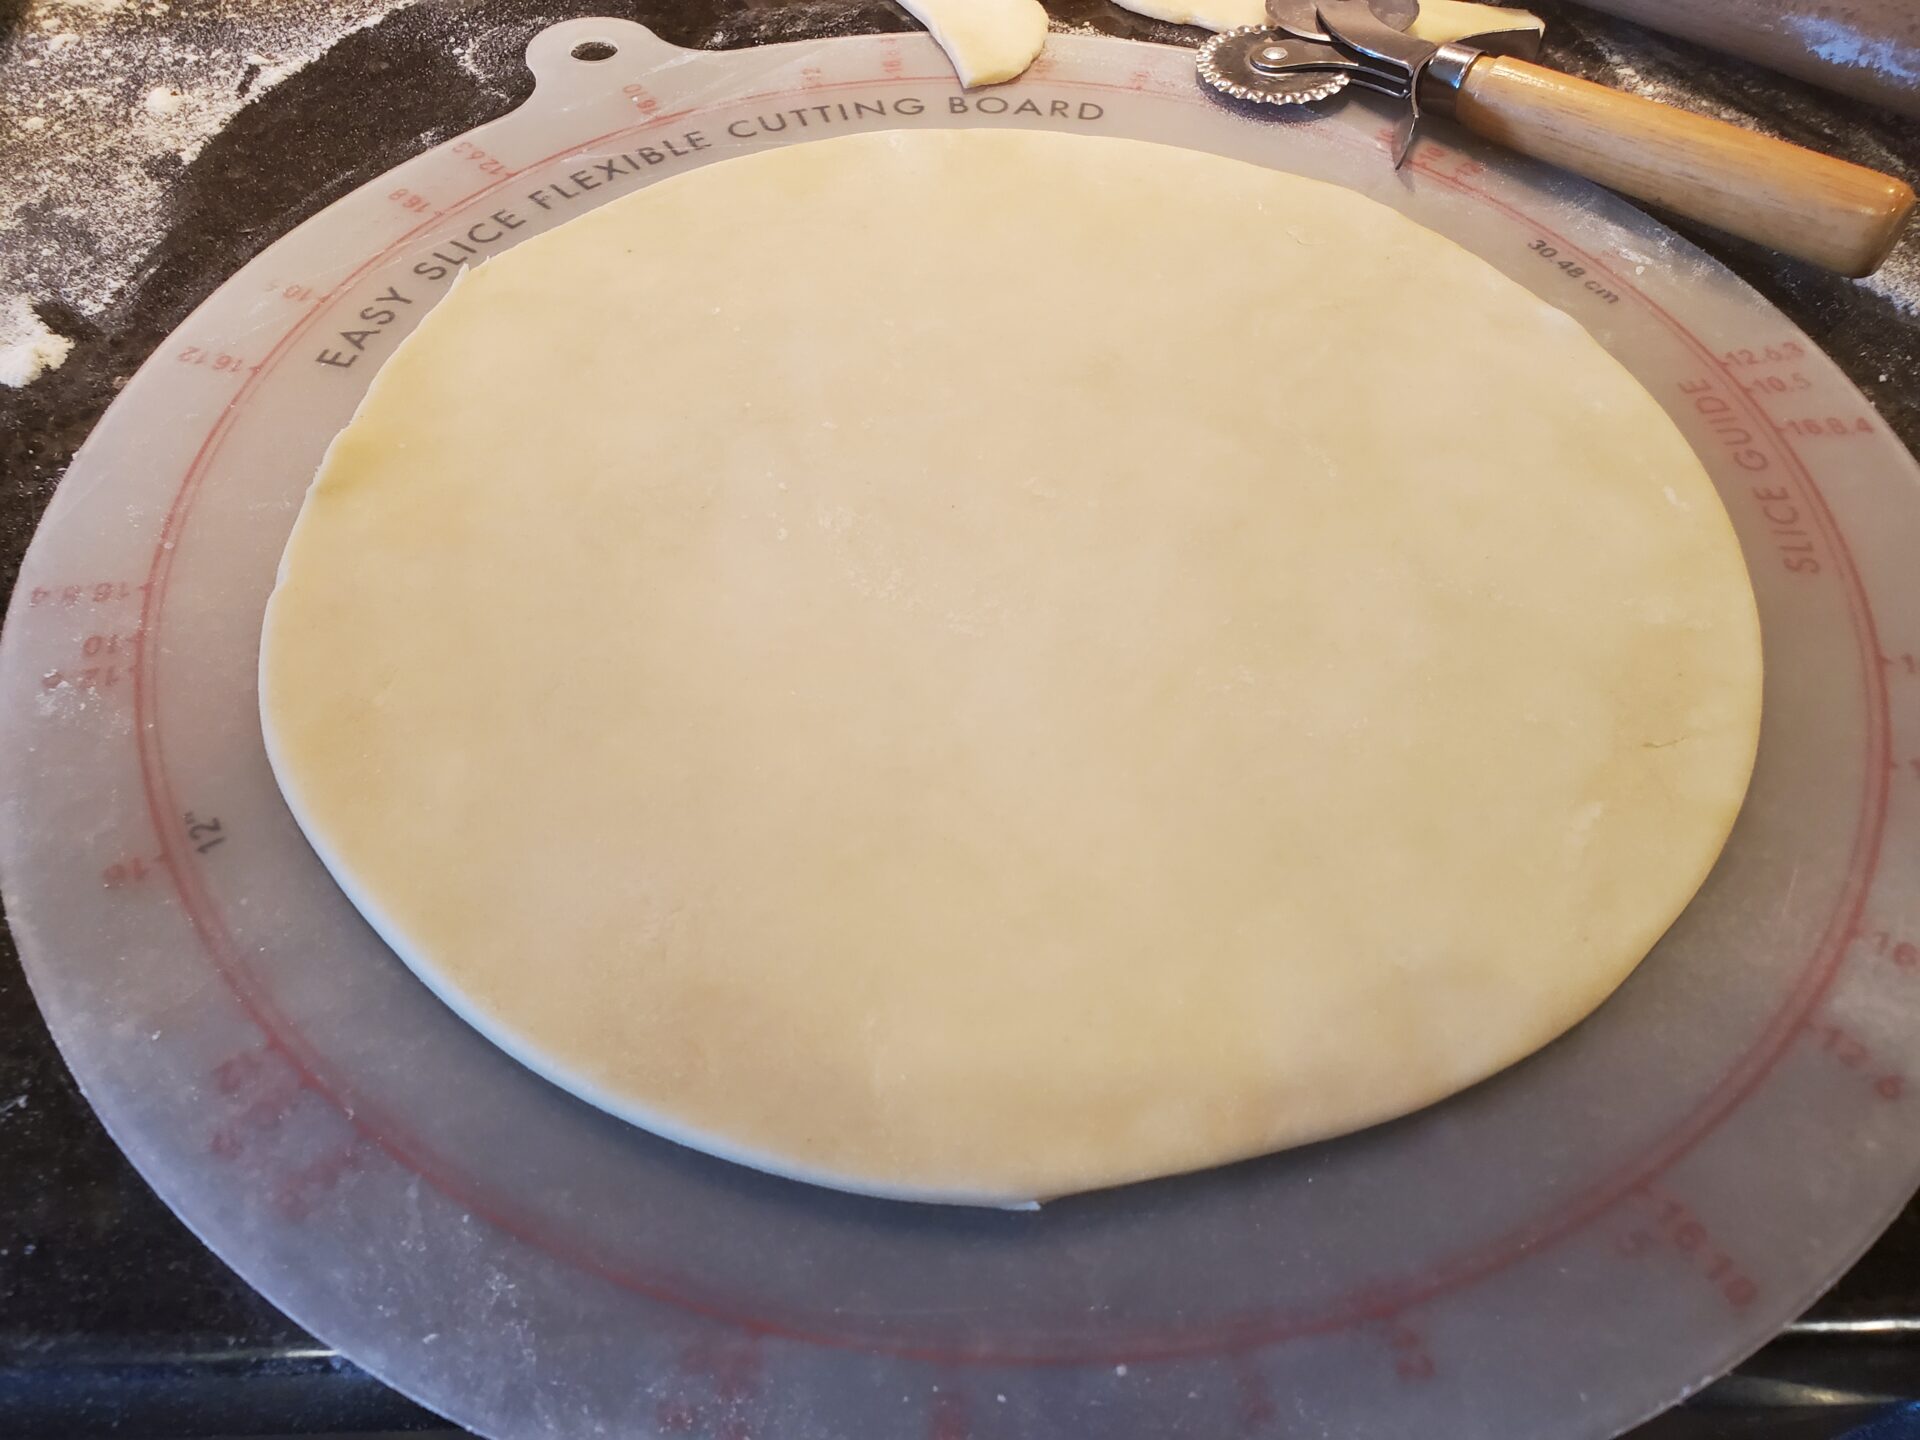
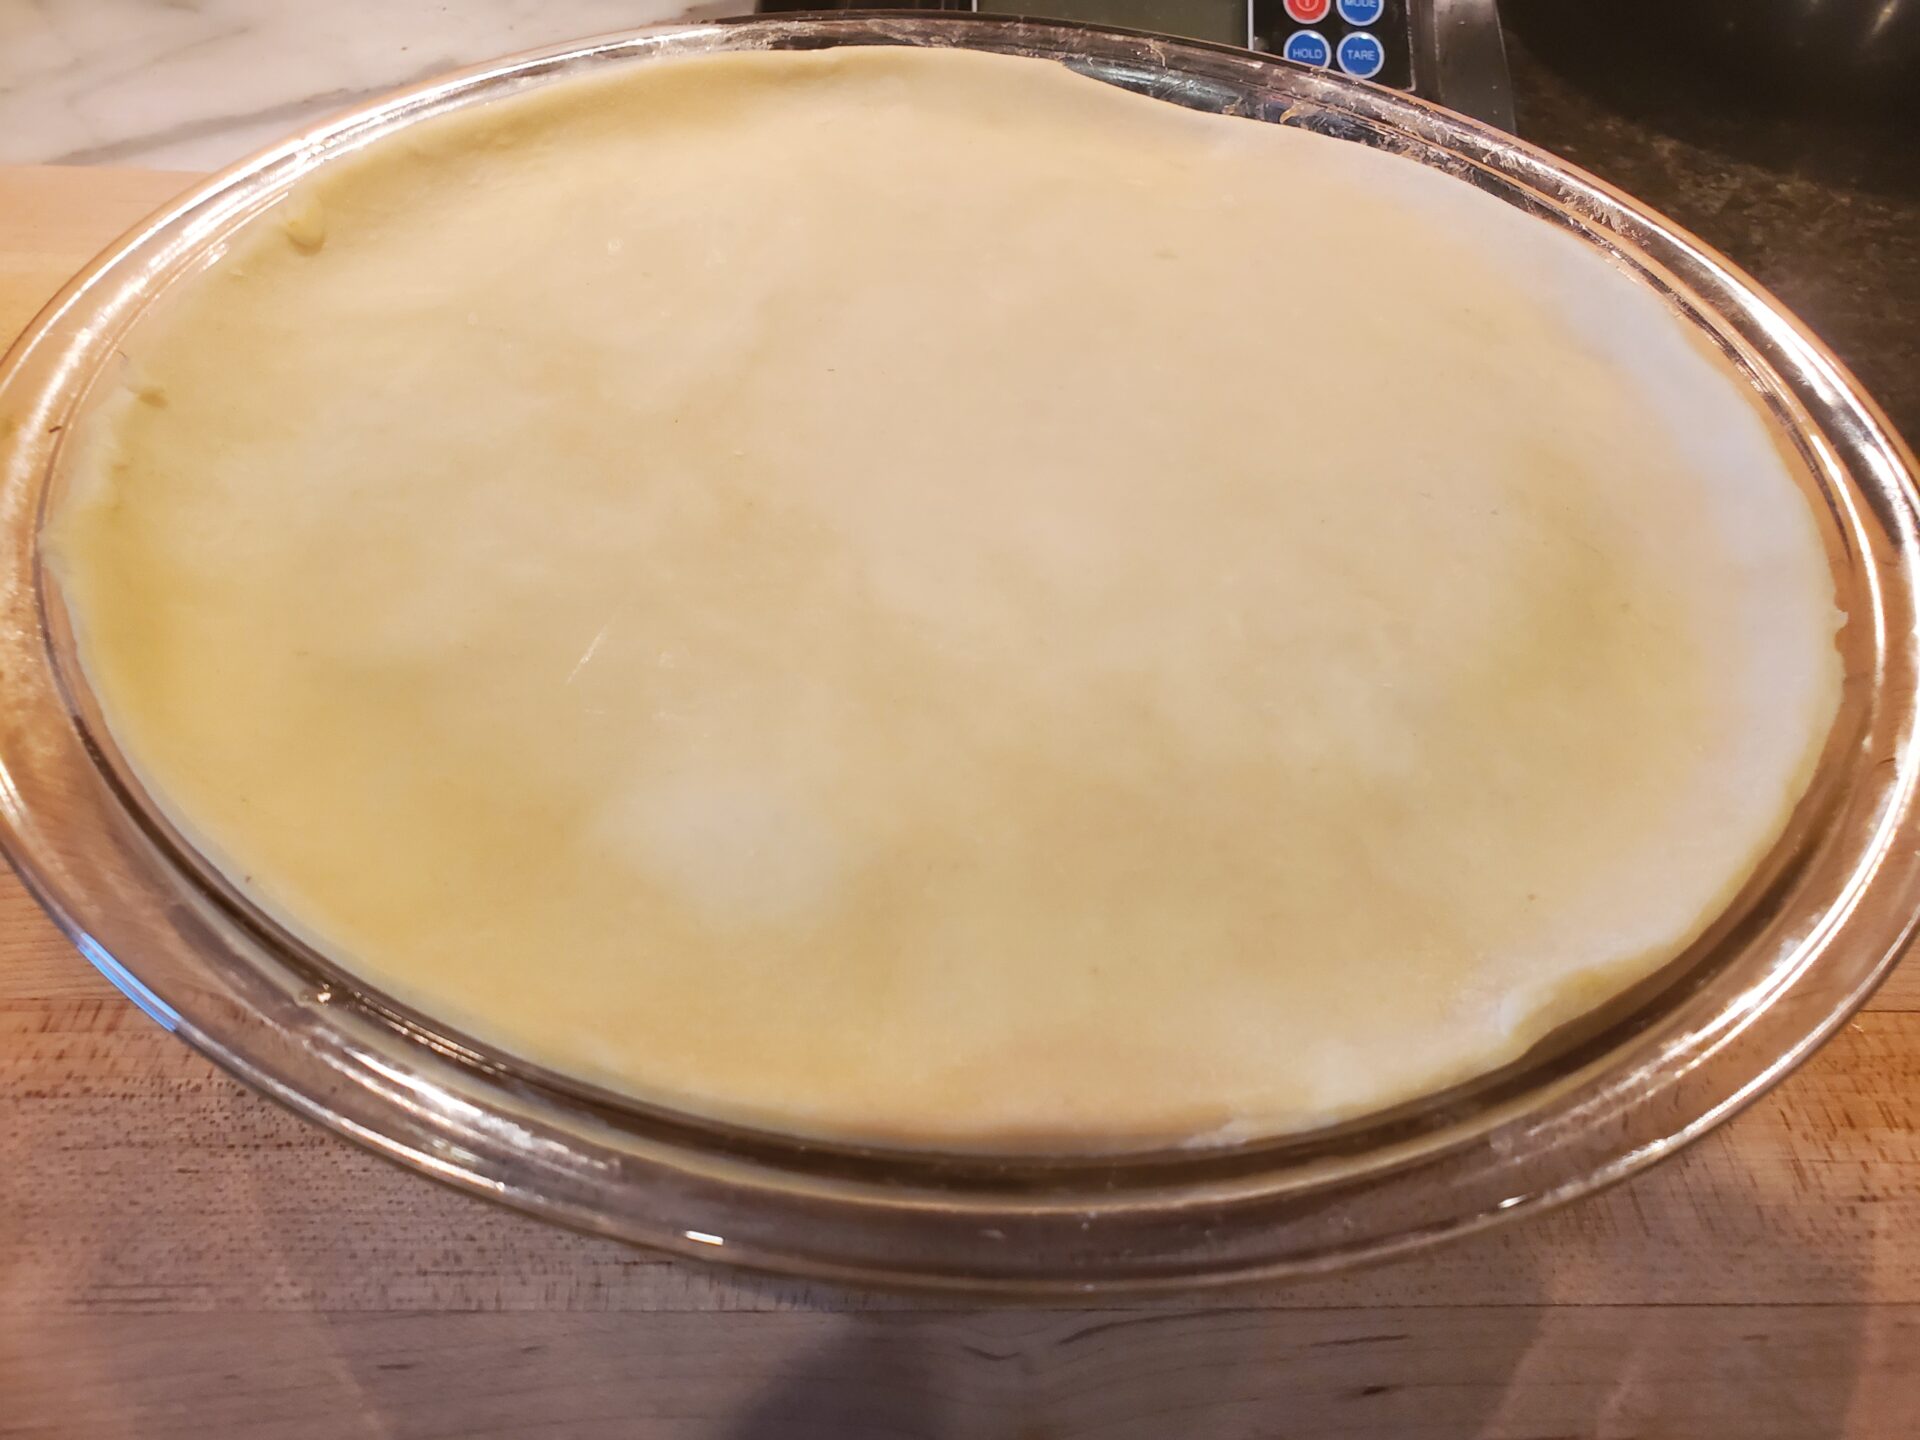
- On a flour-dusted counter, roll out p¢te bris©e to a 10″ circle about â…› thick. Drape the dough onto a cardboard circle or cookie sheet and place in the refrigerator.
Pears and baking:
- Preheat oven to 425 °F.
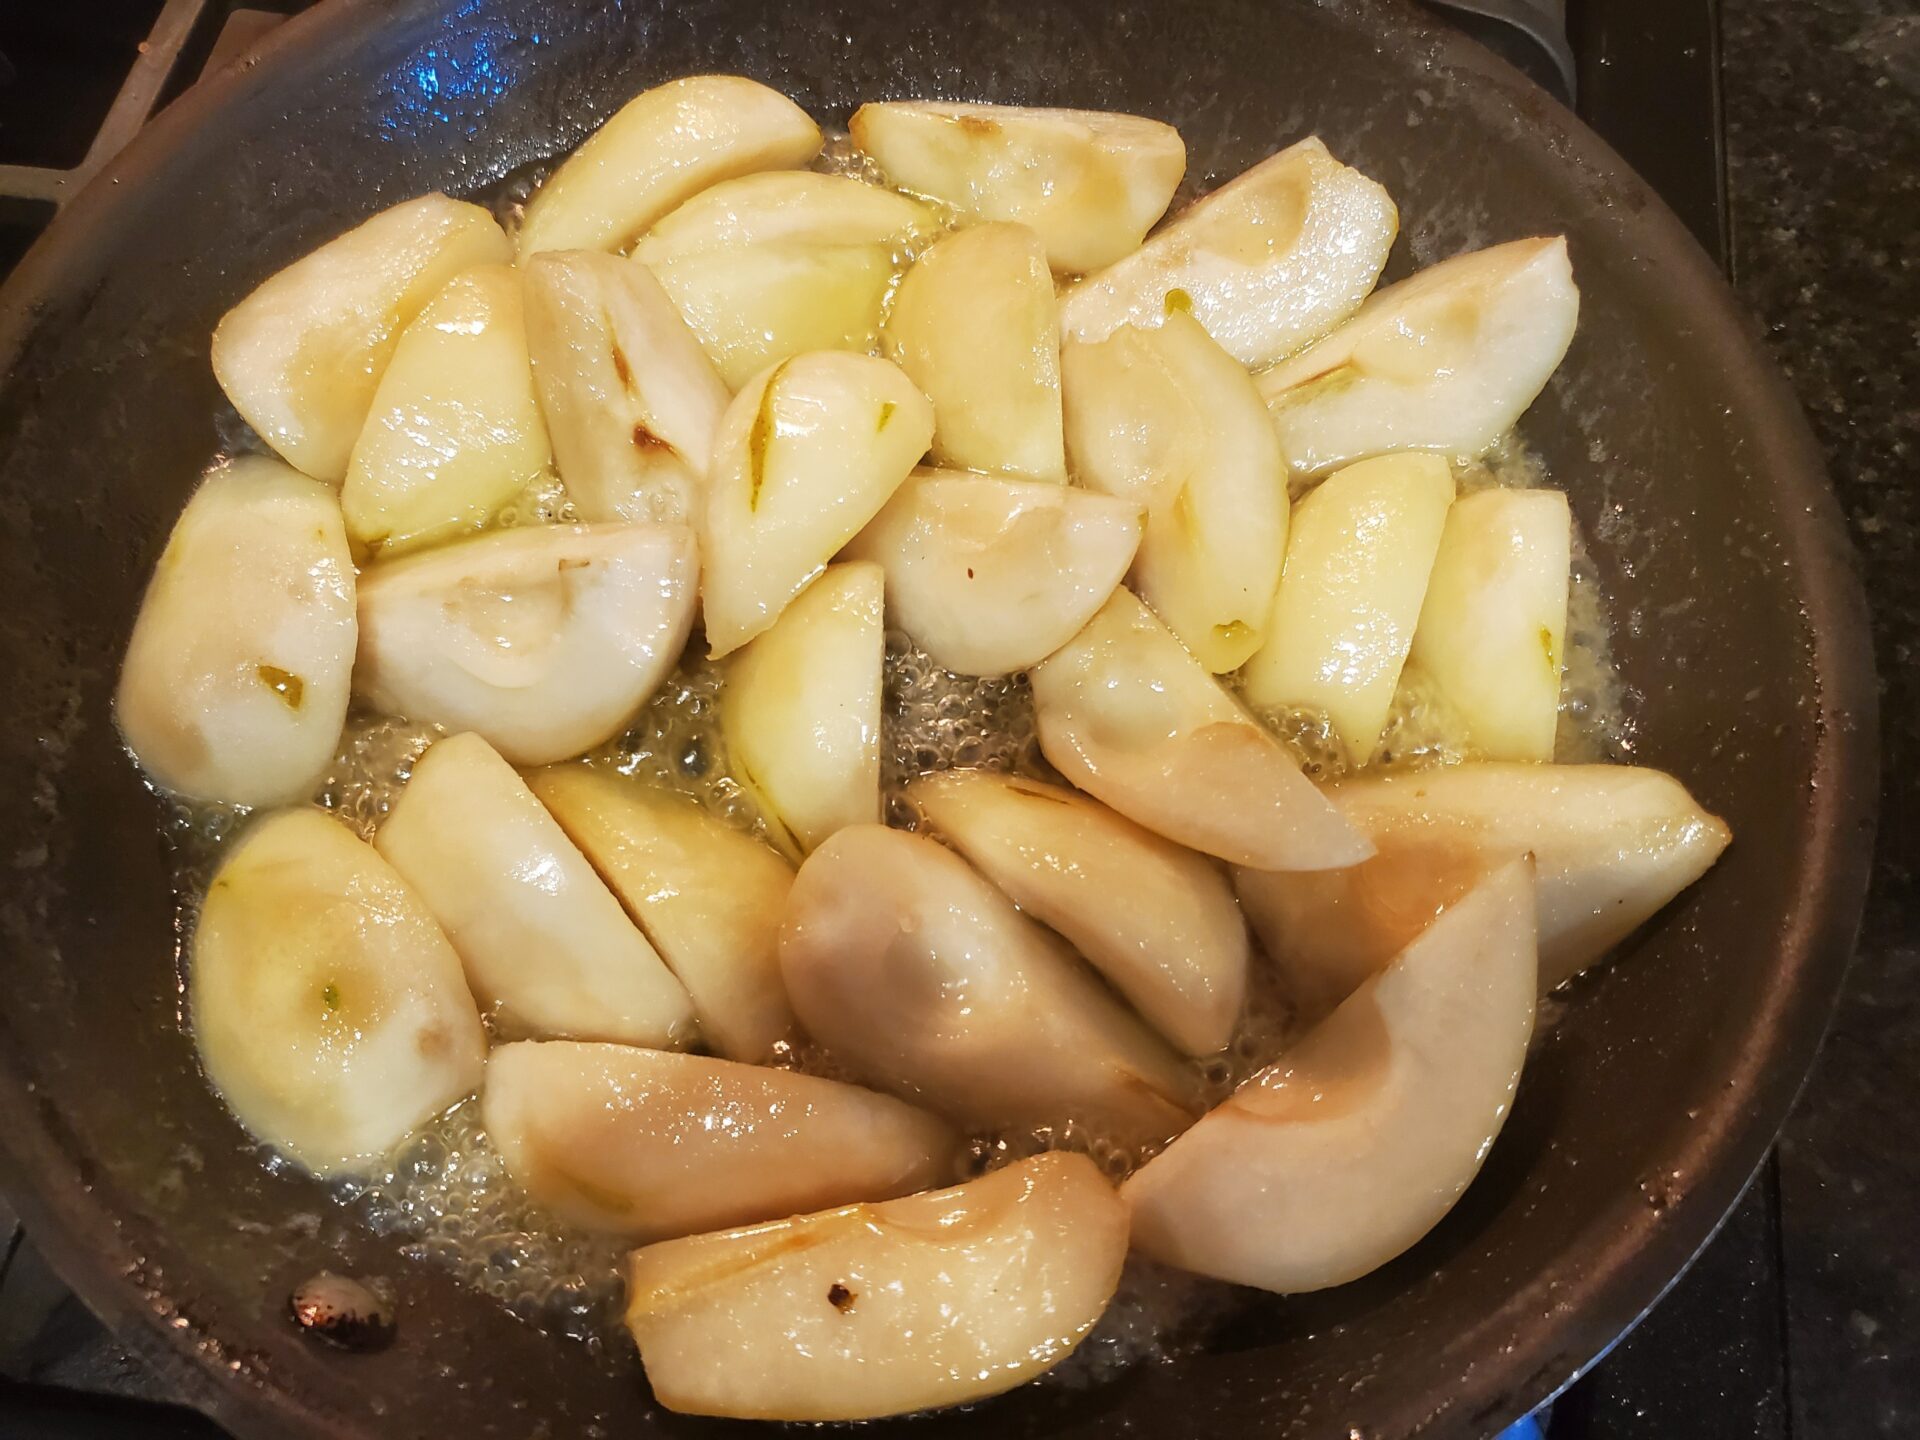
- In sauté pan over medium flame, melt the butter. Add sugar, lemon juice, and the quartered pears. With heat-proof spatula or wooden spoon stir to coat all the pear quarters with sugar. The pan will seem very crowded with pear quarters.
- Cook for 20 minutes, moving the pears around the pan every few minutes to promote even cooking.
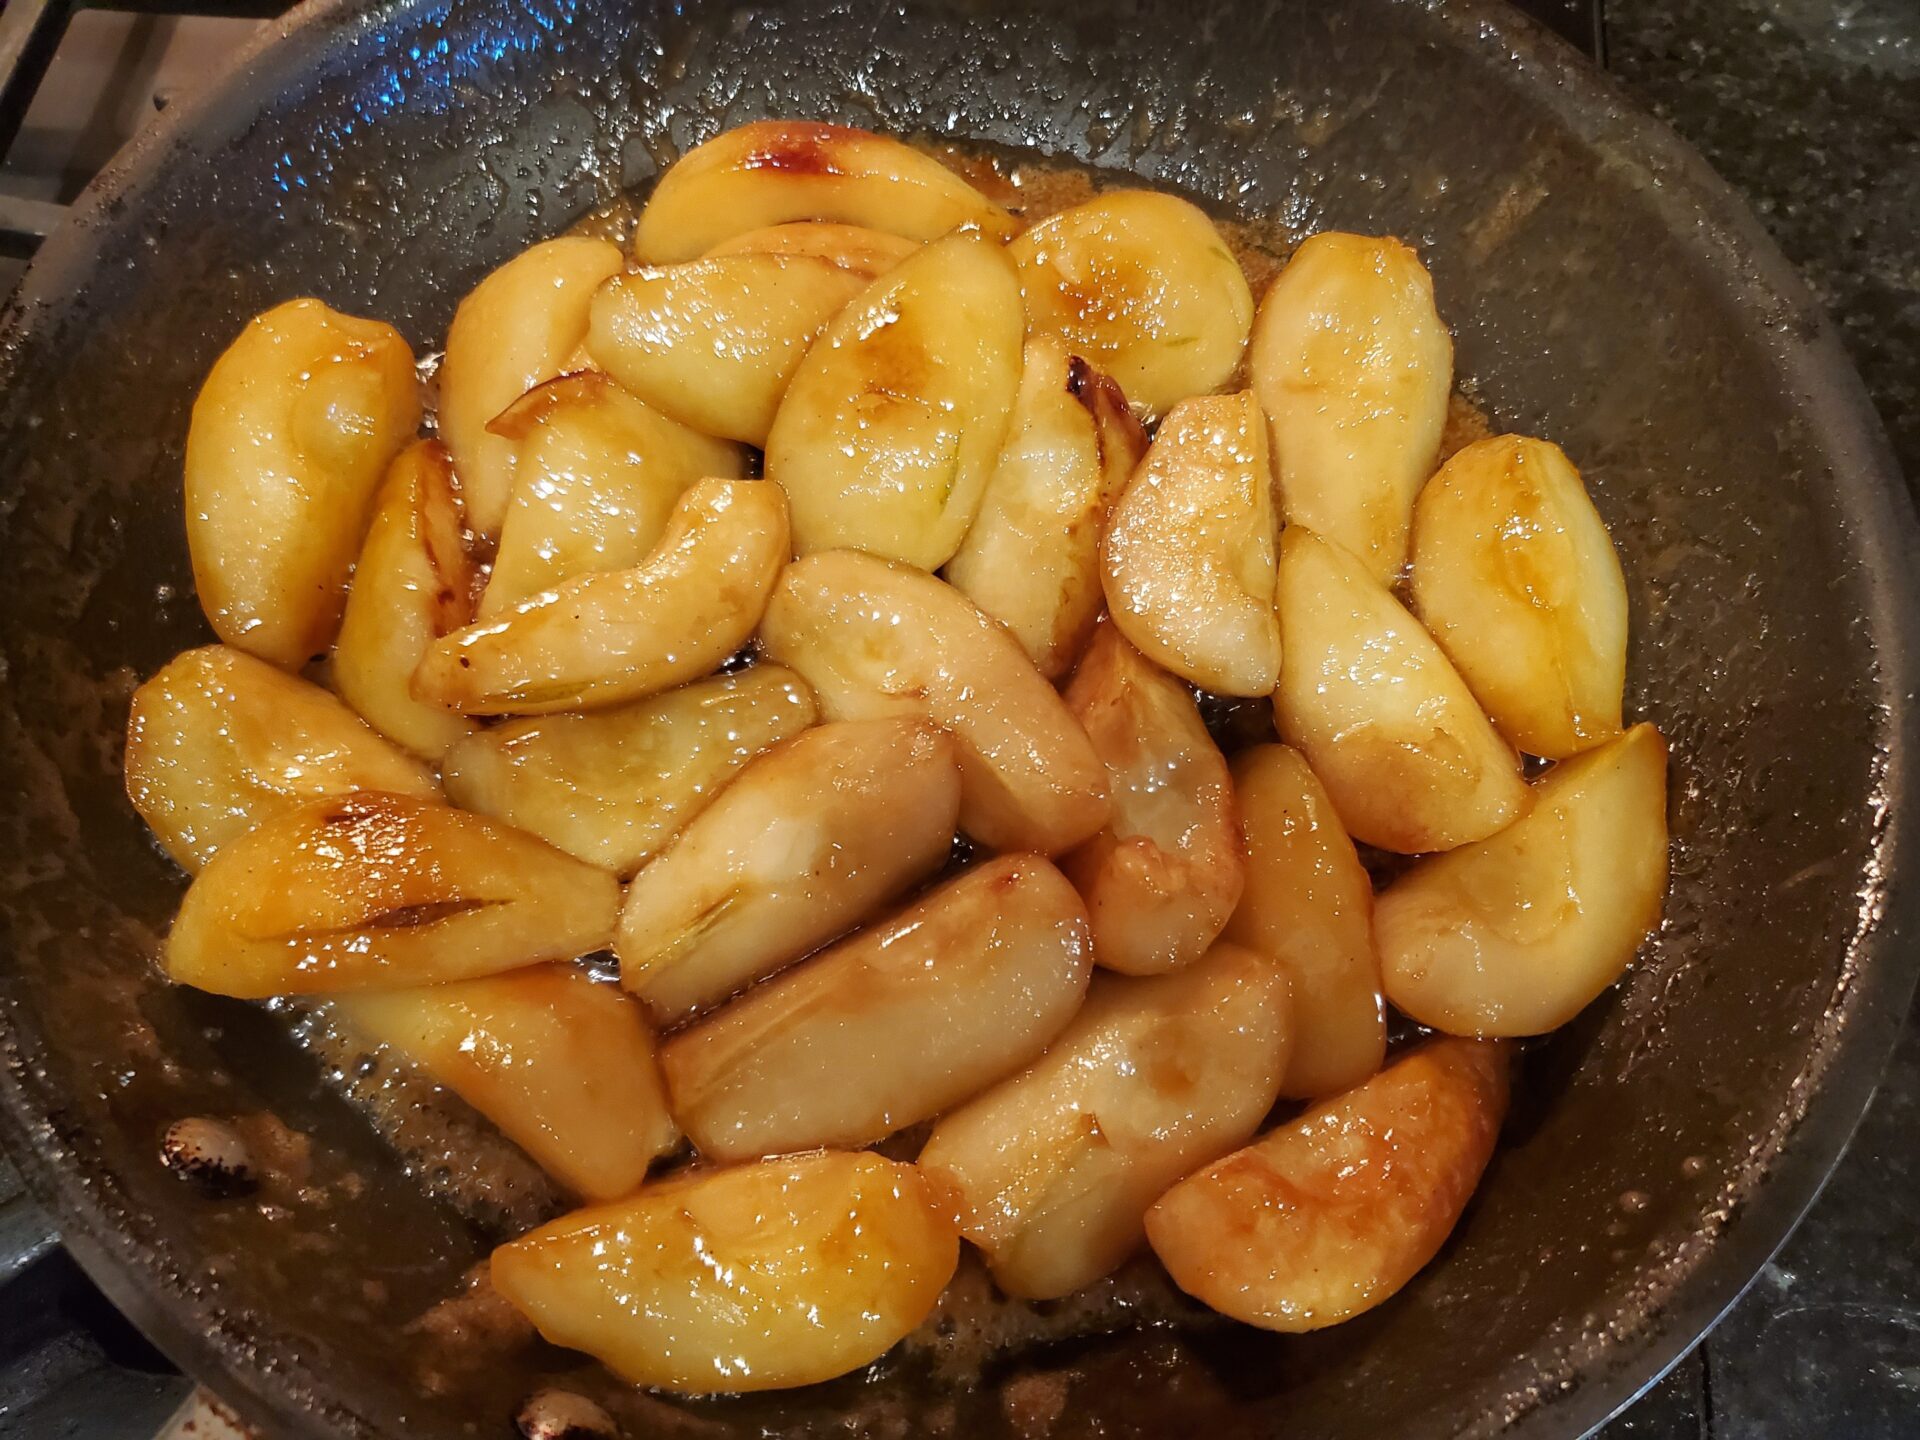
- Increase the heat to medium-high and continue cooking the pears for approximately 15 additional minutes, moving the pears around the pan to ensure even browning. The pears are done when they are a deep golden brown, and a paring knife may be inserted without too much resistance into a few select pear quarters.
- Remove pan from stove to a heatproof surface on work counter.
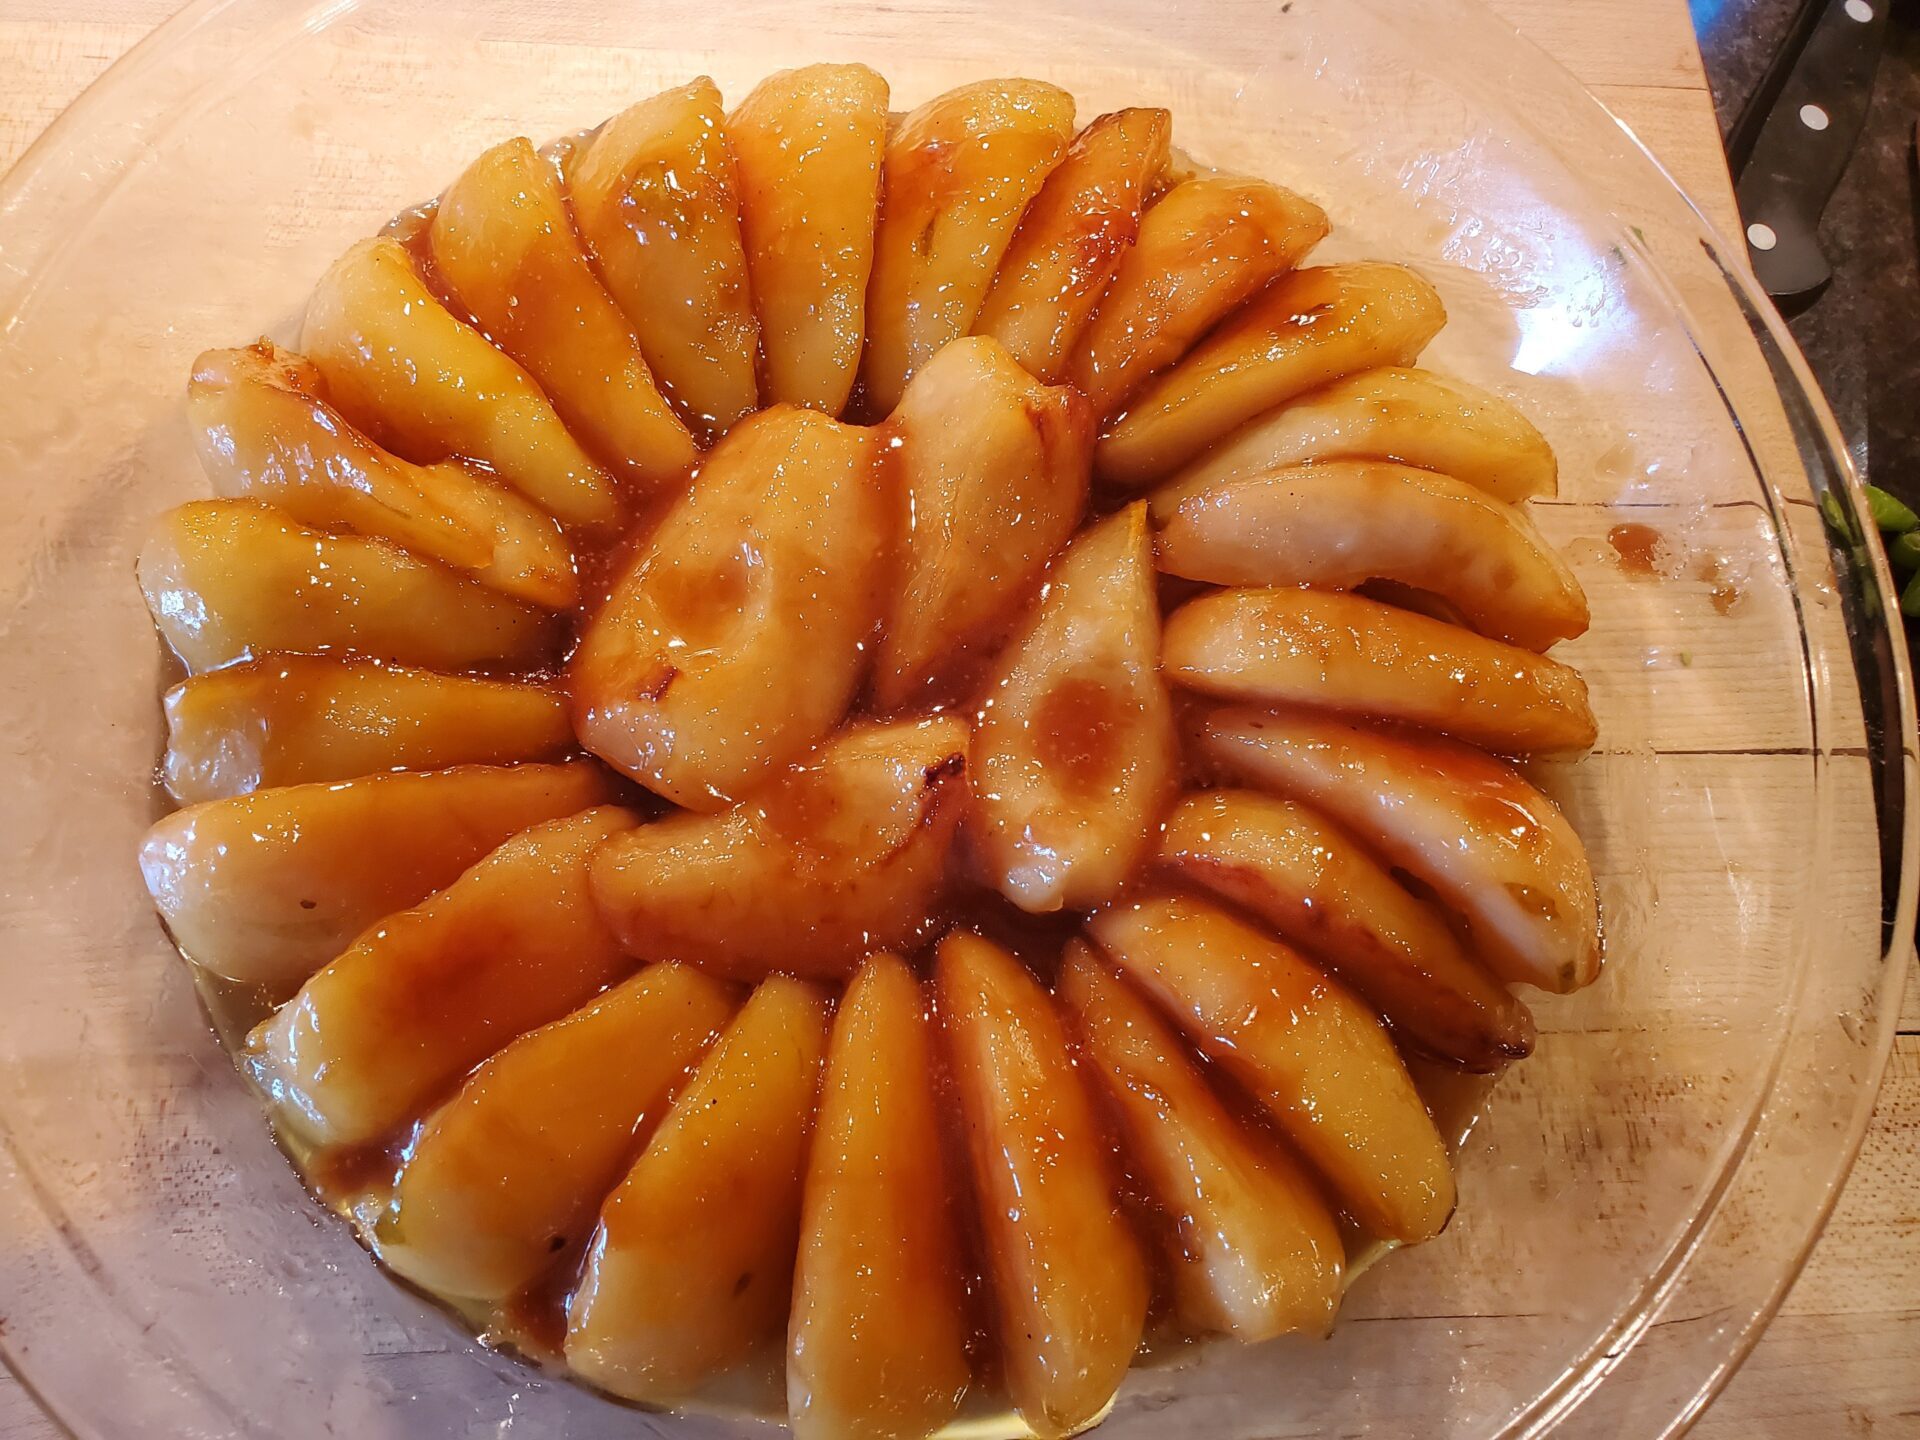
- Using a soup spoon, or a small offset spatula, arrange the pear quarters in a concentric pattern in the bottom of the pie pan (see photo). Pour any syrup from pan over the pears.
- Remove pâte brisée circle from refrigerator and place over pears, tucking any edge.
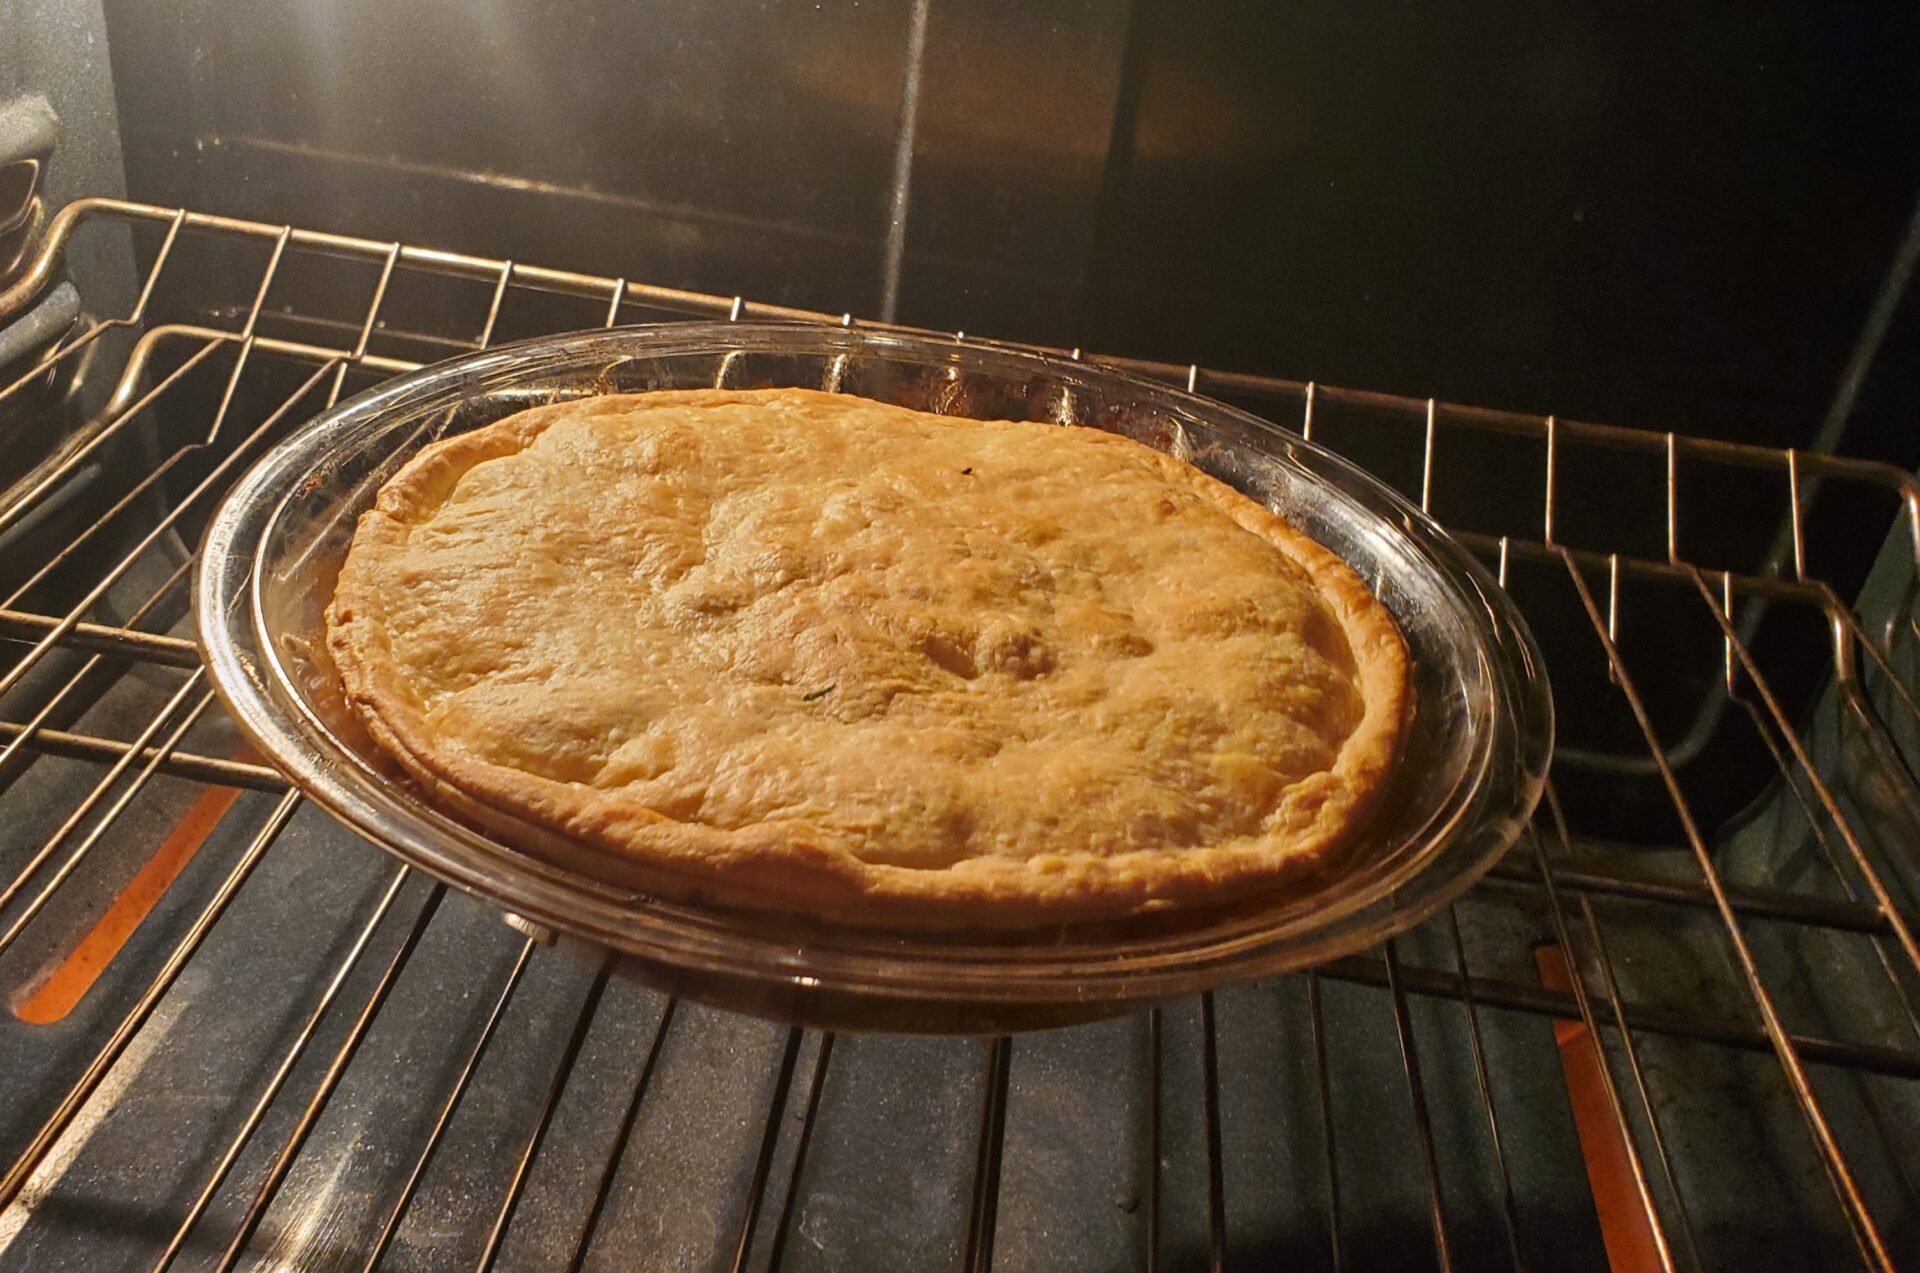
- Bake for 35 to 42 minutes, until the pastry is brown, and the pears are bubbling.
- Remove from oven to a heatproof surface.
- Cover pie dish with a non-fragile serving platter and using potholders, invert the pie pan.
- The pie plate may require a gently tap to release the tart. For any stubborn pears that did not release, remove from the pie plate using a spatula and replace in the missing spot on the tart.
- Serve warm or at room temperature, with vanilla ice cream or crème fraîche
Notes:
1 Firm pears are very important for this recipe, as soft or even semi-soft pears will fall apart during the cooking process.
Baking tips:
- The pastry circle may be rolled out the day before, wrapped well, and stored in the refrigerator. Or, frozen for up to 2 weeks.